
By configuring a custom PDF template, you can ensure that any document is attached alongside the invoice. Follow the steps below for configuration:
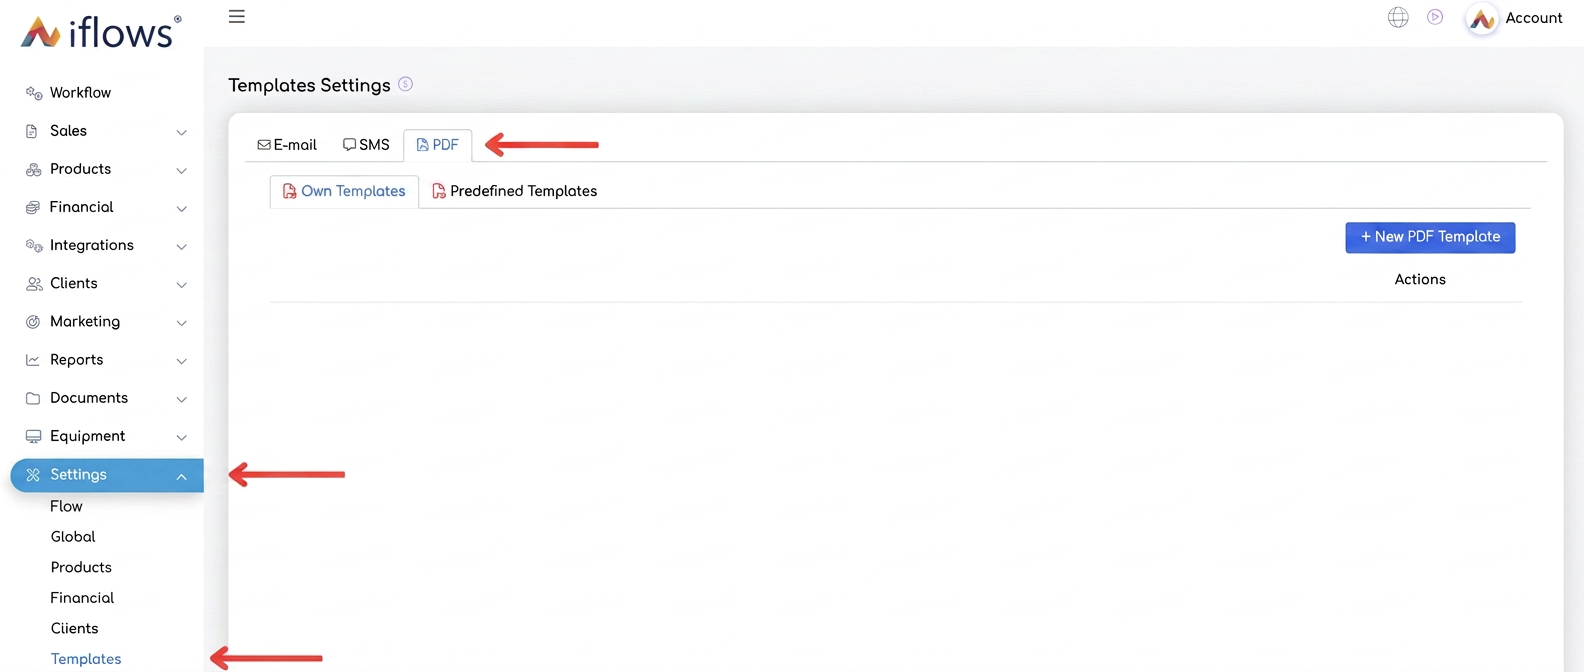
Accessing the "Templates" section: From the main menu, navigate to "Settings" and select the "Templates" option. In this section, go to the "PDF" tab to create a new template or edit an existing one. Choose the "+ New PDF Template" option to initiate a new custom template.
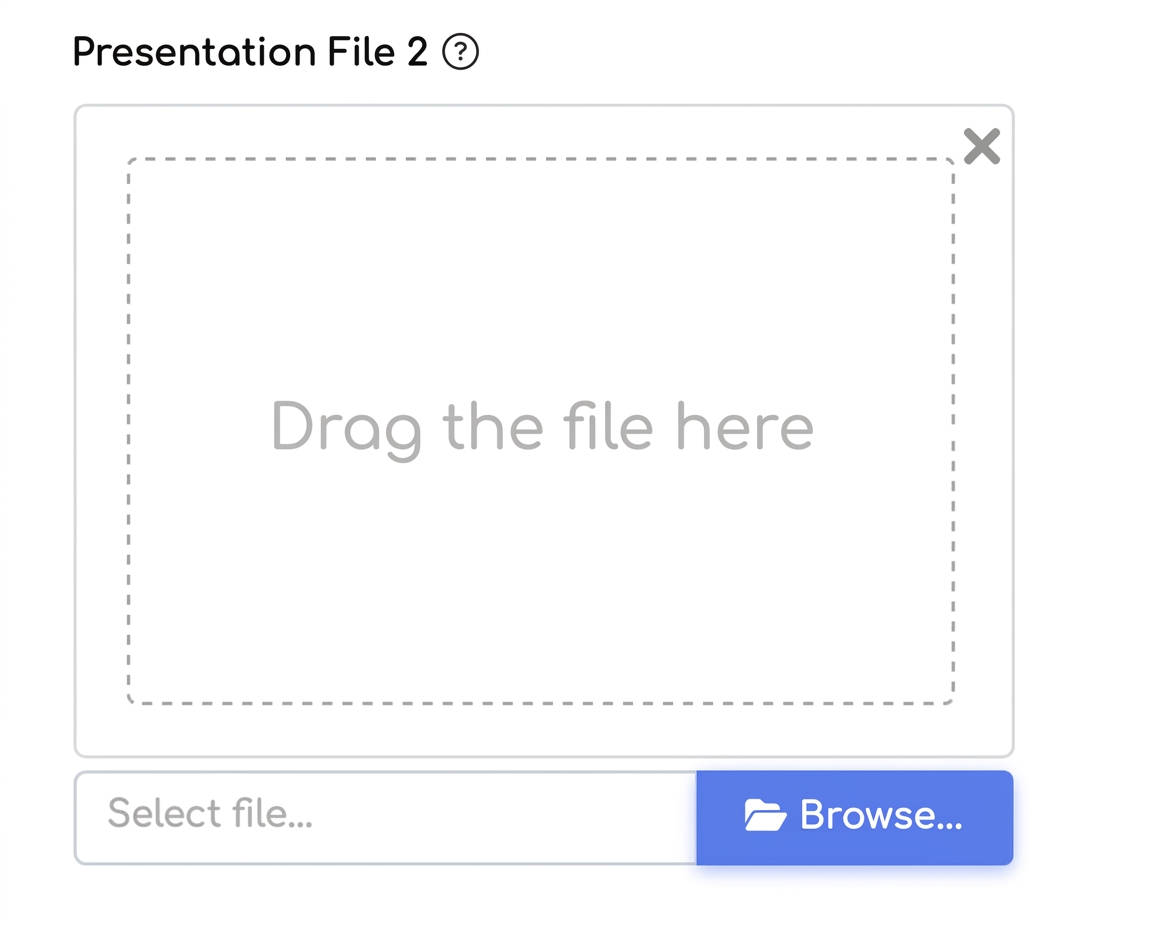
Uploading the warranty certificate: Within the template editor, you will find the sections "Presentation File 1" and "Presentation File 2". Select "Presentation File 2" to upload the PDF containing the general warranty certificate. This will be sent after the generated invoice, providing a logical organization of documents. Use the "Browse..." button or the drag-and-drop method to upload the desired file.
Predefining the invoice template: After uploading the certificate, save the created template and go to "Settings - Sales - Invoices". Here, in the "Default Template" field, select the newly configured template to become the standard for all future invoices.
Thus, all issued invoices will automatically include the attached warranty certificate.