
New: Executive Summary
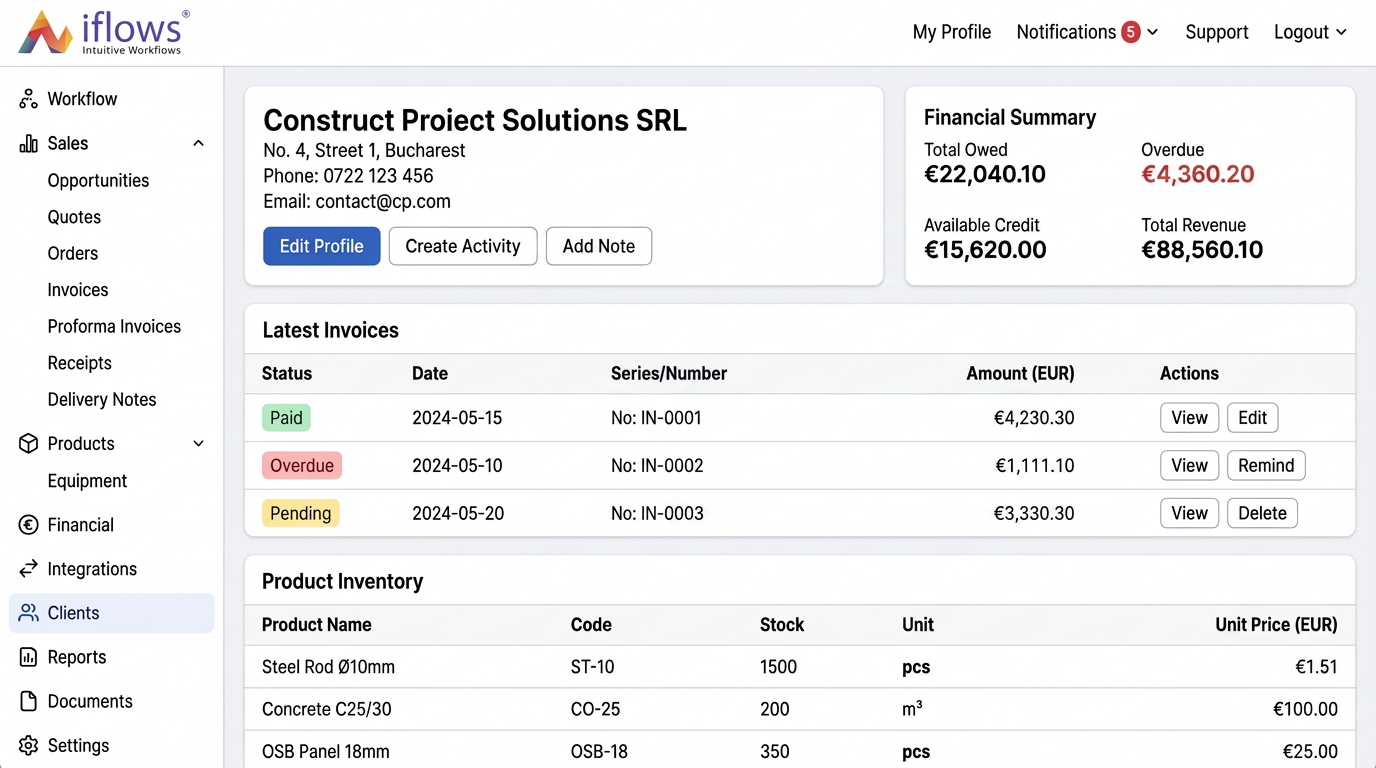
Video Tutorial: click here.
In a single screen, this report consolidates performance indicators from financial, operational, and sales departments, providing a real-time overview of overall performance.
Access and Permissions:
- To access this report, navigate in the main menu to Reports -> Executive Summary.
- If the option is not visible, it means the current user does not have the necessary permissions. Only an administrator can grant access by navigating to Financial -> Employees -> Permissions, editing the desired access level, searching for "Executive Summary" and activating the view permission.
Filtering and Configuration:
- Period Filtering: Data can be filtered by predefined periods (Today, This Week, This Month, This Year) or a Custom Period can be selected from the calendar.
- *Panel Configuration: By pressing the Configure button (top-right), the panel can be customized:
- Reorganization: Modules (widgets) can be moved and rearranged via drag-and-drop.
- Visibility: Modules that are not of interest can be hidden by clicking the 'x' icon.
- After configuration, changes are saved with the Save Configuration button.
"Financial" Section
Receipts
- Total amounts collected in the selected interval, calculated based on "receipt" type transactions dated within this interval.
Payments
- Total amounts paid in the selected interval, calculated based on "payment" type transactions dated within this interval.
Gross Profit (Estimated)
- Estimated profit, calculated as the difference between the total value of created orders and the cost of products, expenses, and expenses without documents.
Due/Overdue Customer Invoices
- The total number of invoices to customers that have the status "Overdue" or are due today, and the outstanding amounts. Includes invoices in both EUR and EUR (if applicable). these data reflect the current situation (today) and are not affected by the period filter selected for the rest of the report.
Due/Overdue Supplier Invoices
- The total number of supplier invoices that have the status "Overdue" or are due today, and the outstanding amounts. Includes invoices in both EUR and EUR (if applicable). these data reflect the current situation (today) and are not affected by the period filter selected for the rest of the report.
VAT Payable Estimate
- Total VAT amount from invoices issued in the selected interval minus the VAT amount from purchases issued in the selected interval.
Average Collection Period (Days)
- The average number of days required to collect an invoice, calculated as the average difference between the invoice creation date and the last receipt date, for invoices created in the selected interval.
Receipt Structure (Bank vs. Cash)
- Distribution of receipts made through the bank versus those in cash, in the selected interval.
Register Balances
- These data reflect the current situation (today) and are not affected by the period filter selected for the rest of the report.
"Operational & Sales" Section
Pending Orders
- Orders entered into the system (status "New"), for which no operational stage has yet been marked "in progress" or "completed". These data reflect the current situation (today) and are not affected by the period filter selected for the rest of the report.
Orders In Progress
- Orders that have at least one stage marked "in progress" but are not yet fully completed. Each order may be counted multiple times if active in multiple stages. The percentage is calculated as a ratio of the number of orders in progress per stage out of the total in progress in that workflow. These data reflect the current situation (today) and are not affected by the period filter selected for the rest of the report.
Completed Orders
- The number and total value of orders marked as completed in the selected period.
Average Order Value
- The average value of orders created in the selected period, calculated as the ratio between the total value and the number of orders created in this interval.
Average Order Completion Time
- The average time required to complete an order, calculated as the average difference between the creation date and the completion date of orders finalized in the selected period.
Delayed Orders
- For the "Today" filter: currently delayed orders. For other period filters: the number of orders whose delivery deadline was within the selected interval and which were or are delayed relative to 그 deadline.
Products with Minimum Stock
- Products with stock below the set minimum threshold and the last stock update in the selected interval.
Sales Activity Summary
Independent totals are displayed for: New Prospects added, Opportunities created, Quotes created, and Orders registered.
Supplier Orders
- The number of orders sent to suppliers in the selected period.
New Tasks
- The total number of new tasks created in the selected interval.
Tasks In Progress
- The number of tasks that had at least one action started and were not completed by the end of the selected interval.
Completed Tasks
- The number of tasks marked as completed in the selected interval.
Uninvoiced Orders
- The number of orders created in the selected interval for which no invoice has been issued by the end of the selected interval. For the "Today" filter, all uninvoiced orders are included. Canceled ones are excluded.
Recent Activity
- Displays the latest user actions (creations, edits, deletions) for relevant documents and entities. These data reflect the current situation (today) and are not affected by the period filter selected for the rest of the report.
Top Customers by Order Value
- Top 5 customers by the total value of orders completed in the selected period.
Top 5 Products by Generated Value (Revenue)
- Top 5 products by revenue (excluding VAT) generated from completed orders.
Top 5 Products by Units Sold
- Top 5 products by total quantity sold (units), from completed orders.
Quotes Created
- Total number of quotes created in the chosen period, grouped by status (e.g.: New, Accepted, Refused, etc.)
"Employee Performance" Section
Available Employees
- The list of employees currently active/available. These data reflect the current situation (today) and are not affected by the period filter selected for the rest of the report.
Current Employee Status
Indicates the work status and availability of the employee in real-time. Possible states are:
- Active: The employee is currently clocked in on an order or task.
- Available: The employee is not currently clocked in on any activity.
- Leave (or similar status): The employee is not available for work, being on leave.
Hours Worked
- The total number of hours worked by the employee in the selected interval, similar to the calculation method in Employee Reports.
Orders Created
- The number of orders created by the selected employee in the specified period.
Won Opportunities
- The number of opportunities created by the employee with the status "Quote Accepted" or "Order", for which a quote or order was created in the selected period, along with their total value.
Quotes Created
- The number of quotes created by the selected employee in the selected interval.
Completed Tasks
The number of tasks completed by the selected employee in the specified interval.
Optimization: New Filters in Reports – Orders
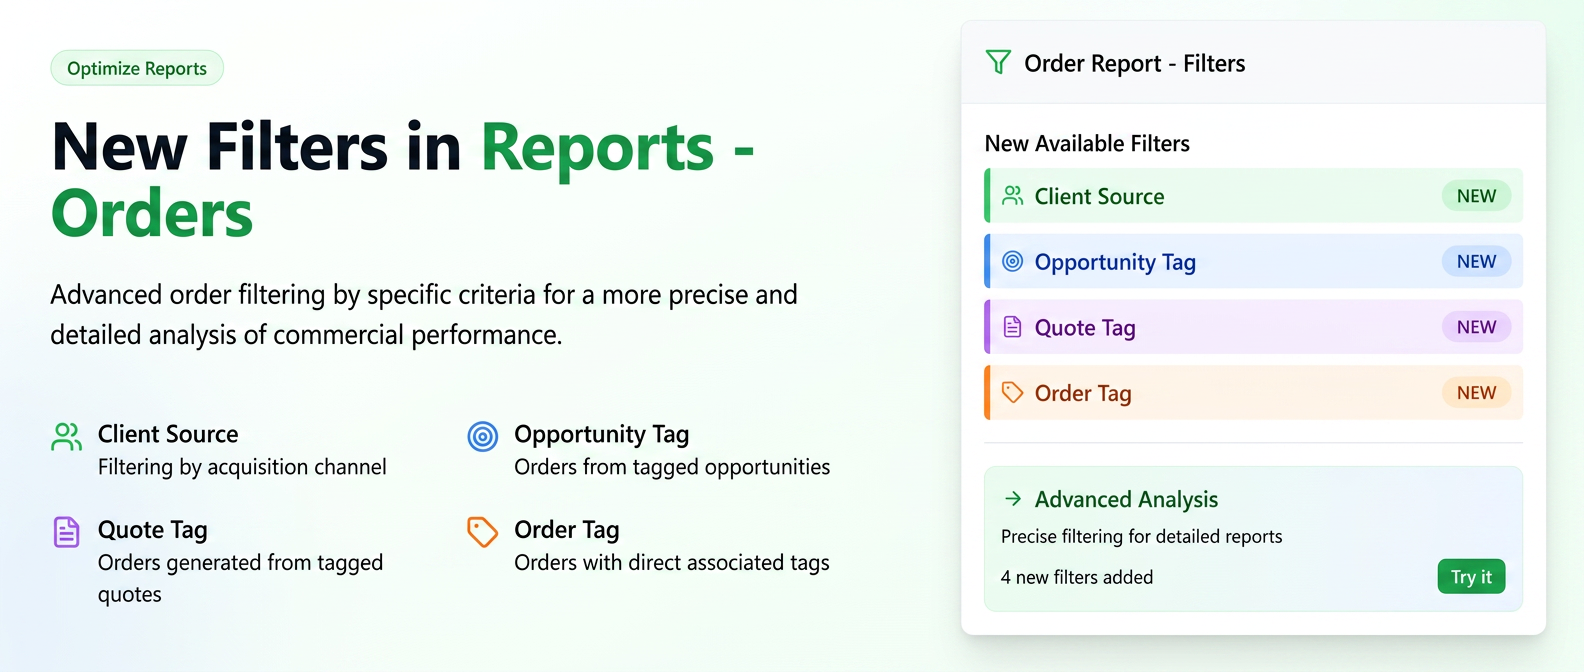
We have added new filters to the orders report:
- Customer Source: Allows filtering orders based on the customer's acquisition channel (e.g., recommendation, online campaign, etc.).
- Opportunity Tag: Displays orders that originate from an opportunity containing the selected tag.
- Quote Tag: Displays orders generated from a quote containing that tag.
- Order Tag: Filters orders that have a specific tag directly associated.
Step-by-step guide for use:
- Navigate in the side menu to the Reports > Orders section.
- To activate the new filters in your interface, click on the Filters icon (funnel symbol), located at the top-right of the screen.
- From the displayed list, check the boxes corresponding to the new filters you wish to use: Customer Source, Opportunity Tag, Quote Tag and Order Tag.
- Press the "Save" button to confirm the selection.
The new filters will now be visible in the filter bar and you can use them immediately to segment and analyze orders.
New: "Associated Documents" Tab in Order
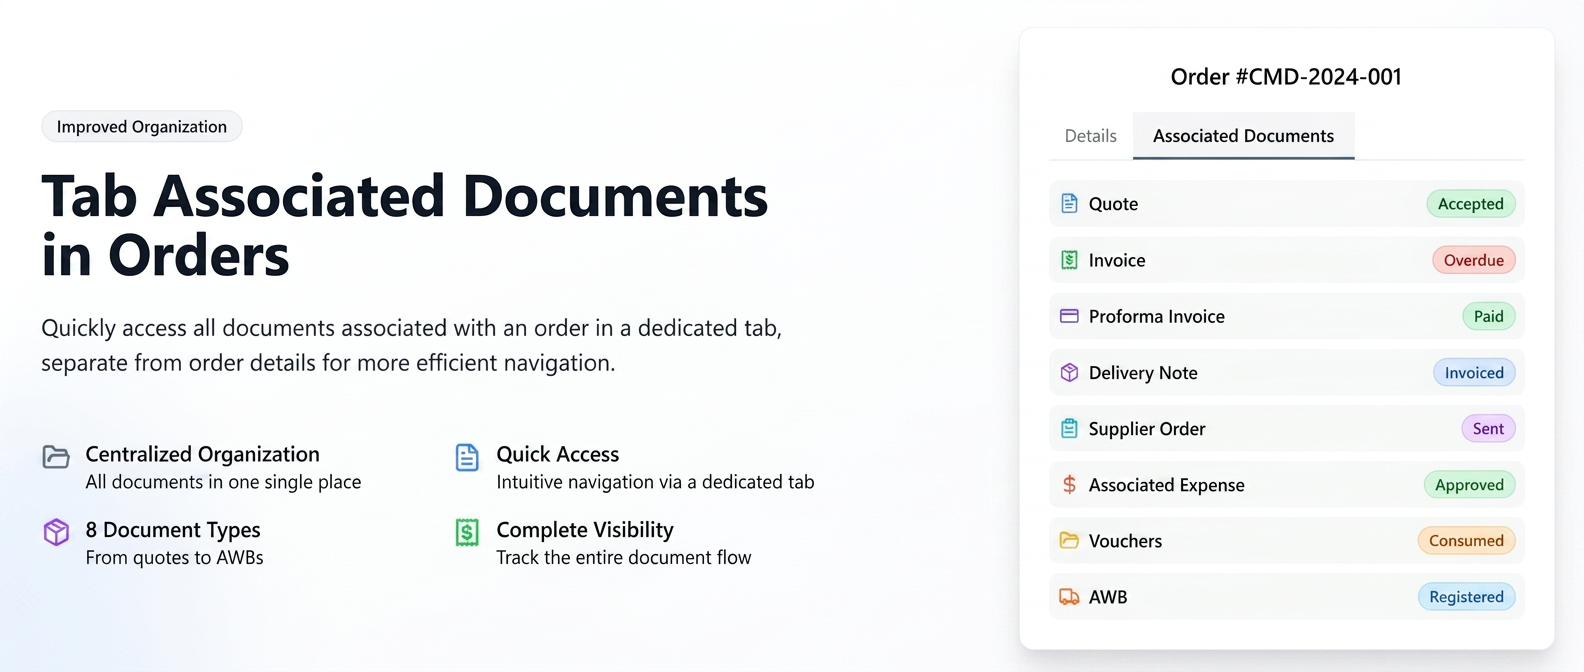
In addition to the document summary which remains visible in the "Details" tab of an order, this feature introduces a dedicated tab, "Associated Documents".
This was designed to provide a centralized, complete, and more detailed view of all documents generated or linked to that specific order. Unlike the summary on the details page, the new tab presents information in a tabular format, including additional details such as the document status (e.g., Paid/Unpaid for invoices, Active for AWBs), but also introduces new associated documents, such as consumption notes.
The full list of centralized documents here includes:
- Quote
- Invoice
- Proforma Invoice
- Notice
- Supplier Order
- Associated Expense
- Consumption, delivery, or return notes
- AWB
To view this tab, it is necessary for the corresponding permission to be activated for the user's access level.
Accessing the "Associated Documents" Tab
- Navigate in the menu to Sales -> Orders.
- From the list, open the desired order by clicking the "Order Details" icon (the eye).
- On the order view page, next to the "Details" and "Comments" tabs, you will find the new "Associated Documents" tab.
- Click on this tab to access the centralized and detailed list of all documents related to the order. You will still be able to view their simplified summary in the "Documents" section of the "Details" tab.
Activating Permission (action performed by an Administrator)
- Navigate in the menu to Financial -> Employees.
- Select the Permissions tab.
- Identify the desired access level and click the edit icon (the pencil).
- In the permissions setting window, use the search field and enter "documents".
- Identify in the list the permission "Orders - Associated Documents".
- Ensure that the toggle button in the "View" column is activated (green).
- Press the "Save" button to apply the changes.
New: “Orders” and “Quotes” Tabs in Customer Profile
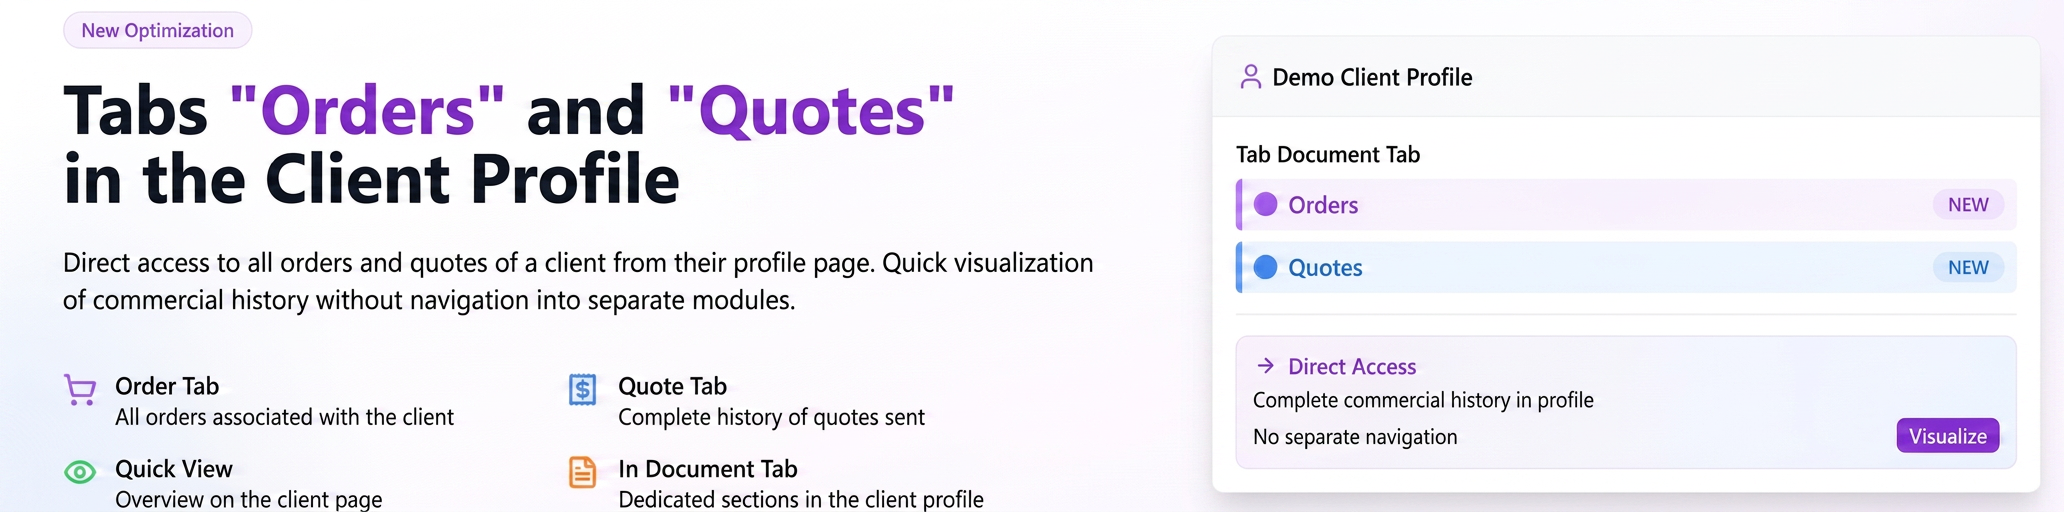
To streamline access to information, you can now view all orders and quotes associated with a customer directly in their details page. In the “Documents” tab, two dedicated sections have been added: “Orders” and “Quotes”. This optimization allows you to have a quick and complete overview of the customer's commercial history without having to navigate to separate modules.
Step-by-step guide for use:
- Navigate to the Customers module from the main menu.
- Identify the desired customer in the list and access their details page by clicking the “Customer Details” icon.
- On the customer details page, select the “Documents” tab.
- Here you will also find two dedicated sub-tabs:
- Orders: Displays a list of all orders for that customer, along with status, date, value, and quick actions (view, generate PDF, edit, delete).
- Quotes: Displays a list of all quotes, including status, date, validity, value, and corresponding actions.
New: Notes Tab in Supplier Profile
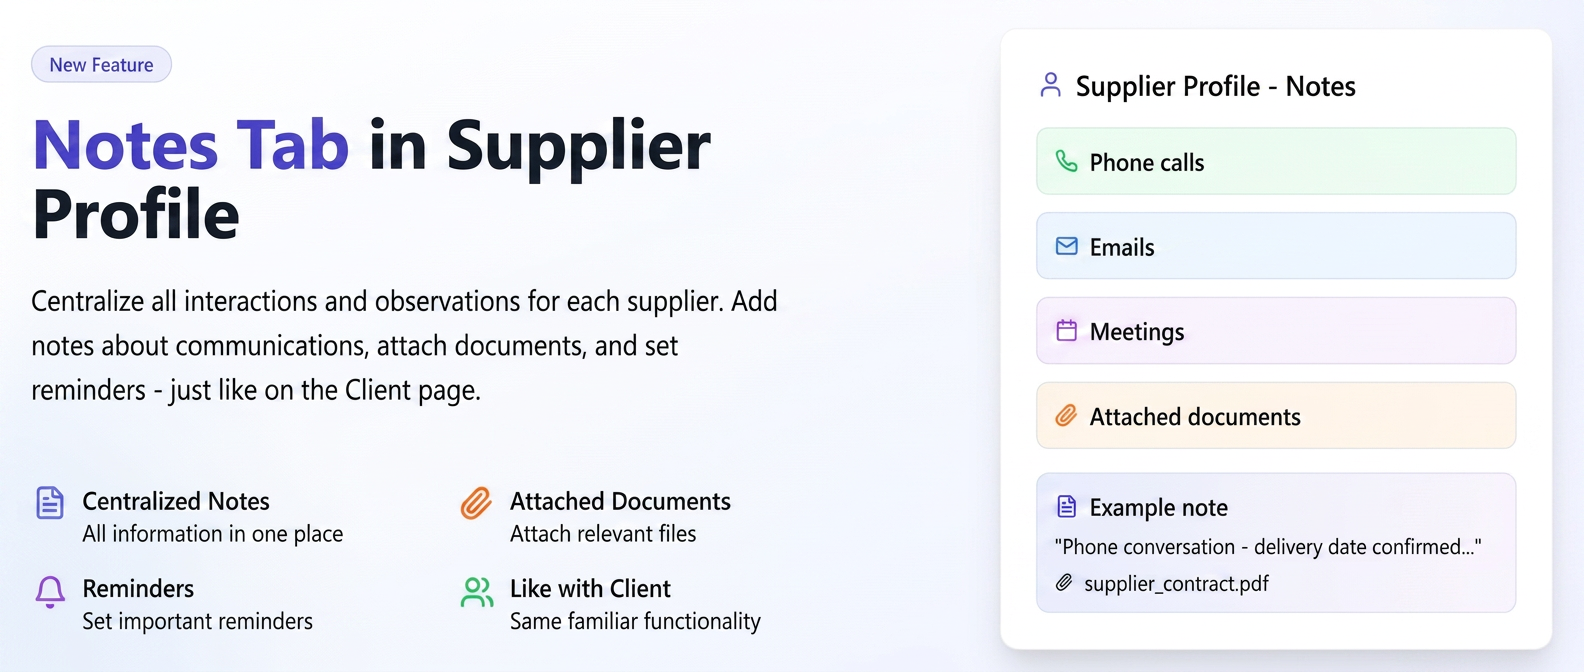
This feature allows you to centralize and manage all interactions and specific observations for each individual supplier. You can add notes about phone calls, emails, meetings, or any other relevant information, with the possibility to attach documents and set reminders. The functionality is similar to that existing on the Customer page.
To add a note to a supplier, follow the steps below:
- Navigate in the left menu to Financial > Suppliers.
- In the page that opens, ensure you have selected the Suppliers tab.
- Identify the desired supplier in the list and click the View icon (the eye) in the Actions column.
- On the supplier details page, access the new Notes tab.
- Click the + Add Note button.
- Complete the fields in the window that appears:
- Action: Choose the interaction type (e.g., E-mail, Phone).
- Subject: Enter a concise title for the note.
- Content: Add the details of the observation.
- Documents: Upload relevant files, if applicable.
- Reminder: Activate the option if you wish to set a reminder. You can choose the notification date and the employee who will receive the alert.
- Finally, press the Save button.
All saved notes will be visible in the Notes tab of that supplier for clear records and quick access to history.
Optimization: Automatic Status Update for Supplier Orders
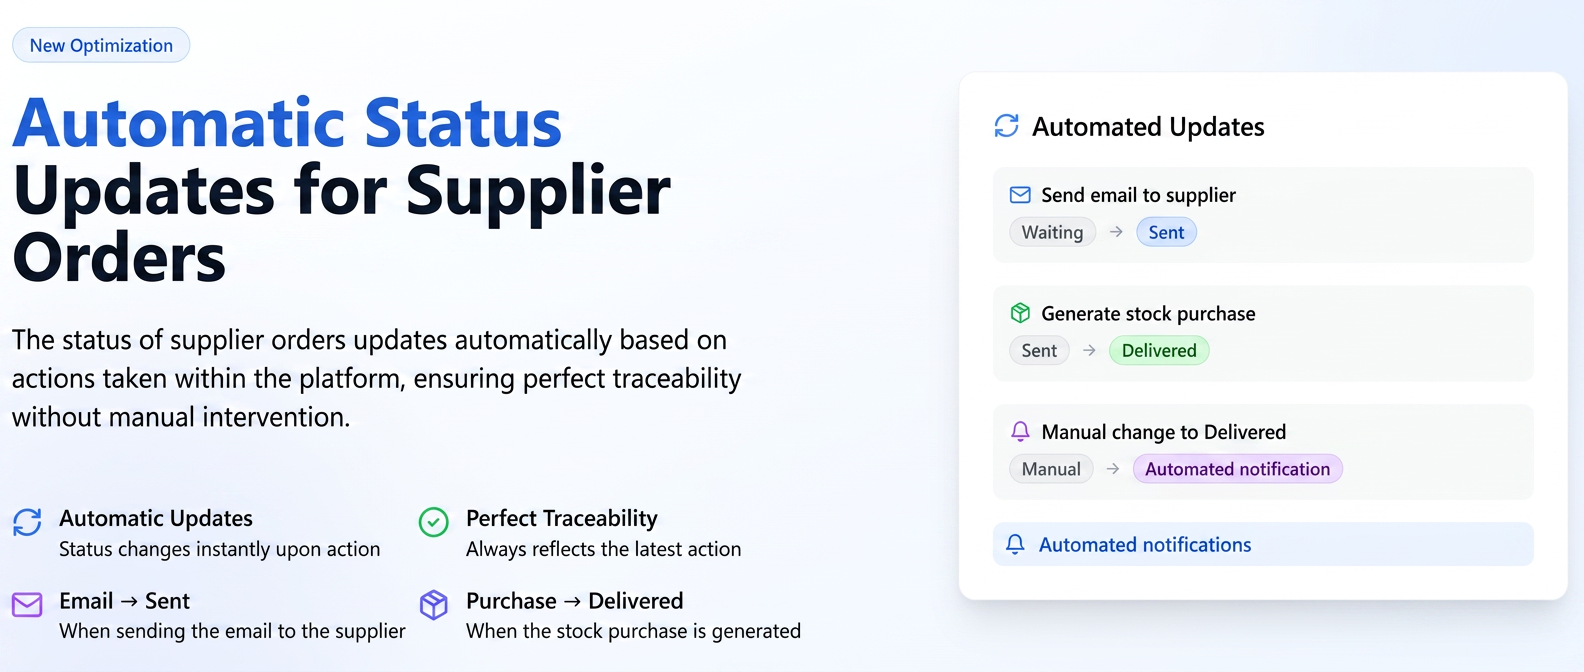
The status of orders to suppliers is now automatically updated based on the actions you perform in the platform. This optimization ensures that order status always reflects the latest action without requiring manual intervention.
- When sending an email to a supplier directly from the order, its status will automatically change to Sent.
- When you generate a stock purchase starting from a supplier order, the order status will automatically update to Delivered.
- If you manually change an order status to Delivered, an automatic notification will be sent to relevant users.
Step-by-step guide for use:
Scenario 1: Automatic status change to "Sent"
- Navigate to the Financial module in the main menu and select Suppliers.
- Access the Orders tab.
- Next to the desired order (with "New" status), click the email icon (Send E-mail).
- In the window that opens, verify the details and press the Send button.
- After sending the email, you will notice that the order status has automatically updated to Sent.
Scenario 2: Automatic status change to "Delivered" when generating a purchase
- Follow steps 1 and 2 above to reach the supplier order list.
- Next to the order for which you have received the goods (with "Sent" status), click the Create Stock Purchase icon.
- You will be redirected to the form for creating a new purchase, which will be pre-filled with data from the supplier order.
- Complete the remaining mandatory fields (e.g., Document Series, Document Date, etc.) and press Save.
- Once the purchase has been saved, the initial supplier order status will automatically update to Delivered.
Scenario 3: Notification on manual status change to "Delivered"
This workflow is useful when a supplier order is associated with an internal customer order and you want to notify the team that the goods have arrived.
- Access the desired supplier order.
- Press the Actions button and select the Change Status option.
- In the window that appears, select the Delivered status and press Save.
- At this point, a notification will be generated automatically, informing relevant users that the supplier order has been delivered and mentioning the internal orders associated with it.
New: Outstanding Balance Variable in Email Templates and Standardized Documents
Function Description:
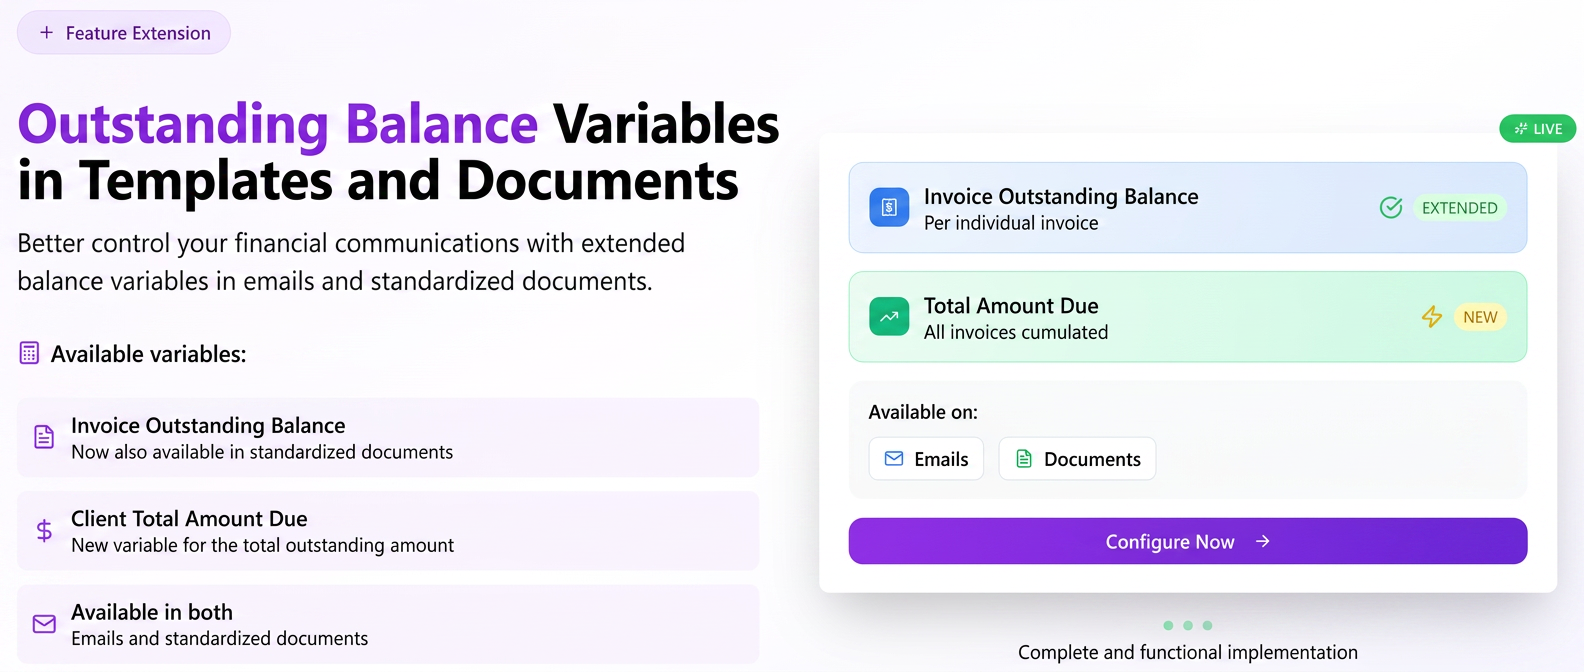
Until now, the variable for the outstanding balance of an invoice was available exclusively in email templates. We have extended this functionality to give you better control over financial communications by:
- Adding a new variable, Customer Total Balance Due, in both email templates and standardized documents. This calculates and displays the total amount a customer owes, cumulating all their unpaid invoices.
- Availability of the Invoice Outstanding Balance variable also within standardized documents (associated with the Invoice section), not just in emails.
This optimization allows you to easily create payment notifications, summons, or other personalized documents that include precise and automatically updated financial information.
Step-by-step guide for use:
- Use in Email Templates
To add the total balance due from a customer in an email template, follow these steps:
- Navigate in the side menu to Settings > Templates and select the Email tab.
- Create a New Email Template or edit an existing one.
- In the Variable Fields list on the left, the new option has been added: Customer Total Balance Due.
- To add it, position the cursor in the email body at the desired location and click on the variable name. It will be inserted automatically into the text.
- Use in Standardized Documents
To add outstanding amounts to standardized documents, such as summons or payment statements, the procedure is as follows:
- Navigate in the side menu to Documents > Standardized and select the Standardized Templates tab.
- Important: These variables are only available for templates whose Associated Section is Invoice. Ensure you are editing a template of this type or select Invoice as the associated section when creating a new template.
- In the Variable Fields section, both options are now available:
- Invoice Outstanding Balance: This is the variable already existing in email templates, now also available for documents. It displays the amount remaining to be paid strictly for the invoice the document refers to.
- Customer Total Balance Due: This is the new variable, which displays the total amount that the customer owes to your company, cumulated from all outstanding invoices.
Position the cursor in the document and click on the desired variable to insert it.
New: “Generate Consumption Note” Instruction (For Production Companies)
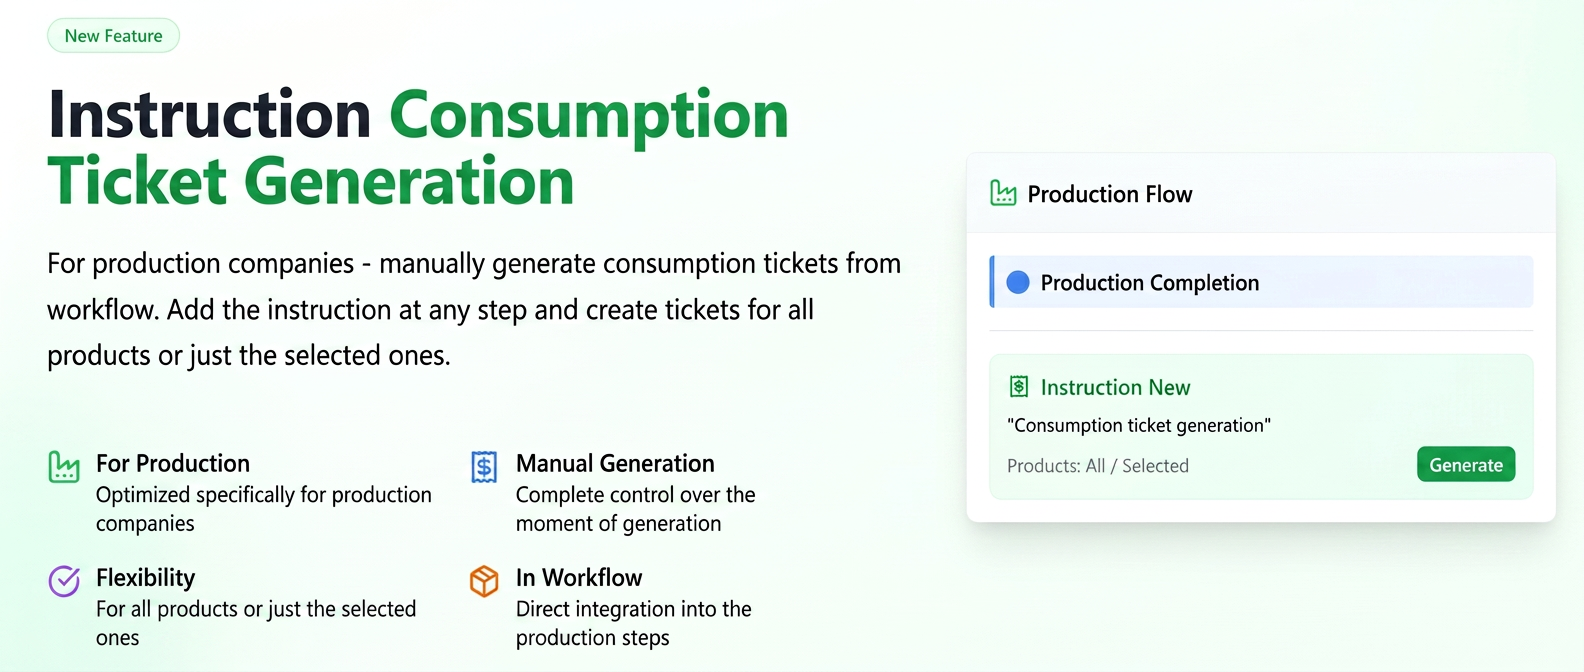
This feature allows manual generation of a consumption note directly from the workflow. By adding this instruction to a workflow stage (for example, upon production completion), the system will be able to create the consumption note either for all products in the order or only for specific selected products.
Part I: Configuring the Instruction in the Workflow
- Navigate in the side menu to Settings and select Workflow.
- Identify the workflow you wish to modify and click the edit icon (the pencil).
- In the right panel, named Predefined Instructions, locate the “Generate Consumption Note” instruction.
- Drag and drop this instruction into the desired stage of your workflow. Usually, this is placed in a completion action of a production stage.
- Press the Save button to apply the changes.
Part II: Generating the Consumption Note for an Order
- When an order reaches the workflow stage where you added the instruction, a pop-up window will open with stage details. Here you will find the “Generate Consumption Note” instruction and a selection field.
- From the drop-down menu, you have the following options:
- For the whole order: Will generate a consumption note that includes all products in that order.
- For selected products: Will generate a consumption note only for the products you have previously checked in the order's product list.
- After choosing the desired option, press Save.
Part III: Viewing the Generated Consumption Note
- To view the newly created document, navigate in the side menu to Products -> Stocks.
- Access the Consumption Notes tab.
- The new consumption note will be listed here, containing the creation date and the reference to the order from which it was generated. You can click on it to view full details.
General rules for generating consumption notes
It is important to note that generating consumption notes in the platform can be done in several ways, and the new workflow instruction adds an extra level of control. Here are the situations where a consumption note can be generated:
- Through the Workflow instruction (subject of this guide): Allows controlled generation from a specific workflow stage, offering precise control over the moment consumption is realized for the products in the order.
- Manual: Directly from the Products -> Stocks -> Consumption Notes section, by creating a new document.
- Automatic, upon production completion: For “super product” types, the consumption note is generated automatically when all workflow stages related to component products are completed.
- Automatic, upon invoice issuance: A consumption note will be generated when issuing an invoice that contains products with associated equipment or super-products, even if the workflow stages have not been fully completed.
New: “Reserved Stock” Instruction
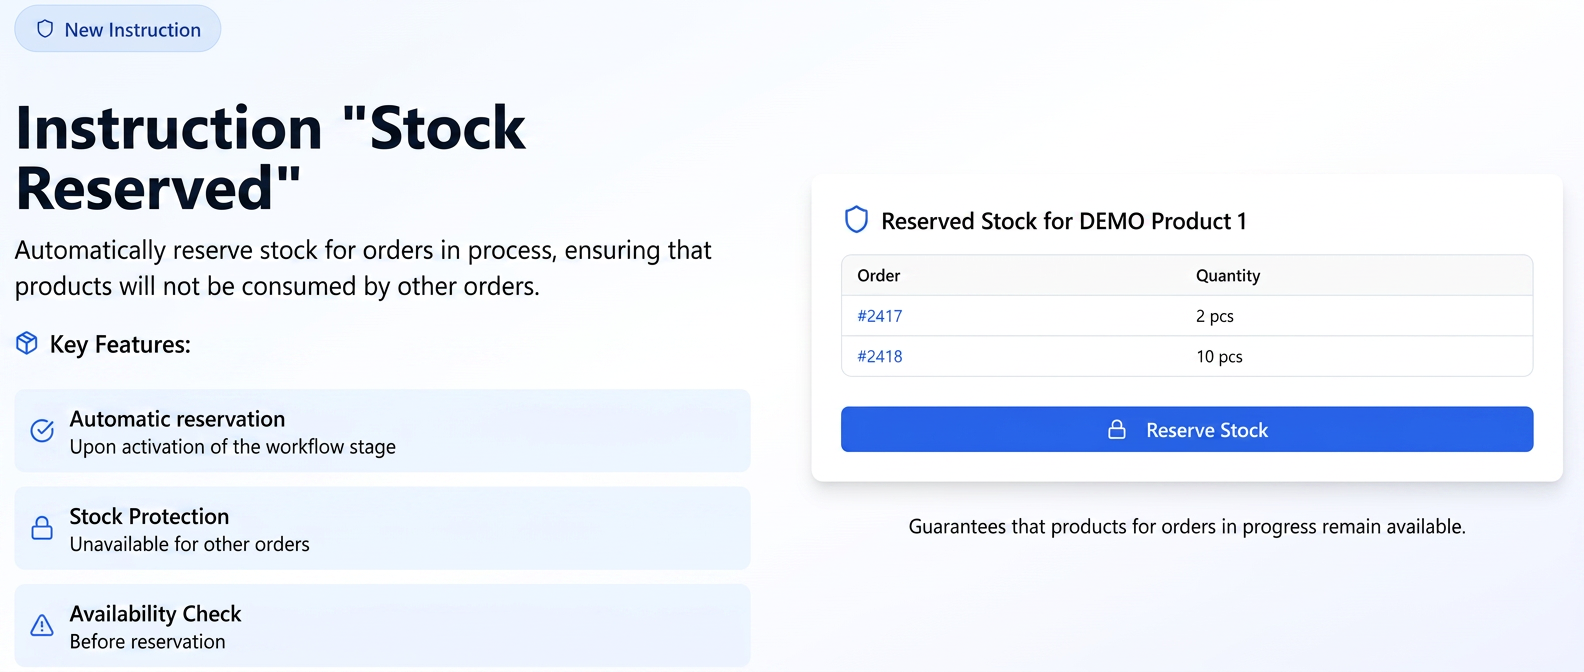
The “Reserved Stock” instruction is an automatic action that can be added to any stage of a workflow. Upon activating that stage (for example, when taking an order), the system checks stock availability for the products in the order. If stock is sufficient, the required quantity is automatically reserved for that order.
Once stock is reserved, it becomes unavailable for allocation to other orders, even if it is still physically in management. Thus, it is guaranteed that products for an order in progress will not be accidentally consumed by other orders.
Step 1: Activating the Instruction in the Workflow
- Navigate in the left menu to Settings and select Workflow.
- Identify the workflow you wish to modify and click the Edit icon (blue pencil).
- On the right side of the screen, in the Predefined Instructions section, you will find the instruction named “Reserved Stock”.
- Click on it and, while holding, drag and drop it into the desired stage and action in the workflow. For example, you can place it in the Goods Preparation stage, in the Pickup action. This means the stock will be reserved as soon as an operator picks up the order for processing in this stage.
- After adding the instruction, press the Save button at the bottom of the page.
Step 2: Order Processing and Automatic Reservation
- No additional action is required from the operator. Once an order reaches the workflow and is processed in the stage where you added the instruction (e.g., it is picked up), the system will automatically execute the stock reservation.
Step 3: Viewing Reserved Stock
To check how much of a product is reserved, follow these steps:
- Navigate in the left menu to Products and select Stocks.
- Activating the Column: To view the reserved quantity, it is necessary to activate the corresponding column. Click on the table's filter icon (funnel icon) on the right side of the header and check the “Reserved Stock” option.
- Once activated, the Reserved Stock column will display the total quantity reserved for each individual product.
- Reservation Details: Clicking on the numeric value in the “Reserved Stock” column will open a pop-up window. This will detail exactly which orders have active reservations for that product and the corresponding quantity for each.
Insufficient Stock Condition:
If an order contains a quantity of products greater than the available stock, the system will not allow the completion of the stage, displaying a warning message. This prevents situations where an order is processed without having the necessary stock to fulfill it.
Difference between “Stock in Progress” and “Reserved Stock”
To fully understand the benefits of the new functionality, it is important to distinguish between the Reserved Stock column and the pre-existing Stock in Progress column.
- Stock in Progress (Informational): This value represents the total product quantity needed to fulfill all orders currently active in workflows. It is a general indicator of current demand but does not physically block stock. Essentially, it shows how much stock you would need if all orders were processed simultaneously.
- Reserved Stock (Control and Guarantee): This value represents the product quantity that has been effectively blocked for specific orders, following the execution of the “Reserved Stock” instruction. This stock is guaranteed for those orders and can no longer be allocated to other orders, thus preventing overselling.
Practical example:
Suppose you have 100 pieces of a product in current stock.
- Order #1 comes in with 10 pieces. Stock in Progress becomes 10.
- Order #2 comes in with 20 pieces. Stock in Progress becomes 30 (10+20). Reserved Stock is still 0.
- An operator picks up Order #1 and moves it to a stage that has the “Reserved Stock” instruction. Now, Reserved Stock becomes 10.
- The real available stock for new orders is now 90 (100 - 10), even though Stock in Progress shows a total demand of 30.
Warning: This control mechanism applies even for products that have no registered stock in the system (zero stock). If you attempt to process an order containing such a product in a stage with the “Reserved Stock” instruction active, you will not be able to advance in the workflow with that product. You will be blocked in that stage until the stock for the product in question is updated.
Optimization: “Additional Quantity" becomes “Product Quantity"
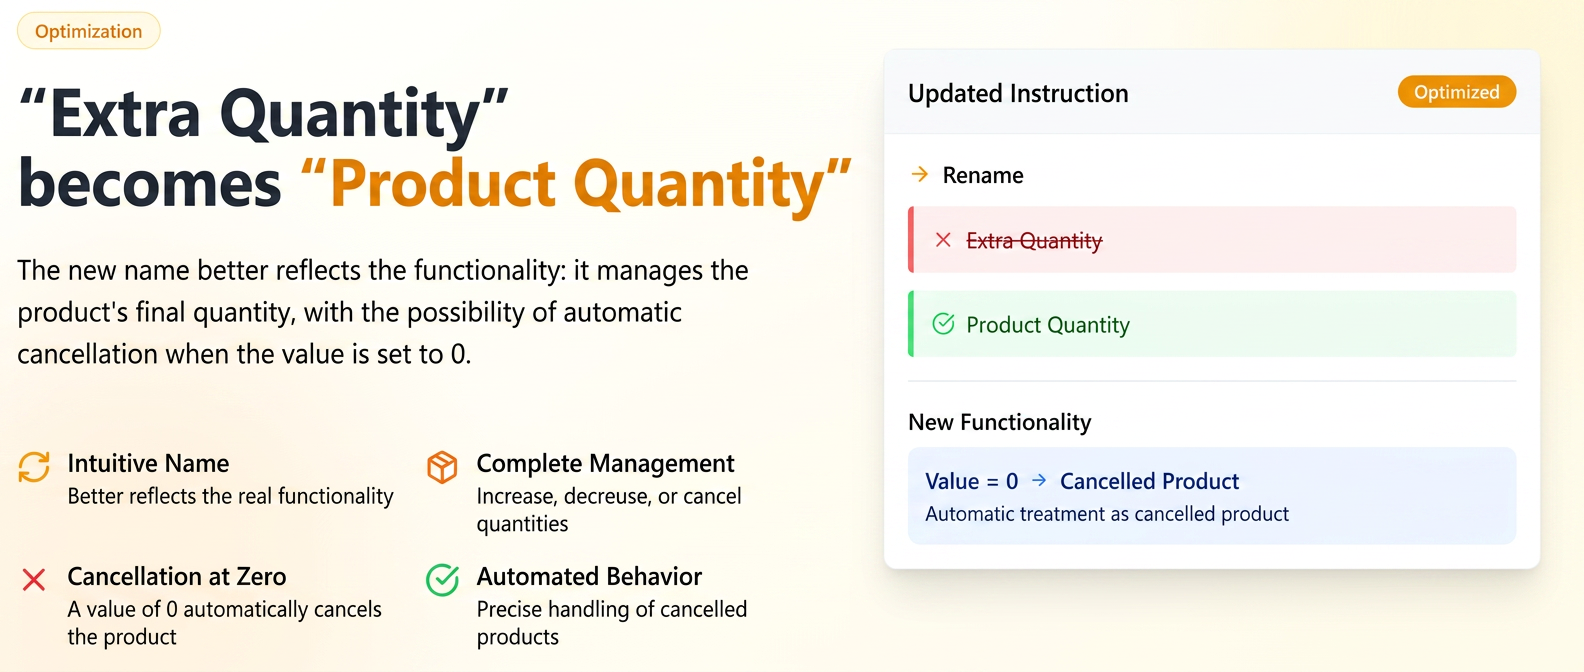
The new name emphasizes that this instruction does not just add quantities but manages the final quantity of a product, whether it increases, decreases, or, newly, becomes zero.
In addition to previous functionalities of these instructions, now when an operator enters the value 0 in this instruction, that specific product line is automatically treated as a canceled product, with the following precise behaviors:
Zero Impact in Reports: The canceled line is automatically excluded from all report calculations (consumption, profit, time worked, etc.), ensuring the accuracy of performance indicators.
Full Traceability: Although inactive, the line remains visible in the order, distinctly marked, to maintain a complete history. It can no longer be edited or deleted, and the line history will show exactly who and when canceled the product.
Smart Adjustment for Super-products: If the canceled product is part of a super-product (which does not have a fixed price and is not manually editable), its value will automatically recalculate to reflect the component's removal.
Clean and Correct Documents: The canceled line is completely ignored when generating subsequent documents (invoices, notices, PDF orders, etc.), eliminating the risk of sending incorrect information to the customer.
Clear Visual Marking: To avoid any confusion, the canceled line will be visually highlighted in the order interface, similar to the "Insufficient Stock" marking (red border), and will bear the clear label "Canceled Product".
This update transforms the "Product Quantity" instruction into an even more powerful tool, providing maximum flexibility in adjusting orders and increased accuracy in stock records and reporting.
Optimization: Product Name in Standardized Documents (Name, Alias, or Description)
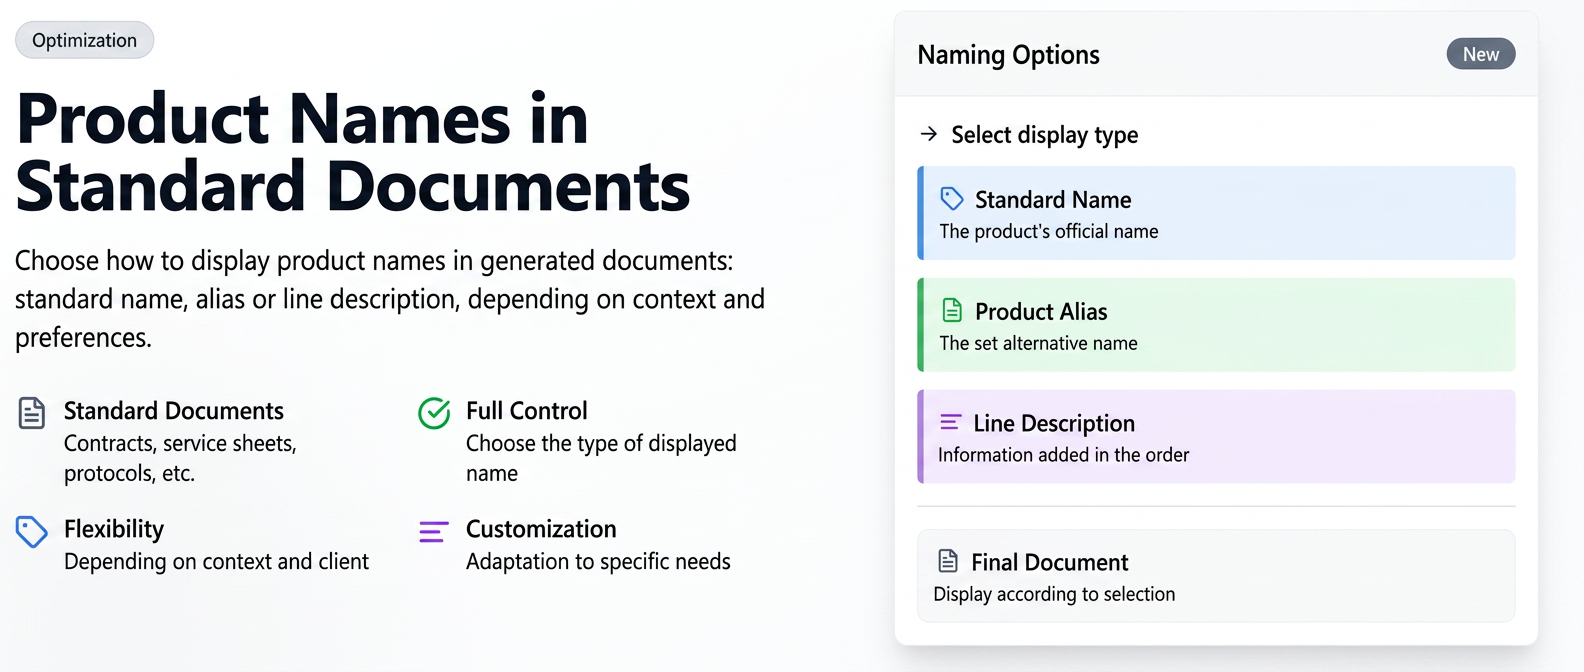
This optimization offers you increased control over how product/service names are displayed in the standardized documents you generate (e.g., contracts, service sheets, minutes, etc.). Depending on the context or customer preferences, you can choose to display in the final document:
- The standard Name of the product/service.
- The Alias of the product/service (the alternative name set in the dedicated profile).
- The Description of the product/service (information added to the line directly in the order).
Step 1: Ensuring data for Name, Alias, and Description
- Product Name and Alias: These are defined in the profile of each product.
- Navigate in the side menu to Products.
- Add a new product or edit an existing one.
- In the form, the Name field represents the standard name, and the Alias field represents the alternative name. Complete these fields as needed.
- Product Description: This is added at the order line level, being specific to a particular transaction.
- When creating an order, quote, or any other document containing products, in the products table, next to the field where you choose the product, there is the Product Description field. Complete this field if you want to use a custom description for that line.
Step 2: Generating a Standardized Document
- Navigate to the section from which you want to generate the document (e.g., Sales > Orders).
- Identify the desired order in the list.
- In the Actions column, click the red Generate Standardized Document icon.
- In the window that opens (Generate Standardized Document), select the document template you wish to use from the drop-down menu.
- Press the Generate button.
Step 3: Selecting the product name variant
- After generation, a new window called Document Tag Values will open.
- If the template you chose contains product-type variables, a new field will appear in this window: Product Name.
- Next to this field, you will find a drop-down menu. Click it to choose which name variant to display in the final document:
- Name: Will use the standard product name.
- Alias: Will use the alternative name set in the product profile.
- Description: Will use the text entered in the "Product Description" field from the order line.
After making the selection, press the Apply button.
Optimization: New fields in export templates for Purchases (NIR)
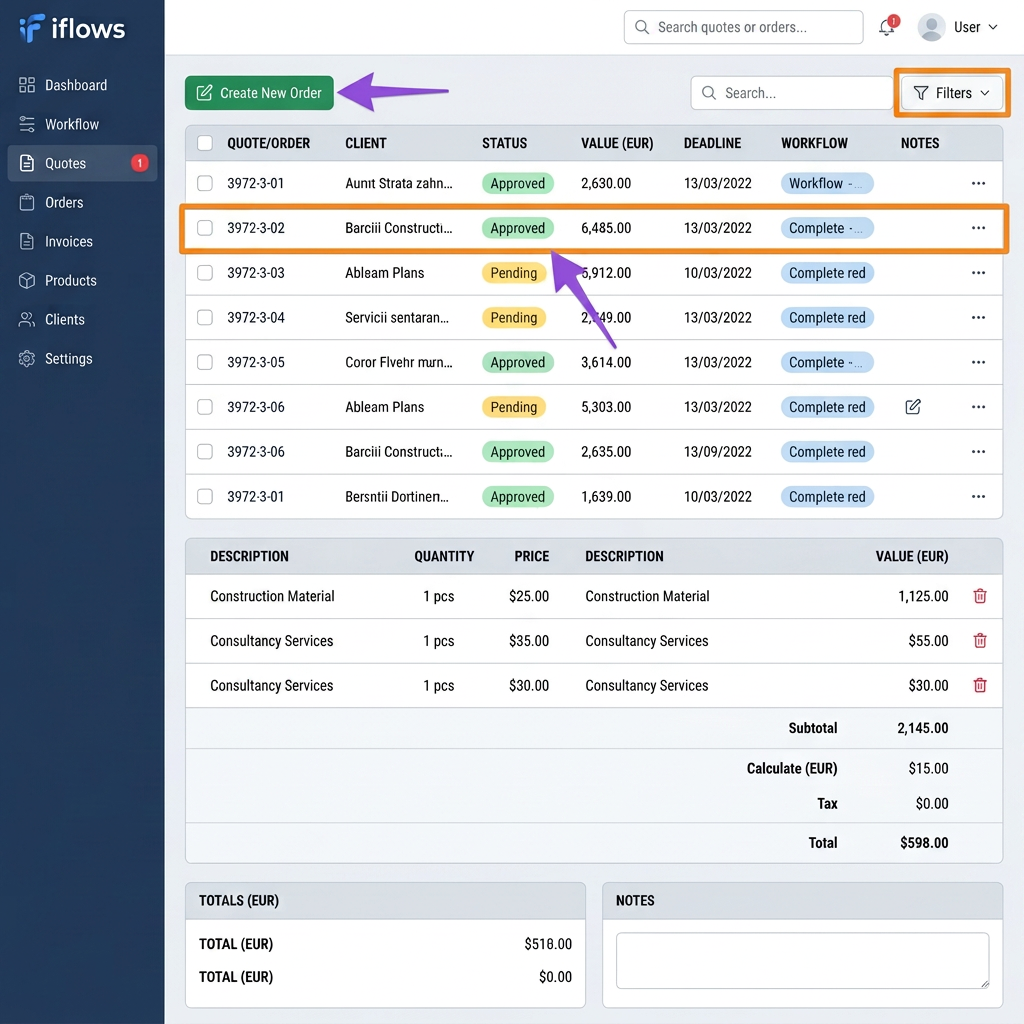
The platform allows for the inclusion in Purchase export templates of three new columns that pull information directly from NIRs (Note de Intrare Recepție - Goods Received Notes): Total Value, Value without VAT, and VAT Value.
To use the new fields, you can either create a new export profile or edit an existing one, provided it is associated with the “Purchases” database.
- Creating a new export profile:
- Navigate in the left menu to Settings -> Export.
- Click the + New Export Profile button.
- In the Database field, select the Purchases option.
- Complete the profile name and choose the file format (e.g., Excel, CSV, XML, PDF).
- Click the green + Add Column button.
- In the new line added, under the “Column” header, you will find and be able to select the new fields:
- NIR - Total Value
- NIR - Value without VAT
- NIR - VAT Value
- Add the desired columns, assign them a name, then press Save.
- Editing an existing export profile:
- Navigate in the left menu to Settings -> Export.
- Identify in the list a profile that has the Purchases option under “Database”.
- Click the edit icon (the pencil) next to that profile.
- Click the green + Add Column button.
- Select from the column list among the new fields available for NIRs.
Press Save to apply the changes.