
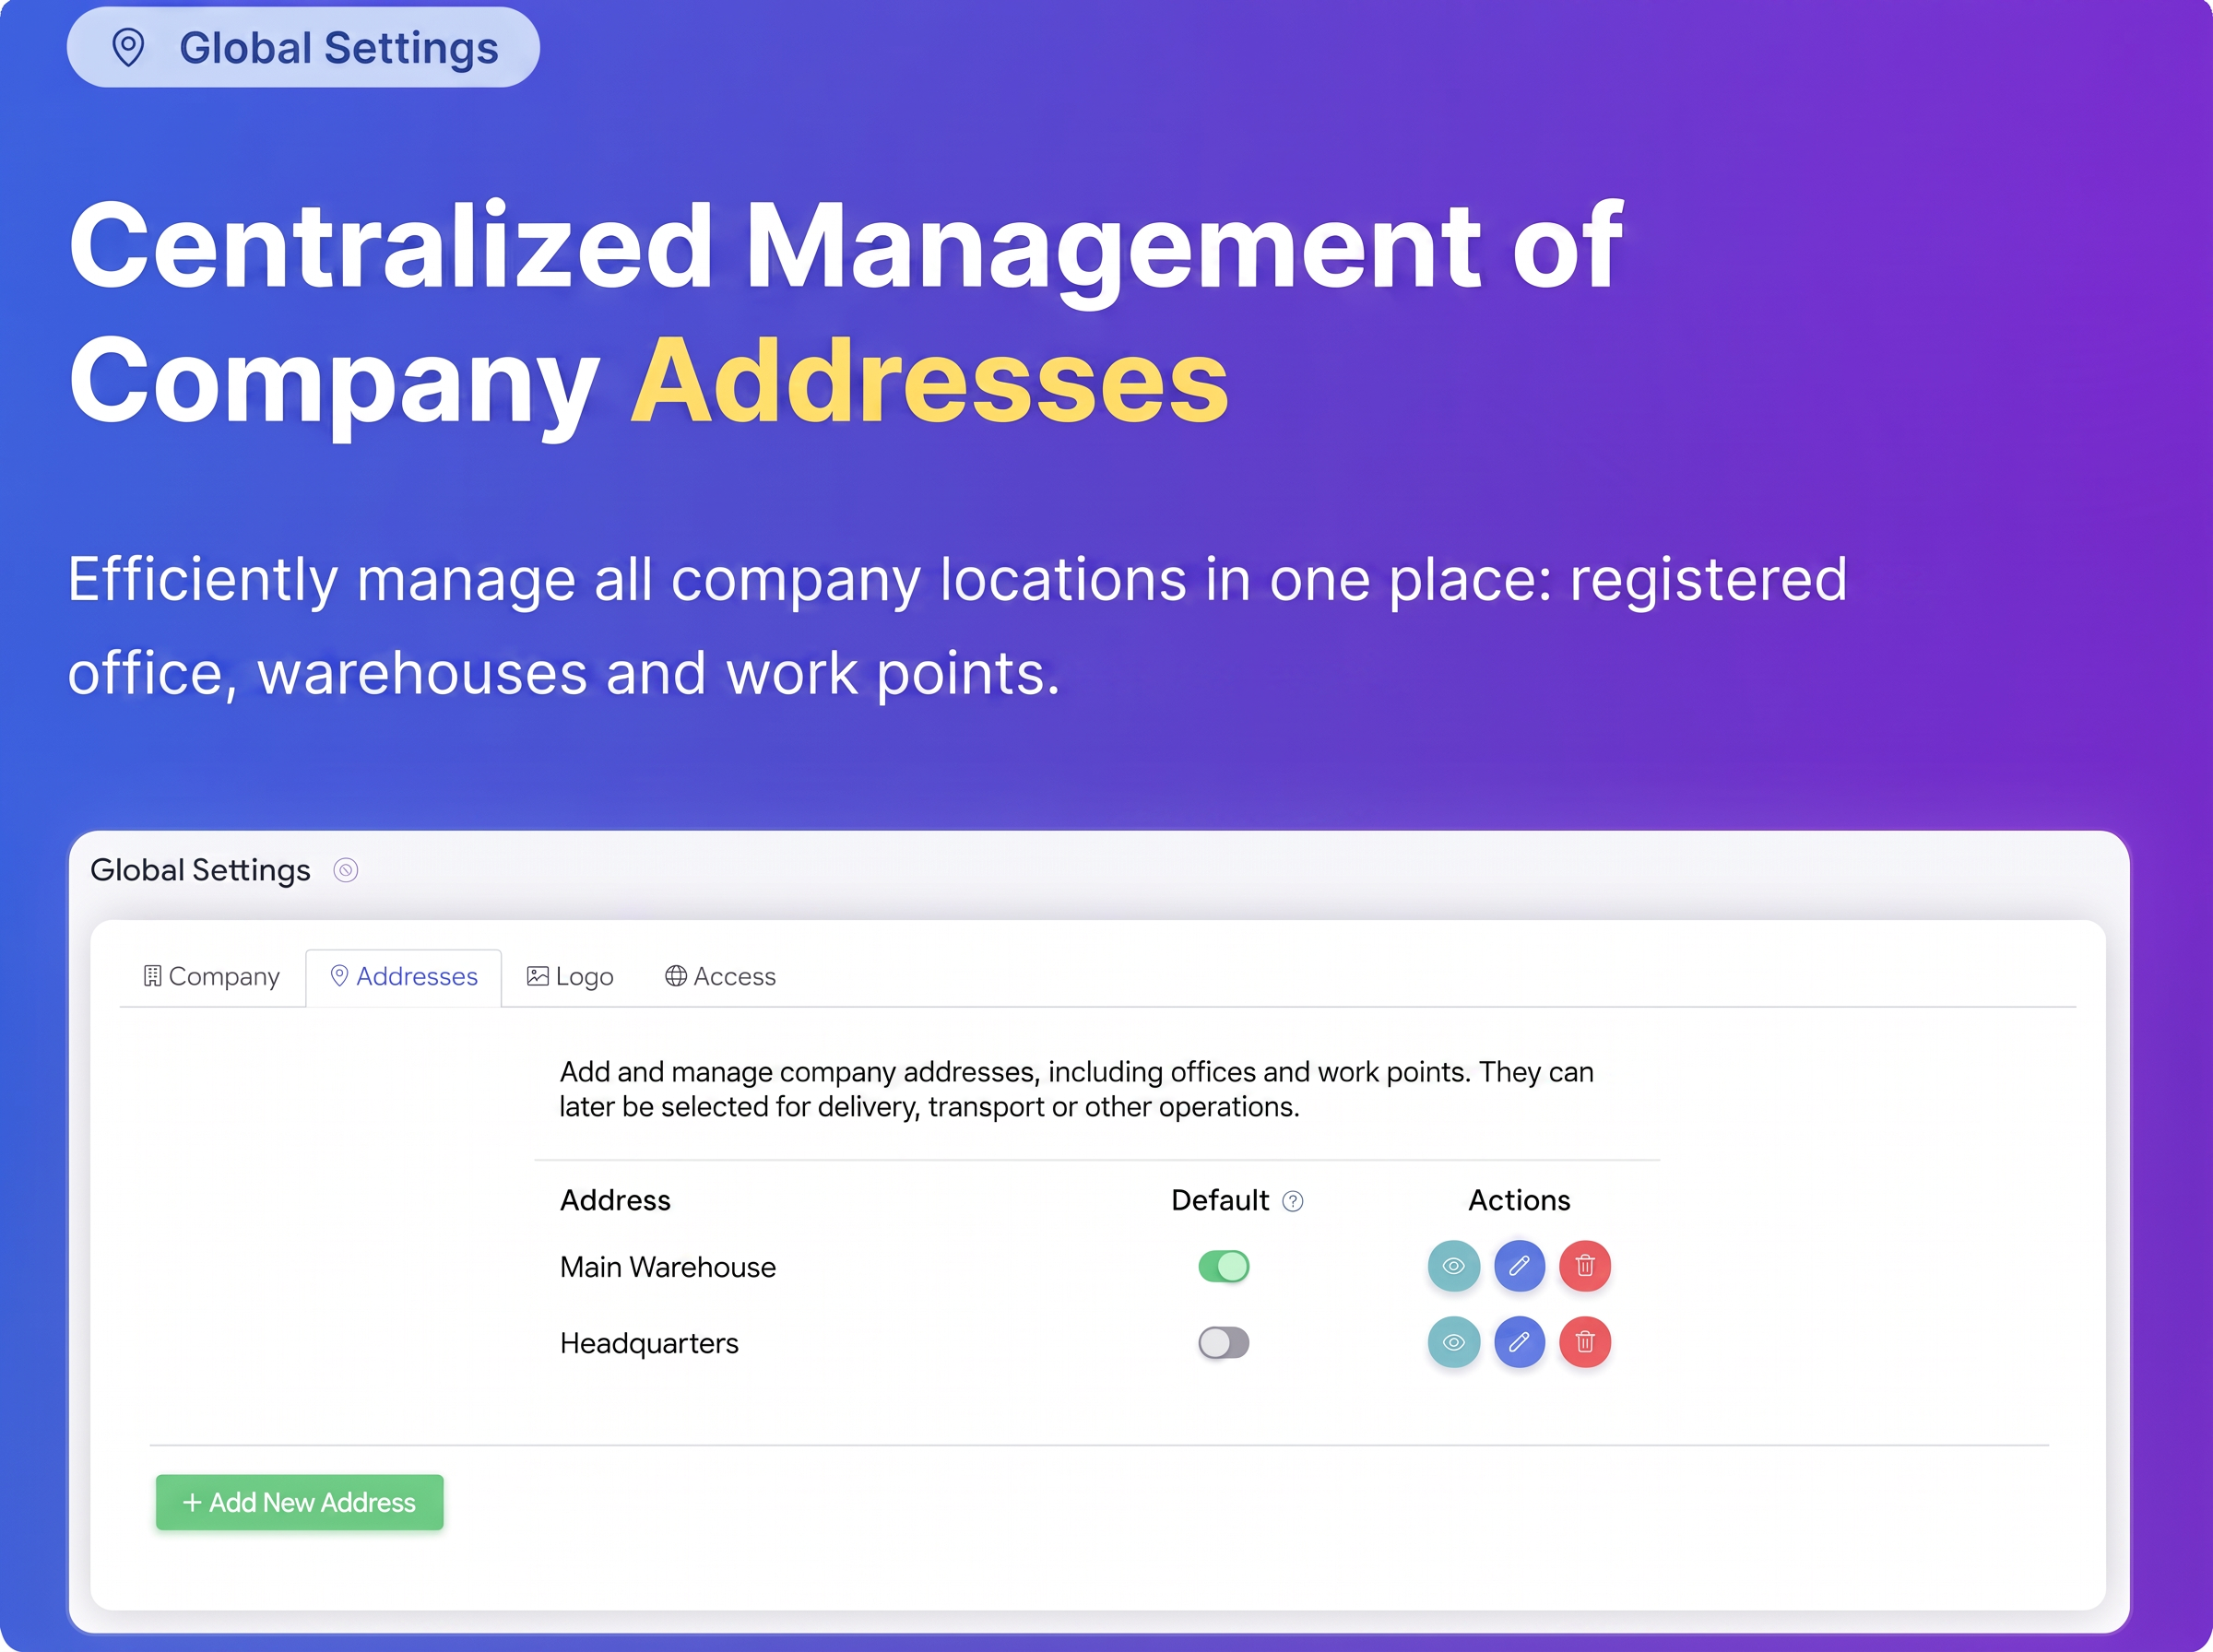
Manage all your company locations. Whether it's the registered office (sediu social), warehouses, working points, or other locations, this feature allows you to add, modify, and organize them centrally, facilitating their subsequent selection in various operations, such as delivery documents.
Section 1: Accessing Address Management
- From the main iFlows menu navigate to Settings.
- From the Settings sub-menu, select Global.
- In the "Global Settings" screen, click on the Addresses tab (the second tab, after "Company").
Section 2: Understanding the "Addresses" Interface
Once in the "Addresses" tab, you will notice the following main elements:
- Existing Addresses List: A table displaying the addresses already entered. The main columns are:
- Address: Displays the name you gave to the address (e.g.: "Main Warehouse", "Headquarters").
- Default: A toggle switch that allows you to designate a single address as the default. The default address will be automatically pre-selected in modules where a shipping/delivery/headquarters address is required.
- Actions: Buttons for managing each address:
- View Address (Eye symbol): View the complete details of the address.
- Edit Address (Pencil symbol): Modify the details of an existing address.
- Delete Address (Trash can symbol): Remove the respective address.
- "+ Add New Address" Button: The main button for entering a new company location.
Section 3: Adding a New Address
- Click on the green "+ Add New Address" button.
- A pop-up window named "New Address" will open.
- Complete the Details: Enter the required information in the corresponding fields:
- *Address Name: An internal name to easily identify the address (e.g.: "Chiajna Warehouse", "Militari Working Point", "Registered Office"). This is mandatory.
- *Company Name: The official name of the company associated with this address. This is mandatory.
- Contact Person: The name of a contact person at that location (optional).
- *Phone: The phone number of the location/contact person. This is mandatory.
- Email: The email address (optional).
- Country: Select the country (default "Romania").
- *County (Judet): Select the county from the drop-down list. This is mandatory.
- Locality: Enter the locality.
- Street, Street Number, Postal Code, Building, Staircase, Floor, Apartment: Complete the full address details.
- Save Address: After you have completed the desired information, click on the "Save" button.
- The new address will now appear in the list in the "Addresses" tab.
Section 4: Setting the Default Address
- Identify the address in the list that you want to set as default (e.g.: "Main Warehouse").
- Next to that address, in the "Default" column, click on the toggle switch to activate it (it will turn green or show "on").
- The system will automatically save the setting. Only one address can be marked as default at a time. If you activate the switch for another address, the previous one will be automatically deactivated.
Related articles
Global SettingsTutorialsIs the 'Main Warehouse' the company's management unit, or should I create a new management unit for the company?ForumDiscounts on documents — the global discount by supplier, category or subcategoryTutorialsVehicles — fleet management: vehicle file, expiry alerts and compliance panelTutorialsCompany notifications — configurable recipientsTutorials