
1. In short
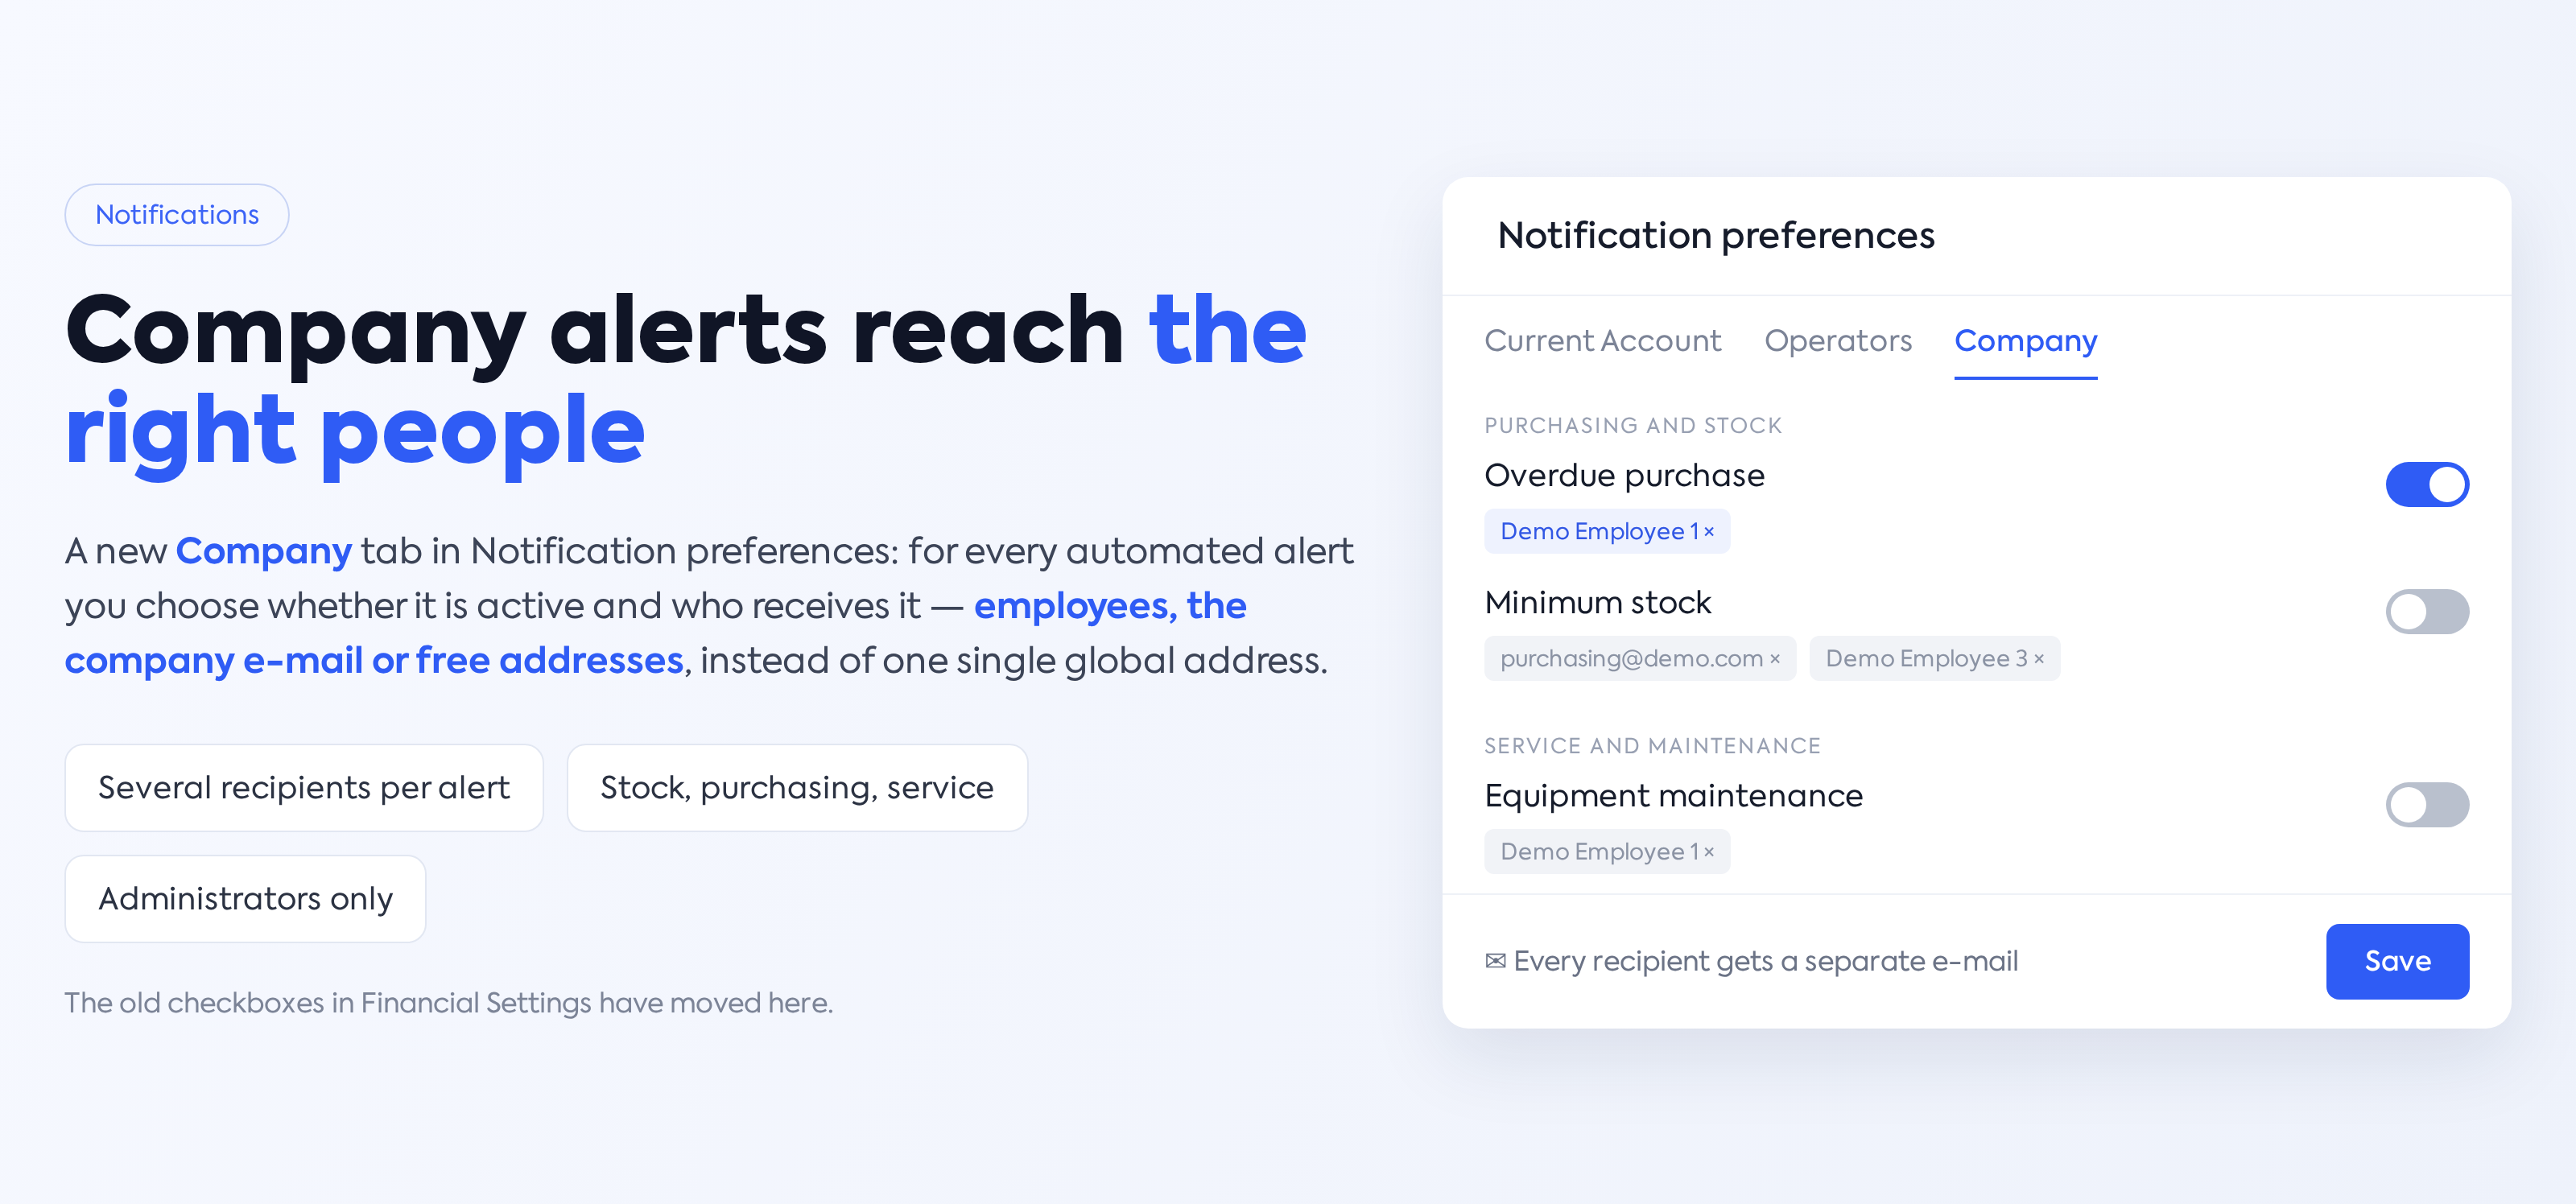
The Notification preferences page gets a third tab, Company, where the administrator decides, for every automated e-mail the platform generates at company level (minimum stock, recurring orders, overdue purchases, expiring contracts and documents, maintenance), whether the notification is active and who receives it: one or more employees, the company e-mail address from Global Settings and/or free e-mail addresses (for example department mailboxes). Until now, all these e-mails went exclusively to the address in , and switching some of them on was scattered across other pages. The channel is e-mail only; the in-platform notifications (the bell) for the same events remain governed by the Current Account and Operators tabs.
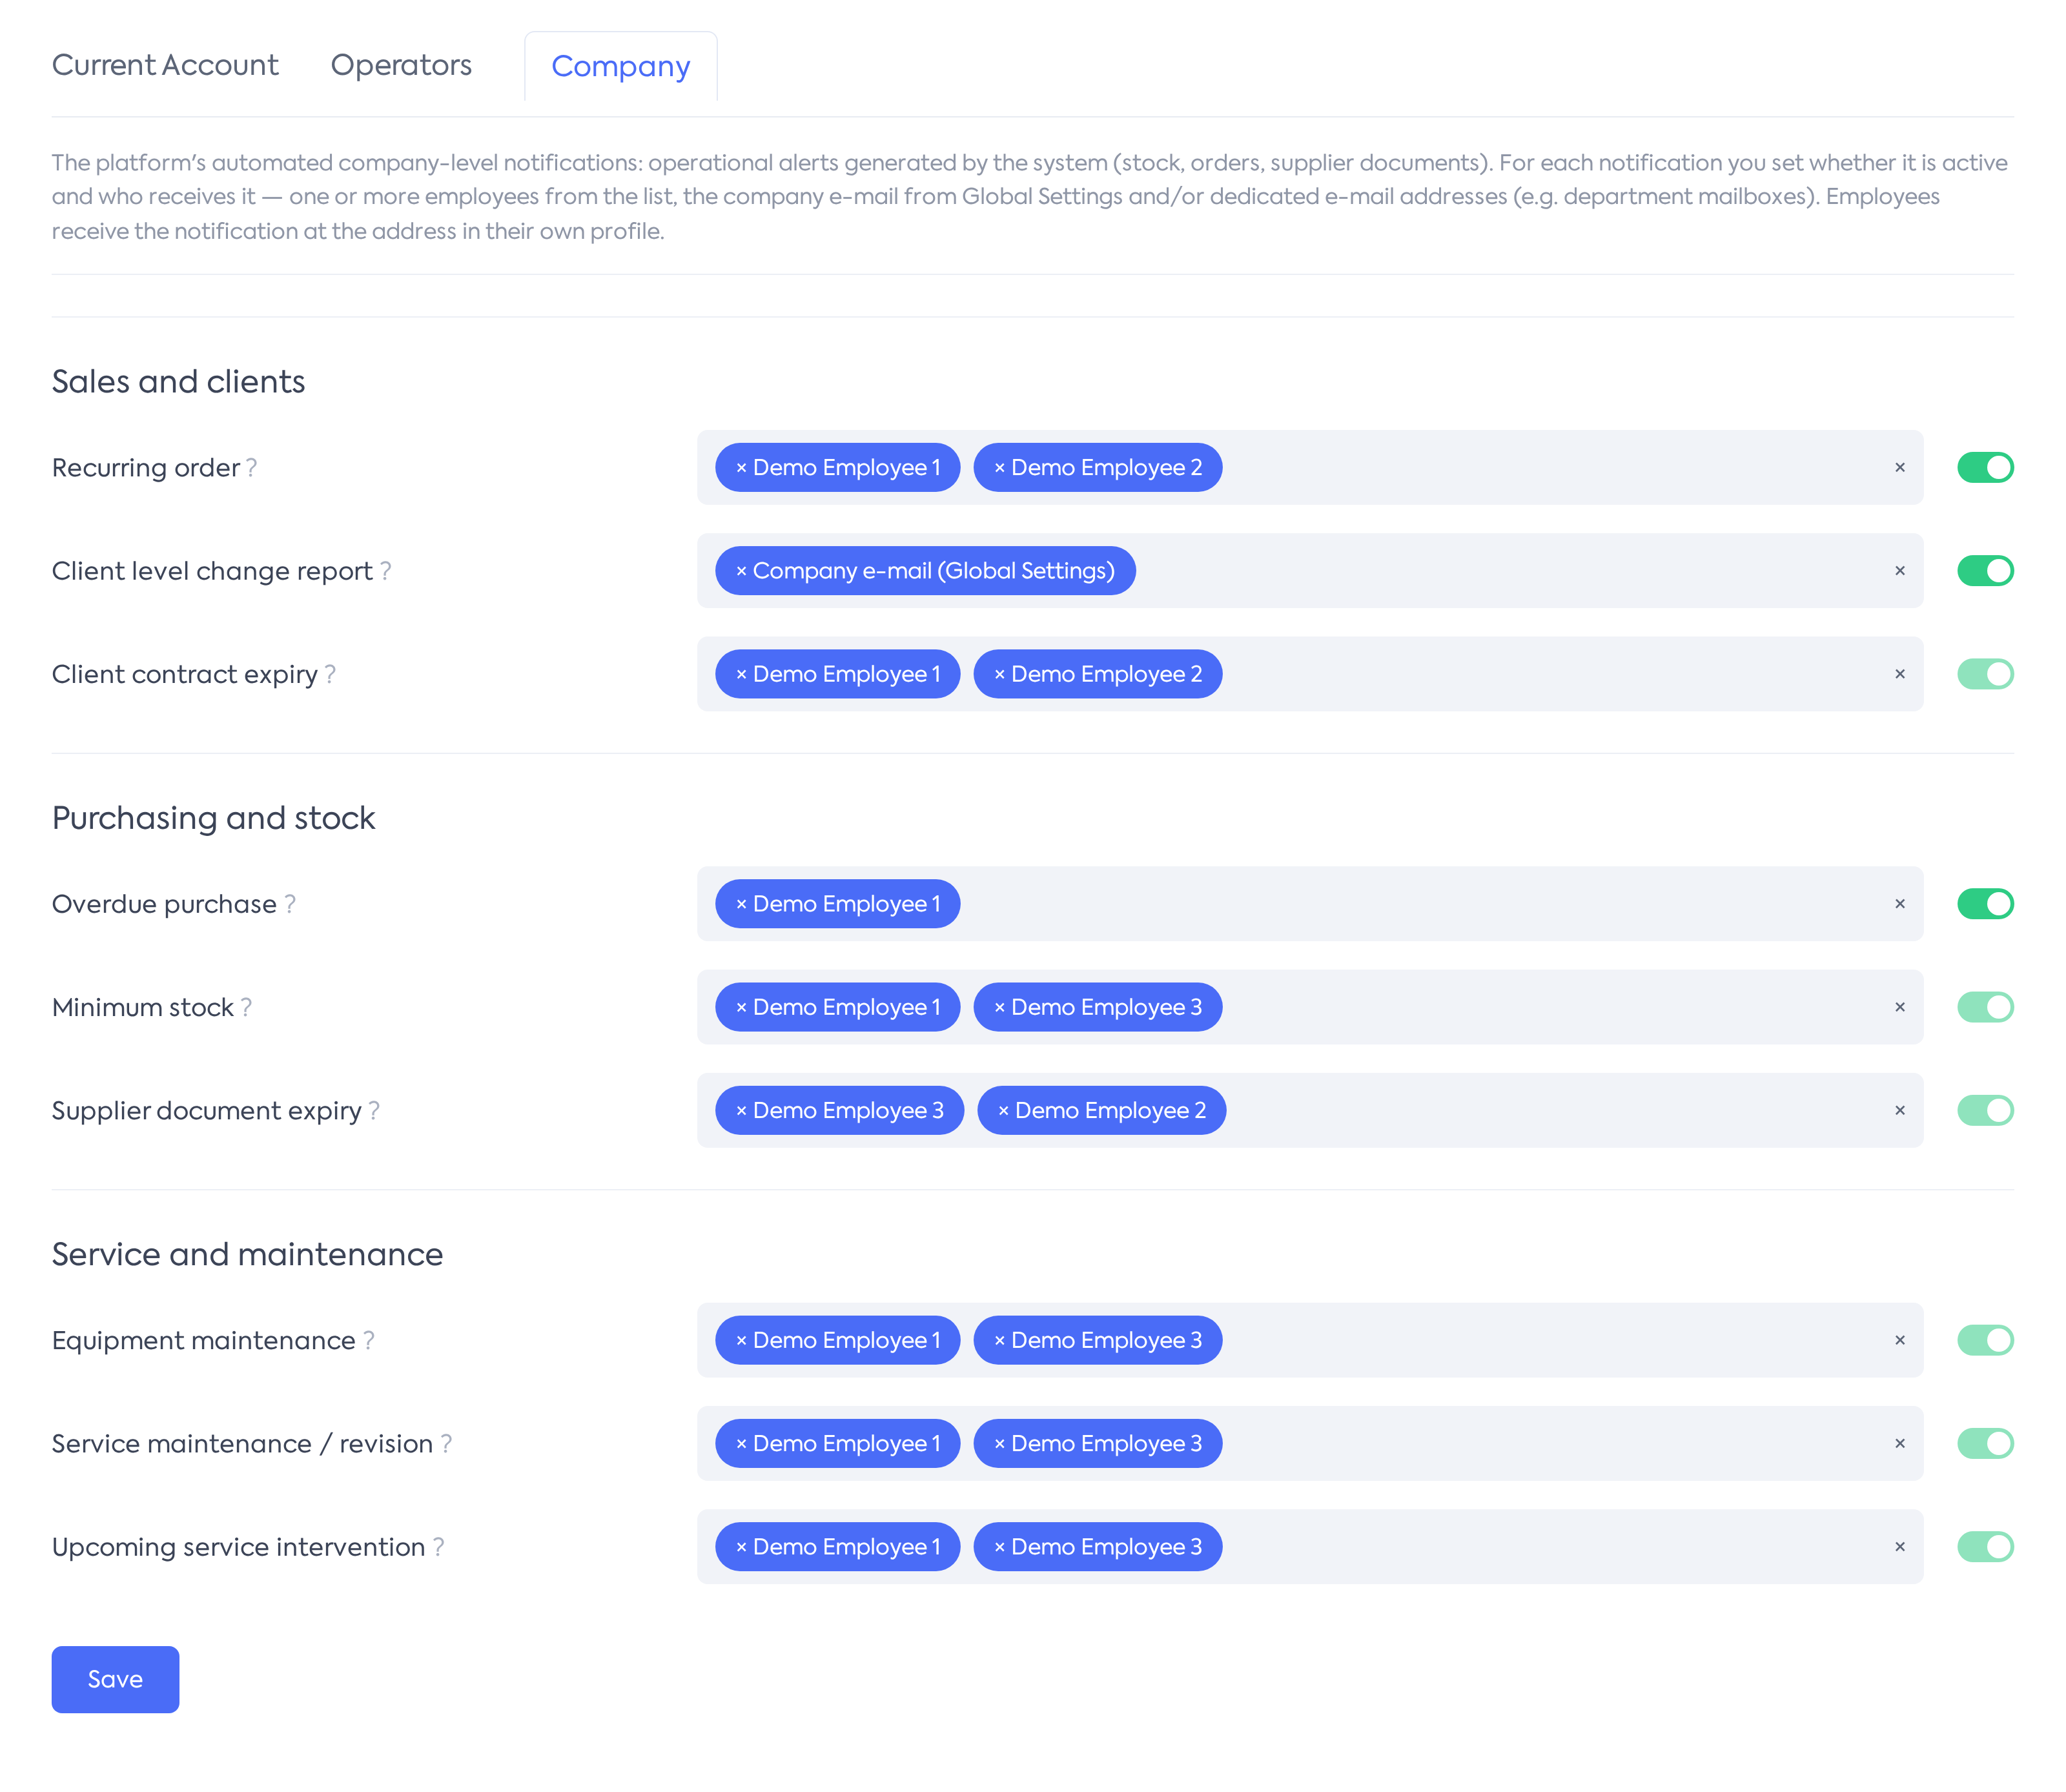
The Company tab in Notification preferences: the three categories, the Recipients fields, the active / inactive switches and the Save button.
2. Where to find it
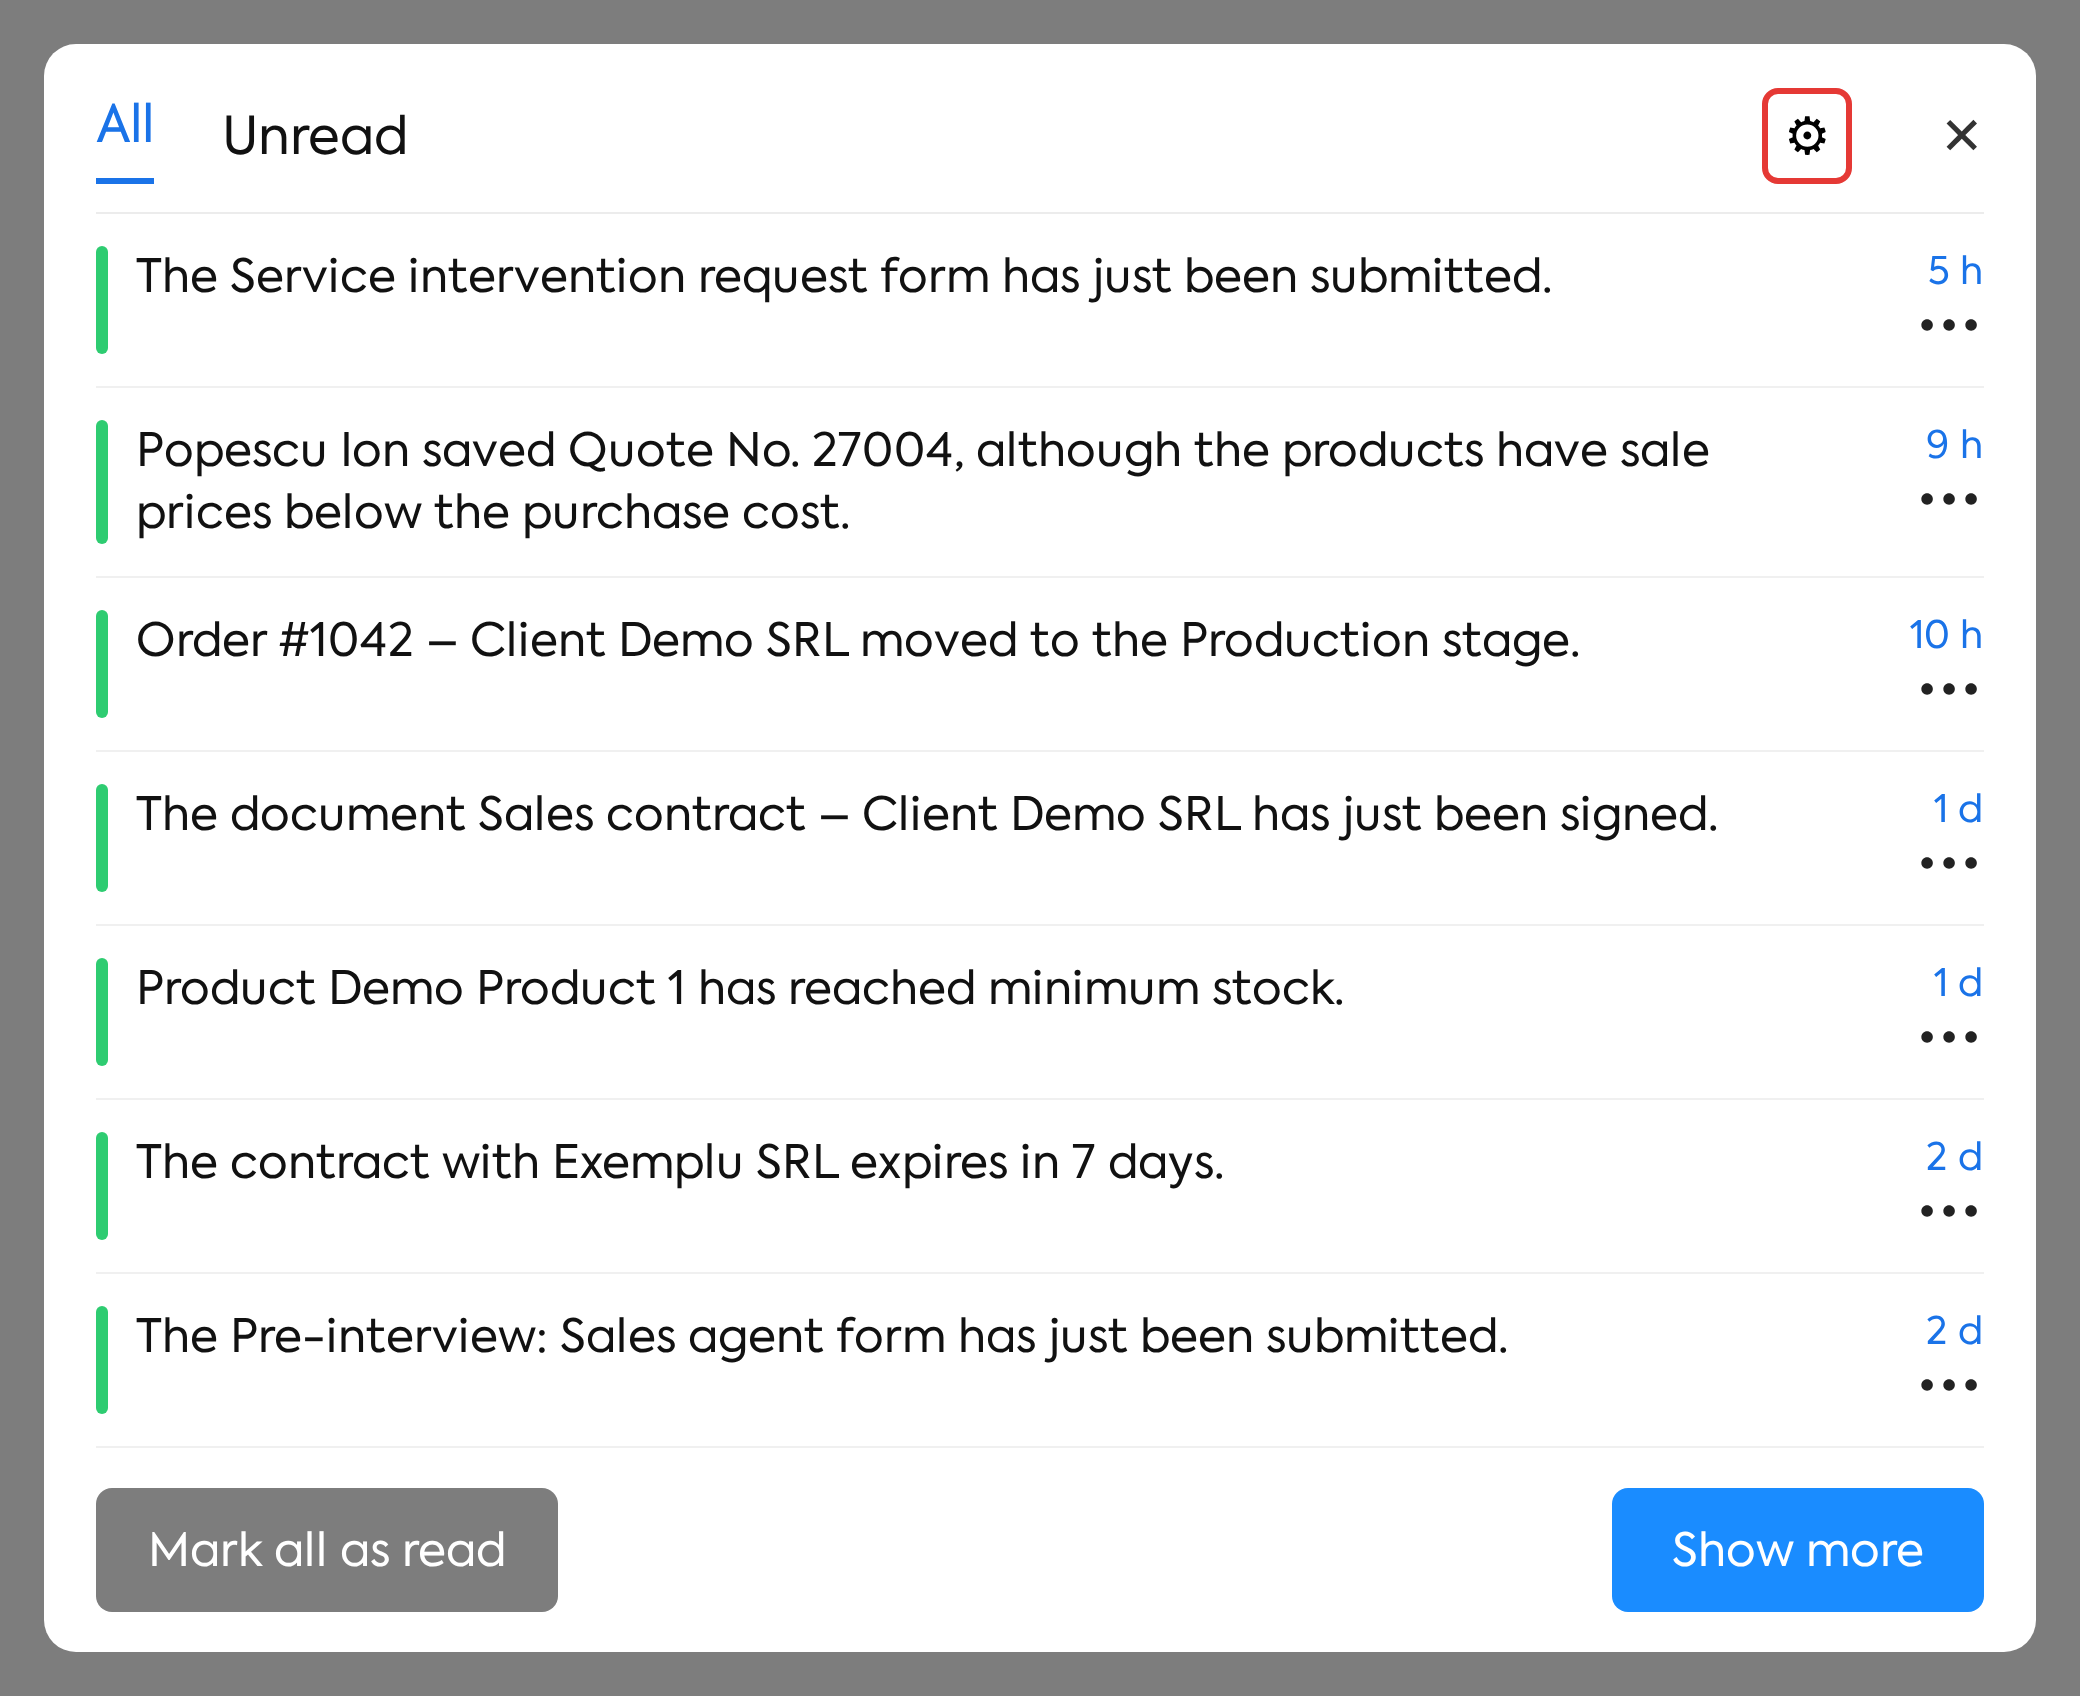
- the bell icon in the top bar → the Settings button in the notifications panel → the Notification preferences page → the Company tab
3. Before you start
- The Company tab is available exclusively to users with Administrator access level (an Admin account or an employee flagged Company Administrator); the others do not see the tab, and direct access redirects them to Current Account.
- For the Company e-mail (Global Settings) option to be available, the E-mail field in must be filled in.
- The employees you want to pick as recipients must be active and have an iFlows account (the e-mail is sent to the address in their own profile).
4. Opening the Company tab
Step 1. Click the bell icon in the top bar. The notifications panel opens.
Step 2. Click the Settings button in the notifications panel. The Notification preferences page opens.
Step 3. Click the Company tab. The notifications are grouped into three categories: Sales and clients, Purchasing and stock and Service and maintenance. Each row has the notification name with a "?" icon, the Recipients field and the active / inactive switch; at the bottom there is a single Save button for all rows.
Step 4. To find out what a notification does, hover over the "?" icon next to its name; the description appears in a tooltip.

5. Setting the recipients of a notification
Step 1. Find the row of the notification you want (for example Minimum stock notification) and click in the Recipients field (placeholder "Add recipient or e-mail…"). The option list opens.
Note: the field is disabled when the notification switch is off, but the recipients already chosen stay saved. Turn the switch on first (the procedure in chapter 6) if needed.
Step 2. Choose one or more recipients, of any of the types below.
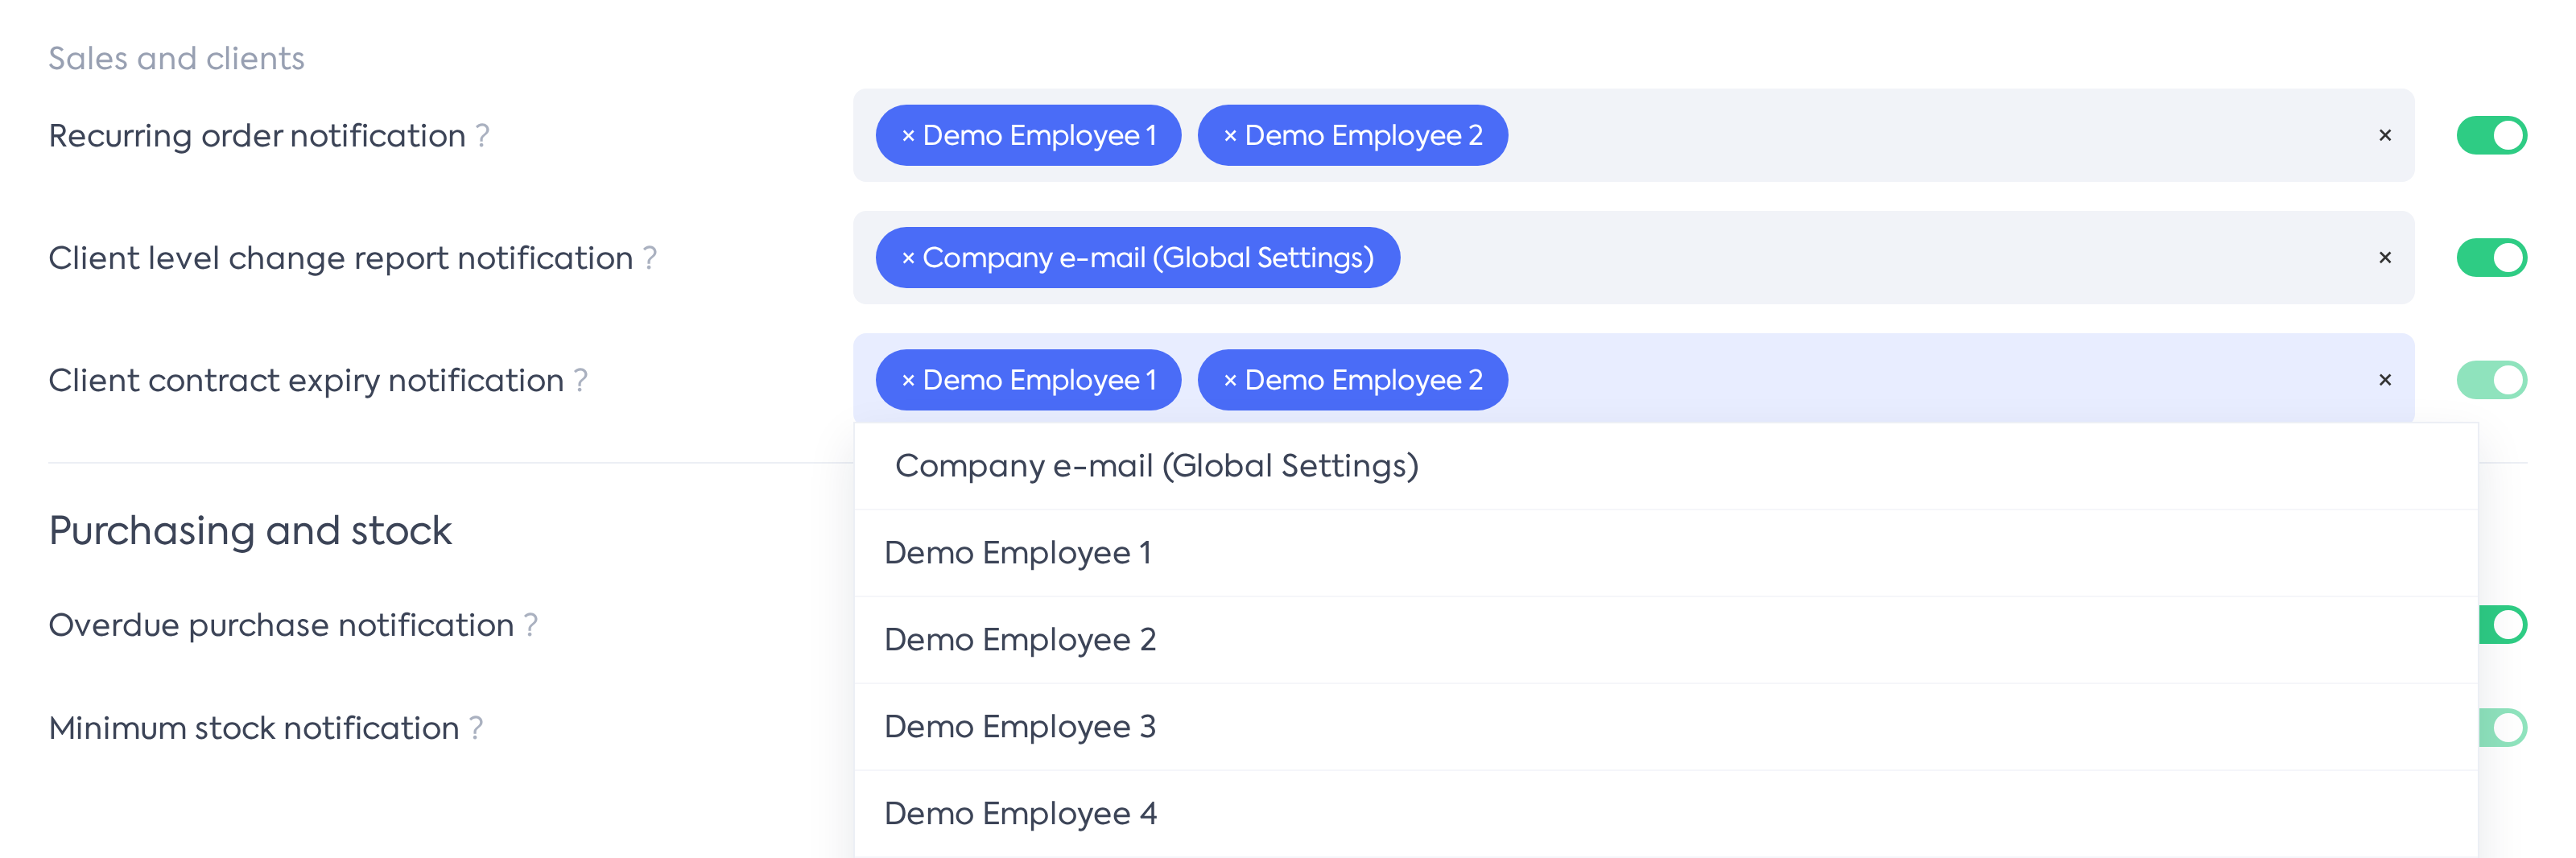
The Recipients field: the labels already chosen (Company e-mail (Global Settings), employees) and the drop-down list with the available options.
| Field | What you fill in | Required |
|---|---|---|
| Company e-mail (Global Settings) | An option shown only if E-mail in is filled in; it always uses the current address from there. | No |
| Employee | An active employee with an iFlows account (for example Ion Popescu); receives the e-mail at the address in their own profile. | No |
| Free e-mail address | A typed address (for example purchasing@clientdemo.com), confirmed with Enter or a comma; accepted only if the format is valid. | No |
Note: for "always active" notifications at least one recipient is mandatory, otherwise saving is blocked (see chapter 6).
Step 3. To remove a recipient, click the × on its label in the field.
Step 4. Repeat steps 1–3 for the other notifications, then click Save (chapter 6, step 3).
6. Switching on / off and saving
Step 1. On the row of the notification you want, turn the active / inactive switch on the right on or off.
Note: for "always active" notifications (marked in the table in chapter 9) the switch is on and locked; at company level only their recipients are set.
Step 2. Check that every active notification has at least one recipient (chapter 5).
Step 3. Click Save (a single button for all rows). The platform applies the validations:
- an always active notification without a recipient blocks saving, with the message "It must have at least one recipient." shown under the Recipients field of that row;
- an active notification with a free switch and no recipients is saved, but is disabled automatically, with the warning "«Name» has no recipients and was disabled.";
- an employee who has become inactive or has no account is rejected with the message "Invalid employee for <notification>: must be active and have an account.", and an invalid address with "Invalid e-mail <address> for: <notification>".
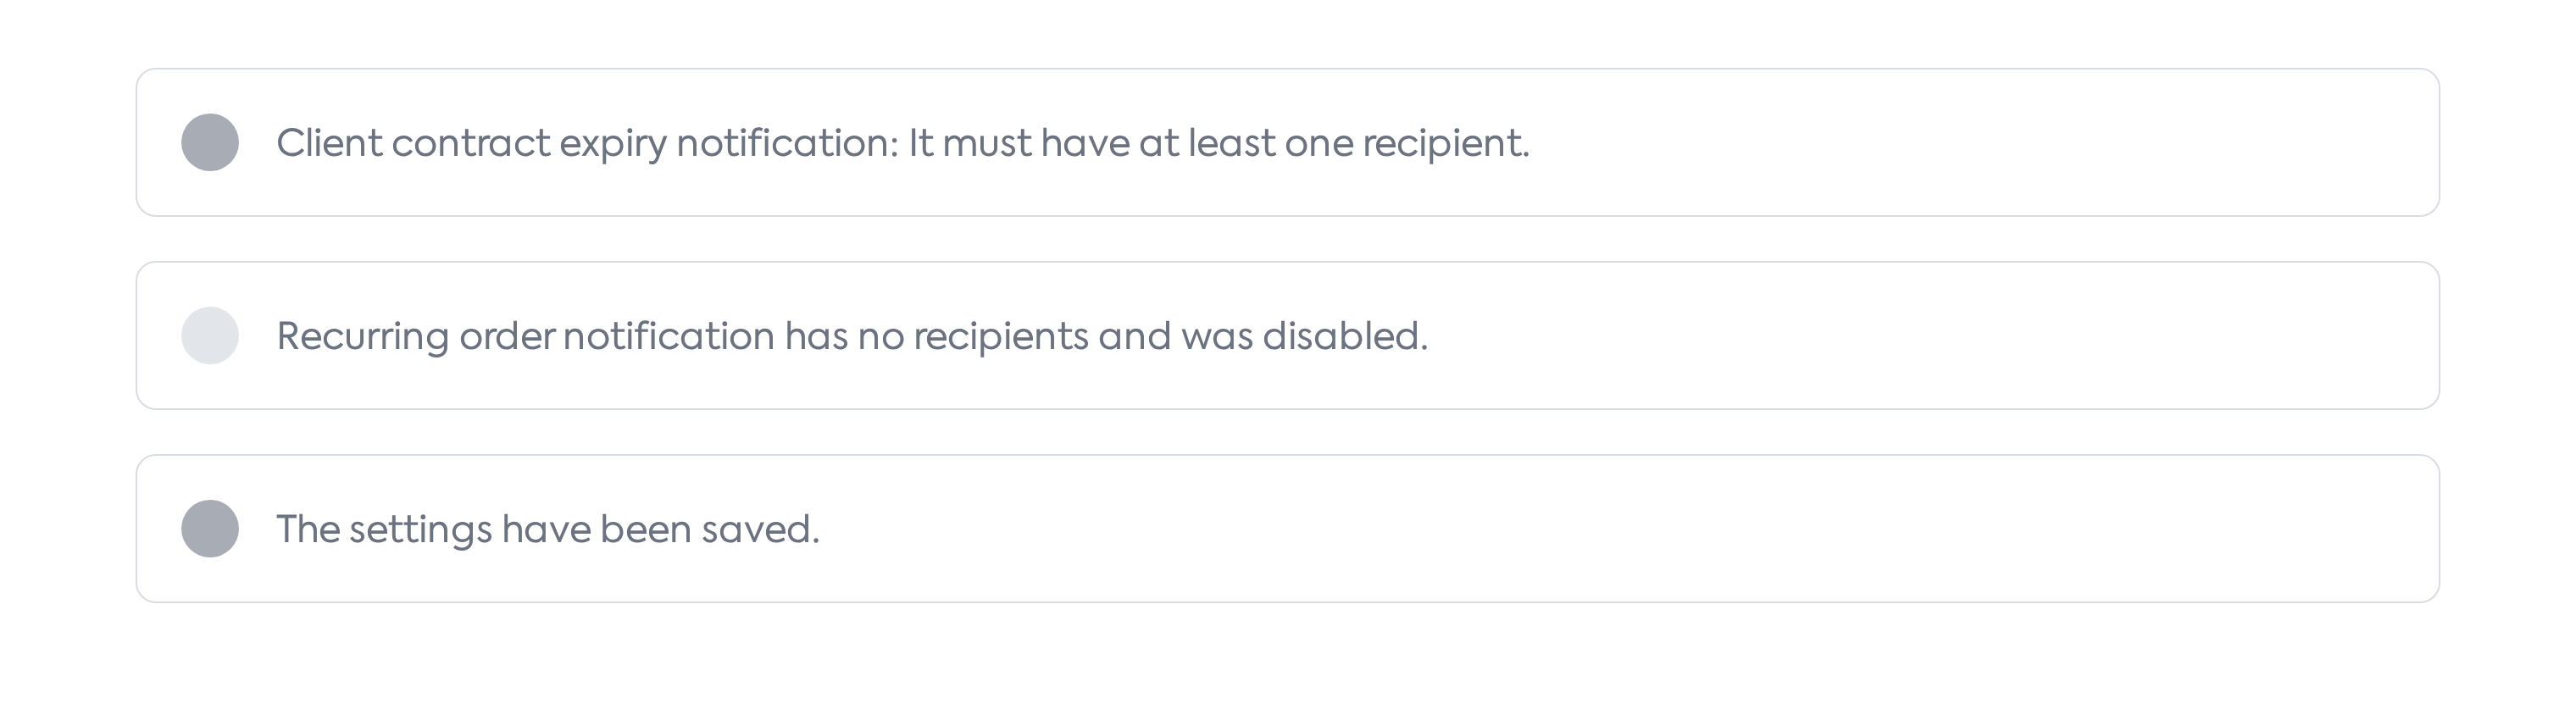
The three types of messages shown on Save: the error for an always active notification without a recipient, the automatic-disable warning and the confirmation "The settings have been saved."
Important: if there is any error, nothing is saved. Correct the flagged rows and click Save again.
Step 4. On success the message "The settings have been saved." appears.
7. What moved from the old settings
Step 1. Do not look for the Overdue Purchase Notification checkbox in any more: it has been removed. Its equivalent is the Overdue purchase notification switch in the Company tab, which took over the state of the old checkbox.
Step 2. Check the recipients after the update: on update all notifications were created automatically, with the switches on. If E-mail in Global Settings was filled in, every notification received the recipient Company e-mail (Global Settings) — the previous behaviour is kept identical. If not, the recipient list stayed empty, and the first time you save the tab you must add at least one recipient on the always active notifications.
Note: the tooltips of the alert checkboxes in contracts, supplier documents, purchases, equipment, service and products now say that the recipients are configured in → the Company tab.
8. What you see afterwards
- In Notification preferences: the new Company tab, with the three categories, the Recipients fields and the switches.
- When an event is triggered: every configured recipient gets a separate e-mail, instead of sending only to the company address.
- In : the old Overdue Purchase Notification checkbox no longer appears.
- In contracts, supplier documents, purchases, equipment, service and products: the tooltips of the alert checkboxes point to the Company tab.
9. Rules and limits
- The channel is e-mail only; there are no channel, frequency or time settings.
- When sending, every recipient gets a separate e-mail, duplicate addresses are removed, and employees who have become inactive, have no account or no e-mail are skipped.
- A disabled notification sends nothing, even if the event occurs.
- The Company e-mail (Global Settings) option appears only if E-mail in Global Settings is filled in and always uses the current address from there; changing it is reflected automatically in all notifications that use it.
- Free addresses are accepted only if the format is valid, confirmed with Enter or a comma.
- The Recipients field is disabled when the switch is off, but the recipients already chosen stay saved.
- Validations on Save: an always active notification without a recipient → "It must have at least one recipient." (saving is blocked); an active notification with a free switch and no recipients → it is saved, but disabled automatically; an inactive employee / one without an account → error message; an invalid address → error message. If there is any error, nothing is saved. On success: "The settings have been saved."
- The "always active" notifications are the ones controlled at record level (the Alert / Expiry Notification / Minimum Stock Notification checkboxes on each contract, document, equipment, service or product); at company level only their recipients are set.
- The trigger conditions stay in the existing settings (Automatic Client Level and the days of the month, Automatic Invoice Upload, the record-level checkboxes).
List of notifications:
| Category | Notification | When it is sent | Switch |
|---|---|---|---|
| Sales and clients | Recurring order notification | When an order is generated automatically from a recurring order | Free; on by default |
| Sales and clients | Client level change report notification | Daily, if Automatic Client Level is active: the warning report and the change report, on the configured days | Free; on by default |
| Sales and clients | Client contract expiry notification | Daily: contracts with "Expiry Notification" that reach the expiry date or the additional notification date; one e-mail per contract | Always active |
| Purchasing and stock | Overdue purchase notification | Daily, as long as there are unpaid purchase documents past their due date; one e-mail a day with the list | Free; by default takes over the old "Overdue Purchase Notification" checkbox |
| Purchasing and stock | Minimum stock notification | When stock drops below "Minimum Stock", for products with "Minimum Stock Notification" ticked; only once per product | Always active |
| Purchasing and stock | Supplier document expiry notification | Daily: supplier documents with "Expiry Notification" that reach the expiry date or the additional notification | Always active |
| Service and maintenance | Equipment maintenance notification | Daily: equipment revisions with "Alert" ticked, on the maintenance date | Always active |
| Service and maintenance | Service maintenance / revision notification | Daily: service revisions with "Alert" ticked, on the revision date or the additional notification | Always active |
| Service and maintenance | Upcoming service intervention notification | Daily: service reports with "Future intervention recommended", on the intervention date | Always active |
10. Settings and permissions
Settings:
- The source of the Company e-mail option is the E-mail field in ; changing it is reflected automatically in all notifications that use it.
- The trigger conditions stay in the existing settings (Automatic Client Level and the days of the month, Automatic Invoice Upload, the record-level checkboxes). There are no channel, frequency or time settings.
- Removed settings: the Overdue Purchase Notification checkbox in .
Permissions:
- The Company tab is available exclusively to users with Administrator access level (an Admin account or an employee flagged Company Administrator); the others do not see the tab, and direct access redirects them to Current Account.
- There is no dedicated granular permission.
11. Impact on other modules
- Orders, Clients, Purchasing, Products / Stock, Suppliers, Equipment, Service: the respective e-mails go to the configured recipients, not just to the company address.
- Employees: an employee who is disabled, has no account or is deleted no longer receives e-mails; the next time the tab is saved the invalid-employee error appears until they are removed from the list.
- : the old setting has been removed, replaced by the switch in the Company tab.