
1. In short
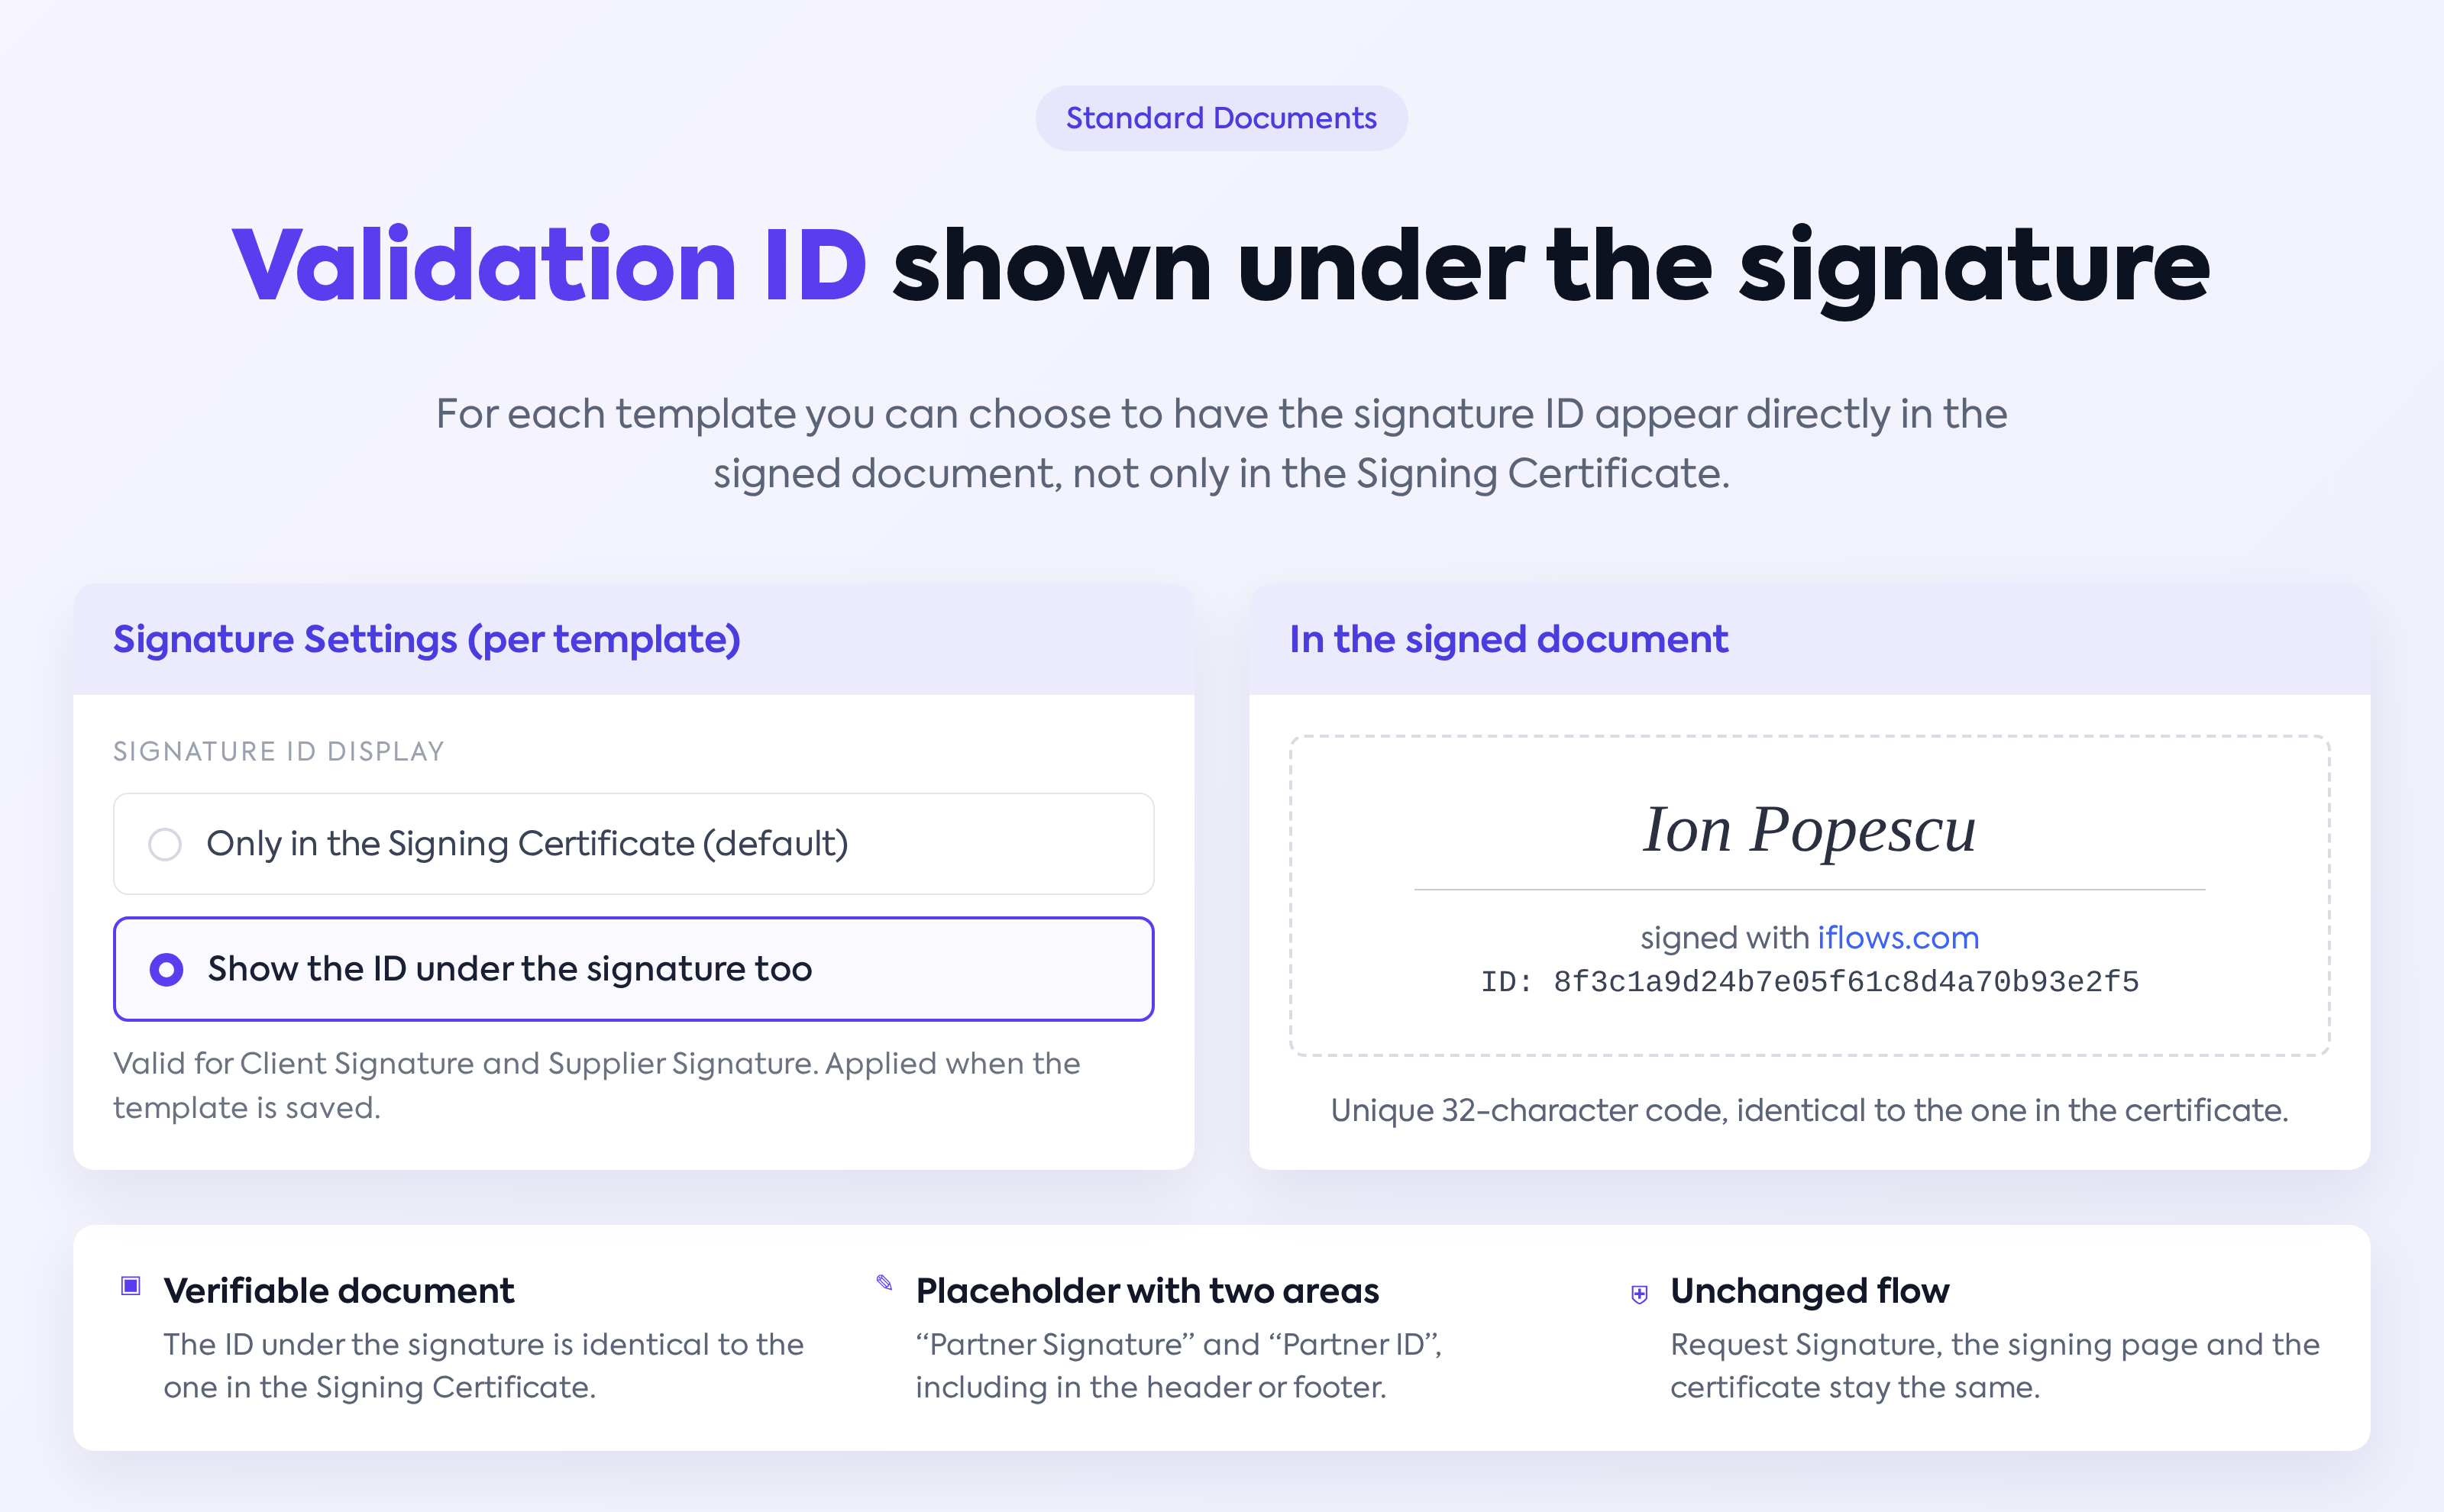
When a standard document is signed electronically, the signature validation ID used to appear only in the Signing Certificate. Now, for each template you can choose to have the ID appear under the signature as well, directly in the signed document, together with the note “signed with iflows.com”. The document thus becomes verifiable on its own: the ID under the signature is identical to the ID field in the certificate. The feature is used by those who create standard templates; the effect is visible to the signing partner and to anyone consulting the signed document or the certificate.
2. Where to find it
- , new template or edit, Variable Fields panel, Client group, Client Signature variable, Signature Settings gear icon
- , new template or edit, Variable Fields panel, Supplier group, Supplier Signature variable, Signature Settings gear icon
- → the row of the signed document → Expand Signatures icon → the list of signatures → Signing Certificate button (Actions column)
3. Before you start
- You need the add / edit Standard Documents permissions, because the setting is saved together with the template.
- Existing templates keep the option disabled; it must be enabled explicitly on each template you want.
4. Enabling the option on a template
Step 1. Open , the Standard Templates tab, and create a new template or open an existing one for editing.
Step 2. In the Variable Fields panel, open the Client group (Client Signature variable) or the Supplier group (Supplier Signature variable) and press the Signature Settings gear icon next to the variable.
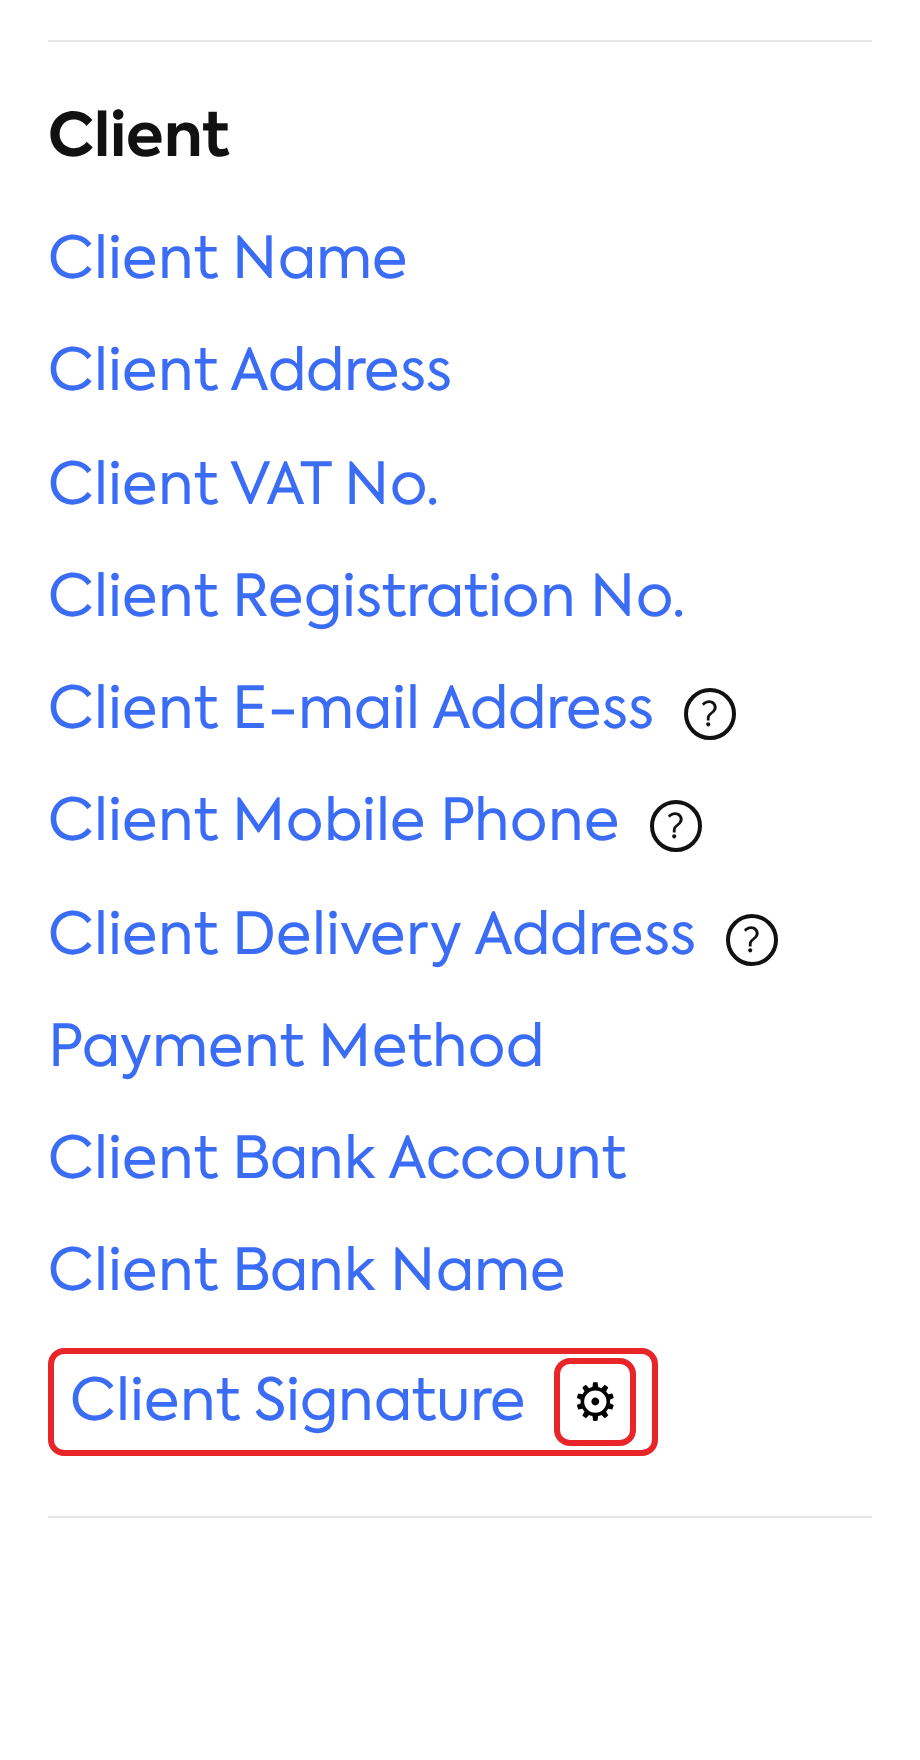
The Variable Fields panel, Client group: the Client Signature variable and the Signature Settings gear icon.
Step 3. In the Signature Settings window, under Signature ID Display, choose Show the ID under the signature too. The default value is Show the ID only in the Signing Certificate.
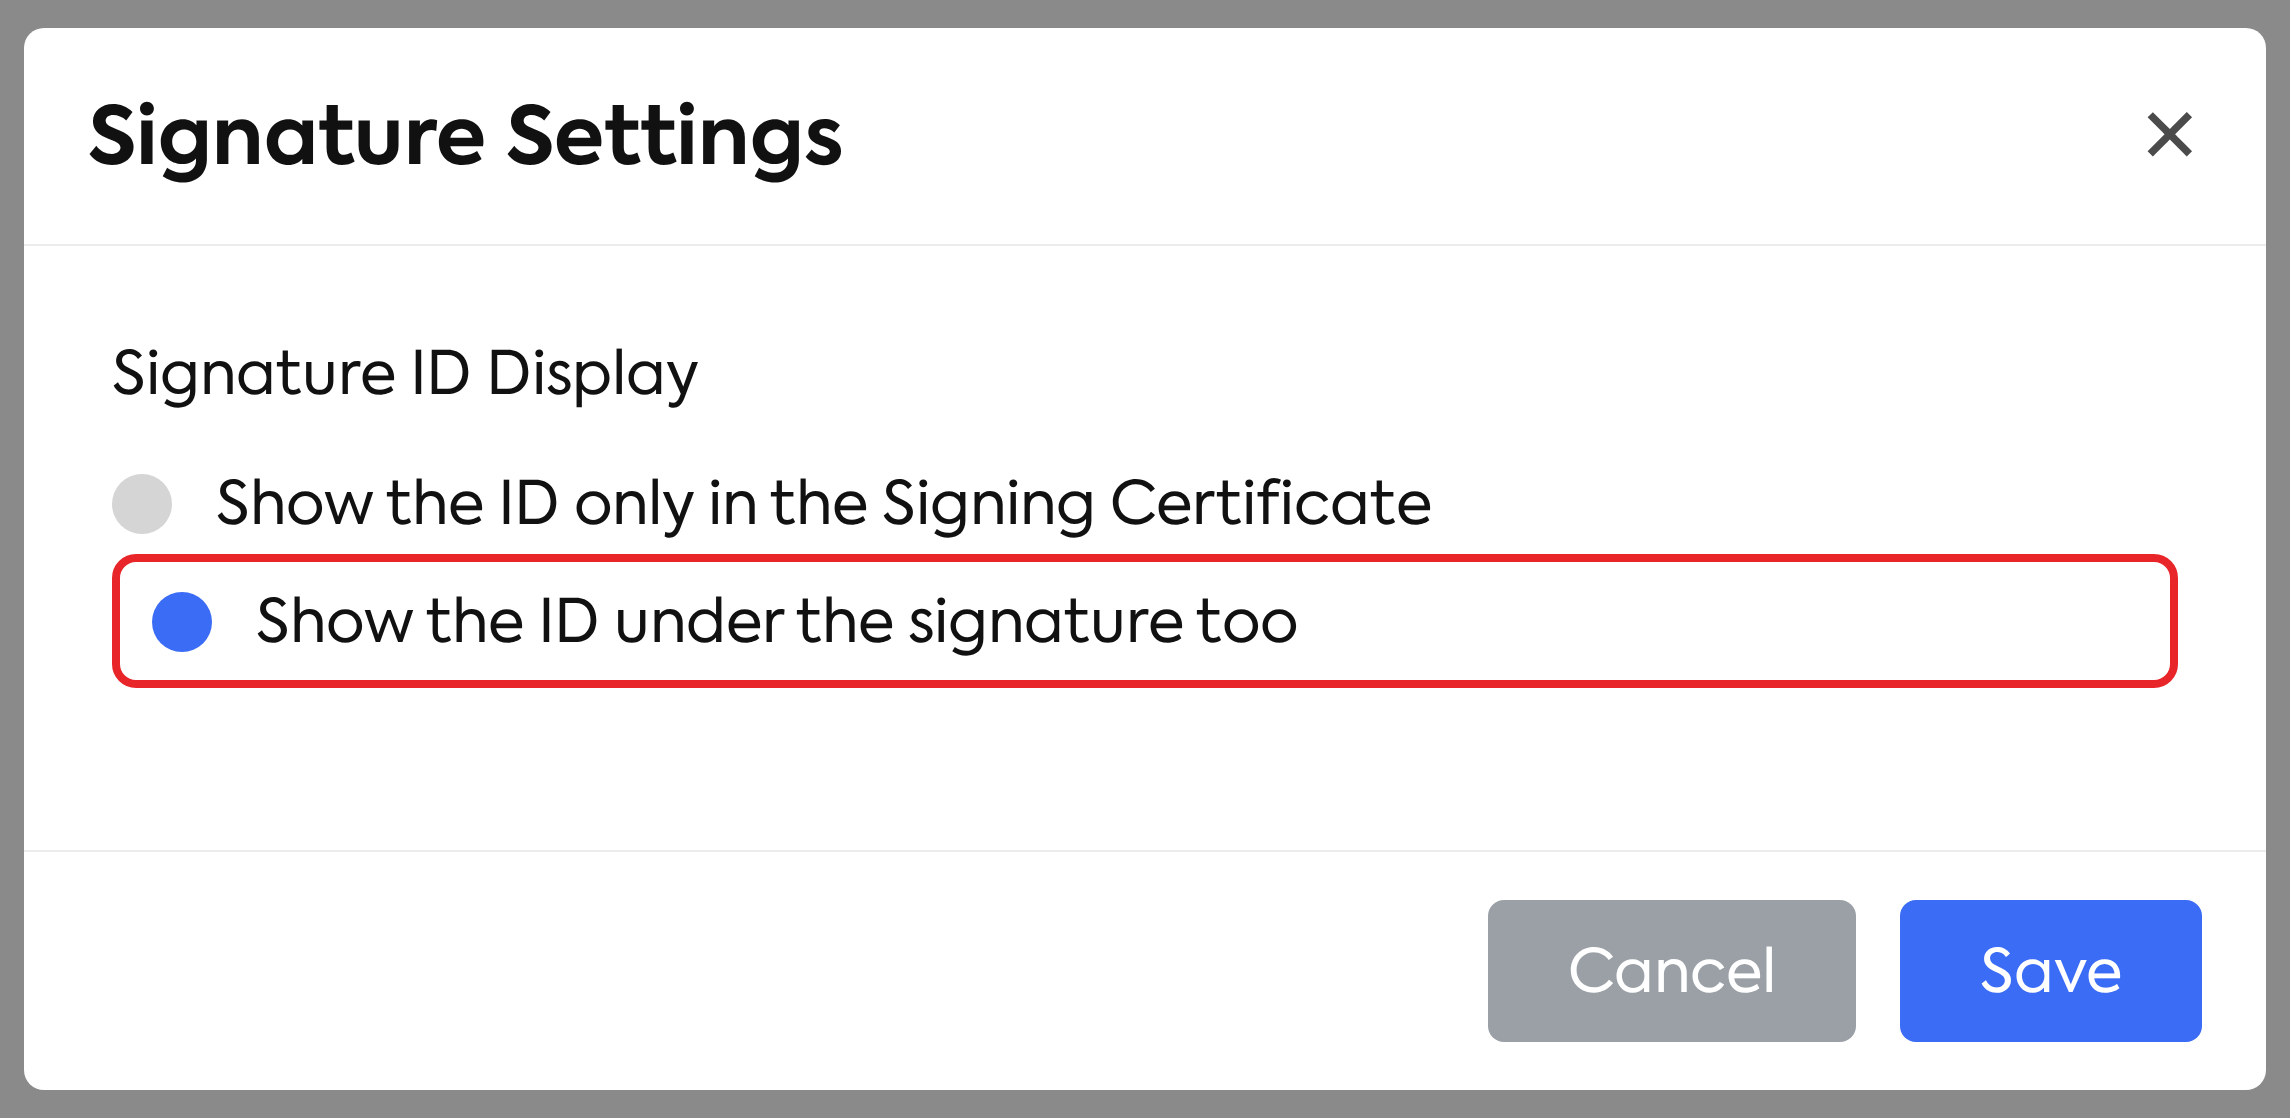
The Signature Settings window, with the option Show the ID under the signature too selected.
| Field | What you fill in | Mandatory |
|---|---|---|
| Signature ID Display | Show the ID only in the Signing Certificate (default) or Show the ID under the signature too | Yes (has a default value) |
Step 4. Press Save in the window (Cancel closes the window without changing the setting).
Step 5. Press Save or Save and Continue on the template. The choice becomes permanent only when the template is saved.
Note: the setting is shared between the client signature and the supplier signature, and it is per template.
5. Inserting the signature placeholder
Step 1. Place the cursor in the template content, where you want the signature (it can also be in the header or the footer).
Step 2. Press the Client Signature or Supplier Signature variable in the Variable Fields panel. A dotted placeholder is inserted at the cursor position:
- with the text “Partner Signature”, when the option is disabled;
- with two areas — “Partner Signature” at the top and “Partner ID” at the bottom — and taller, when the option is enabled.
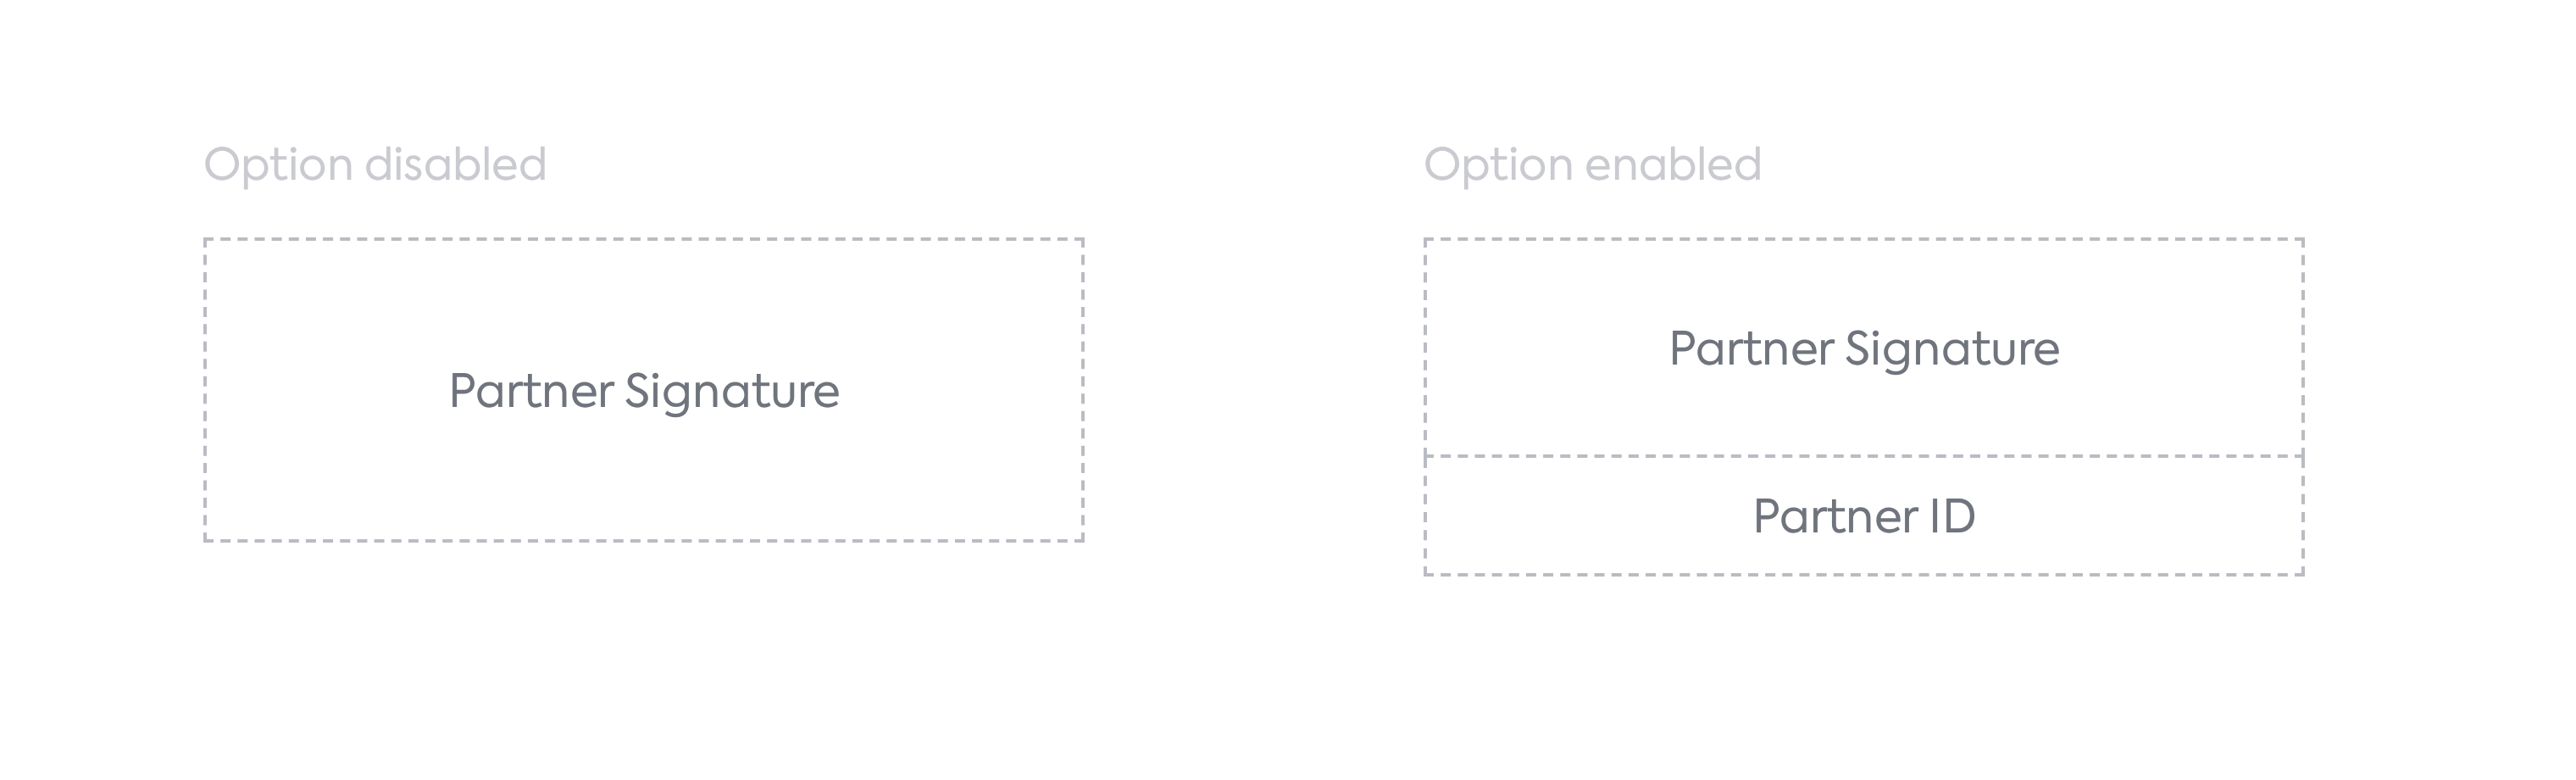
The two types of dotted placeholder: the simple placeholder (option disabled) and the placeholder with two areas (option enabled).
Note: the choice in Signature Settings applies to insertions made after the setting is changed; placeholders already inserted keep their type. If you change the setting, delete the old placeholder and insert it again.
Step 3. Save the template.
6. Sending for signing and the result
Step 1. Generate the document from the template and send it with the Request Signature toggle on. The toggle is available if the document contains either type of placeholder.
Step 2. The partner opens the link received, gets the private code by SMS, fills in the name, draws or uploads the signature and presses Sign Document. The signing flow is unchanged.
Step 3. Open the signed document. The simple placeholder is replaced with the signature image, as before. The placeholder with the ID is replaced with a composed image: the signature and, centred underneath it, the lines “signed with iflows.com” (with “iflows.com” in blue, as a link to iflows.com) and “ID: the validation code”.
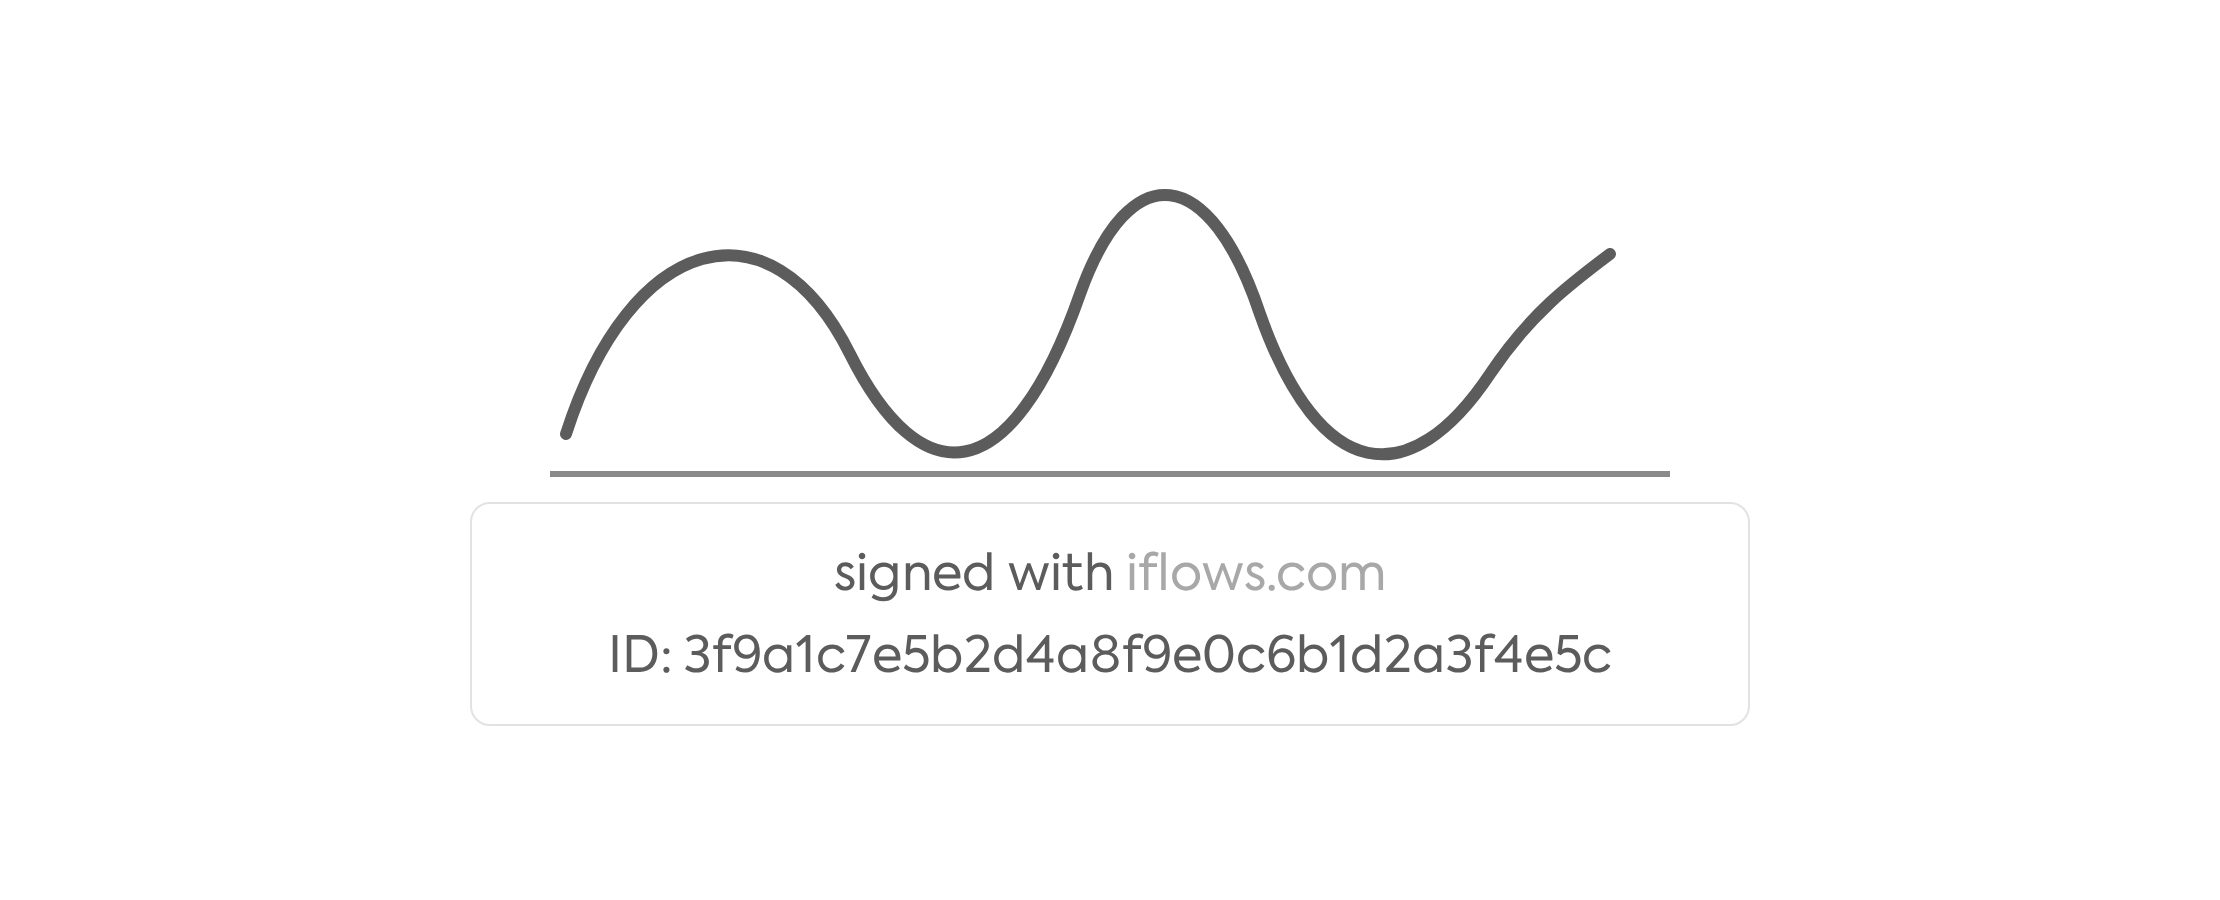
The signed document: under the signature appear the lines “signed with iflows.com” and “ID: the validation code”.
7. Checking the ID in the Signing Certificate
Step 1. Open , the Generated tab, find the signed document and press the Expand Signatures icon on its row. In the list of signatures, press the Signing Certificate button in the Actions column.
Step 2. Compare the ID field in the certificate with the ID under the signature in the document: they are identical. The validation code has 32 characters and is unique per signing.
8. What you see afterwards
- In the template editor: the placeholder with the “Partner ID” area for insertions made with the option enabled.
- In the signed document: under the signature, the lines “signed with iflows.com” and “ID: the validation code”.
- In the Signing Certificate: the ID field with the same value as under the signature.
9. Rules and limits
- The setting is per template and shared between the Client Signature and the Supplier Signature.
- Existing templates keep the option disabled.
- The choice becomes permanent only when the template is saved.
- The setting applies to insertions made after it is changed; placeholders already inserted keep their type.
- The placeholder can also be put in the header or the footer.
- The validation code has 32 characters, is unique per signing and is identical to the ID field in the certificate.
- Nothing changes for previously signed documents; documents already generated (even unsigned) keep the placeholder type they were generated with.
10. Settings and permissions
- The Signature ID Display setting is in the Signature Settings window of the signature variables in the template.
- No new permissions are introduced: the setting is changed together with the template (add / edit Standard Documents).
11. Impact in other modules
- Request Signature: works identically for both types of placeholder.
- The public signing page: unchanged.
- The Signing Certificate: unchanged; the ID field has the same value as the ID under the signature.