
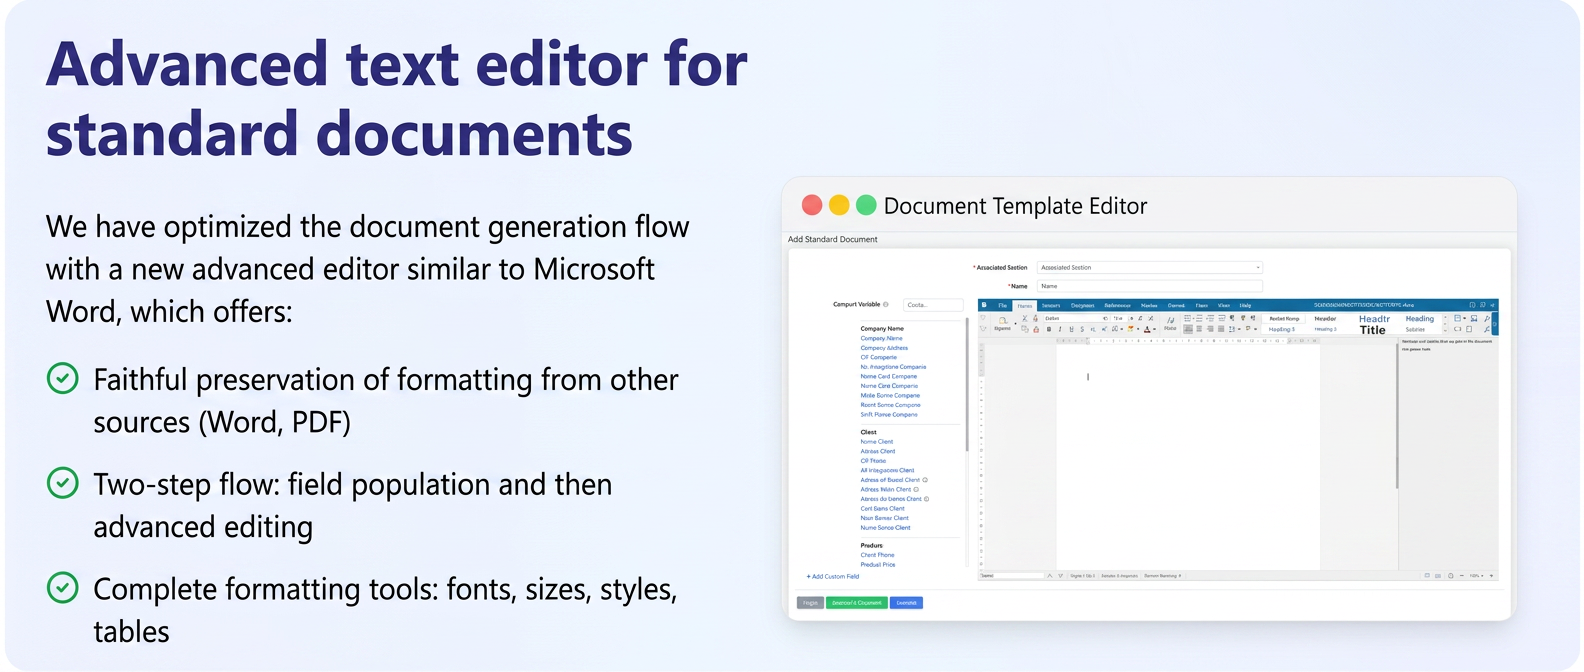
We are introducing a new advanced text editor, similar to Microsoft Word, for when you create a new template (Documents -> Standardized -> + New Template). This editor offers much richer formatting options and, very importantly, preserves the formatting of text copied from other sources (such as Word) much more accurately.
Additionally, we have optimized the document generation flow from an existing template. Now, the process takes place in two clear steps:
- After selecting the template and clicking the "Generate" button, a distinct window will appear (Document Tag Values) where you will first fill in or verify the variables (tags) specific to the document (e.g., client data, order values).
- After filling in the variables and clicking the "Apply" button, the document will be generated and will open in the new advanced editing interface for a final review or for final adjustments before saving it.
This approach logically separates data entry from the final preview and editing.
User Guide:
A. Creating a New Template:
- Navigate to Documents -> Standardized.
- Access the Standardized Templates tab.
- Click the + New Template button.
- Select the Associated Section (e.g., Client, Order, Invoice) – this step remains unchanged and determines the available variables.
- Enter the template Name.
- You will notice the new text editor interface, with a complex toolbar similar to Microsoft Word.
- Use the editor to write the desired text. You can copy and paste text from Word or other editors; formatting is now much better preserved.
- Use advanced formatting options (fonts, sizes, colors, alignments, lists, tables, etc.).
- Insert the necessary Variable Fields from the left panel, as before.
- Save the template using the buttons at the bottom (Save, Save and Continue).
B. Generating a Document from a Template:
- Navigate to the relevant section where you want to generate the document (e.g., Sales -> Orders).
- Identify the specific record (e.g., the desired order).
- Click on the specific icon for Generate Standardized Document (the document icon in the Actions column).
- In the pop-up window, select the desired template from the Choose Standardized list.
- Click the Generate button.
- NEW: An intermediate window called Document Tag Values will appear. Complete or verify all variable fields (tags) here, whether they are pulled automatically or require manual entry.
- After completing the variables, click the Apply button.
- NEW: The generated document will now open in the advanced editor interface. Previously completed variables will already be replaced in the text.
- In this screen, you can make final adjustments directly in the document (modify text, format, etc.), if necessary.
- Finalize the process by saving the generated standardized document.
Related articles
Sending History and Visible Status for Standardized DocumentsTutorialsElectronic Signing of Standardized DocumentsTutorialsStandard Documents — configurable Products variable and new variablesTutorialsStandard Documents — validation ID under the signatureTutorialsStandardized Document Generator I iflows TutorialTutorials