
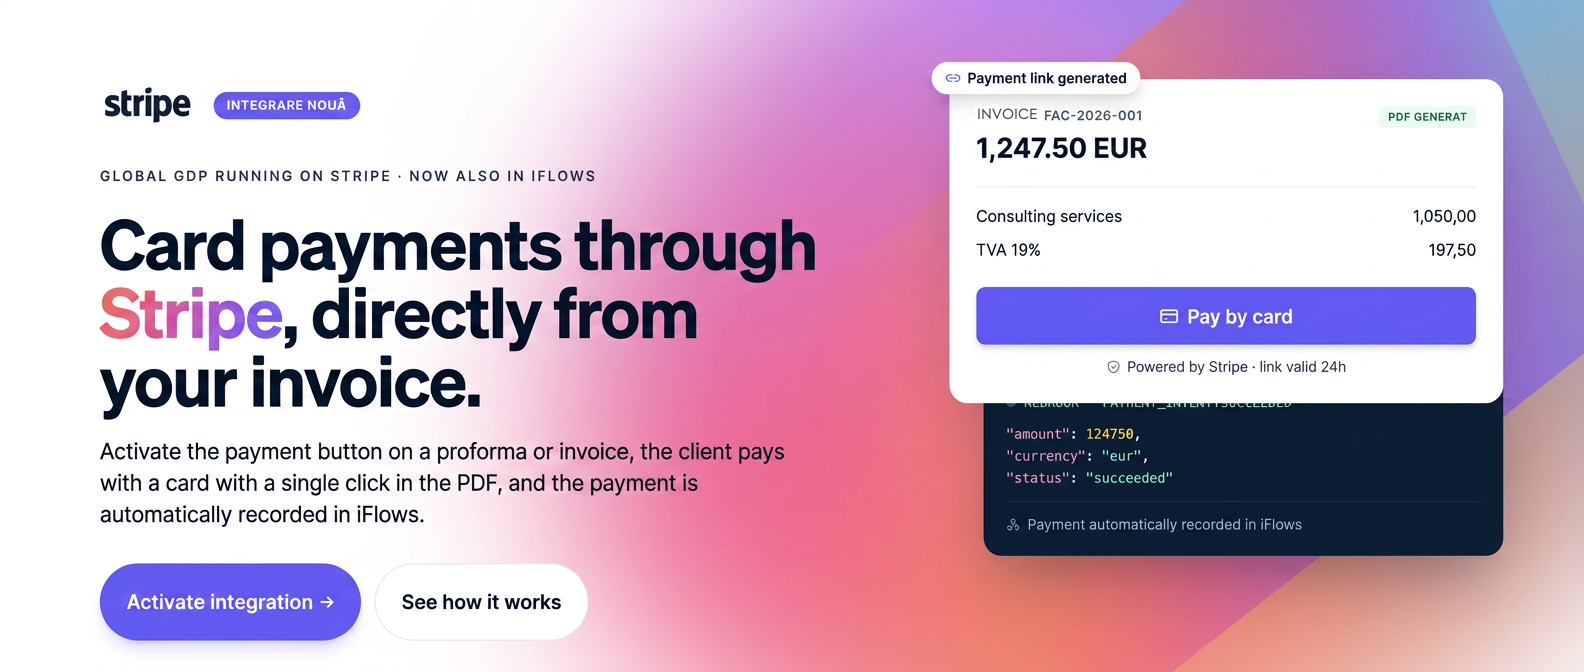
Configure online card payments for your proformas and invoices. Customers pay directly from the PDF with a button, and the payment is automatically recorded in iFlows.
HOW IT WORKS
- Generate the document — activate the payment button on a proforma or invoice and generate the PDF.
- Send to customer — send the document through the platform's usual means.
- Customer pays — they pay by card on the Stripe page, and the payment is automatically recorded.
| 💡 Keep in mind: The payment link is generated only for documents issued in the platform's default currency. |
BEFORE YOU BEGIN
You essentially need only one thing from your Stripe account — the secret key:
- Secret Key — starts with sk_test_ (test) or sk_live_ (live). The public key pk_ is not accepted.
- Active Stripe Merchant Account — from which you obtain the key; no other prior configuration is needed.
- (Optional) Webhook Secret — whsec_…; in most cases, it is configured automatically upon connection.
- (Optional) Bank Account — the account where payments are recorded; if left empty, one is created automatically.
Step 1 Prepare your Stripe account
📍
Log into your Stripe account and open the access keys area (). Copy the Secret Key — it is the only value you need to connect iFlows.
| 💡 Recommendation: test first with an sk_test_ key. Once everything works, replace it with the live sk_live_ key in "Integration Settings". |
| ⚠️ Warning: do not use the public key pk_… — the platform will reject it. Treat the secret key like a password. |
Step 2 Install the integration in iFlows
📍
, open the Available tab, and click on the Stripe card.
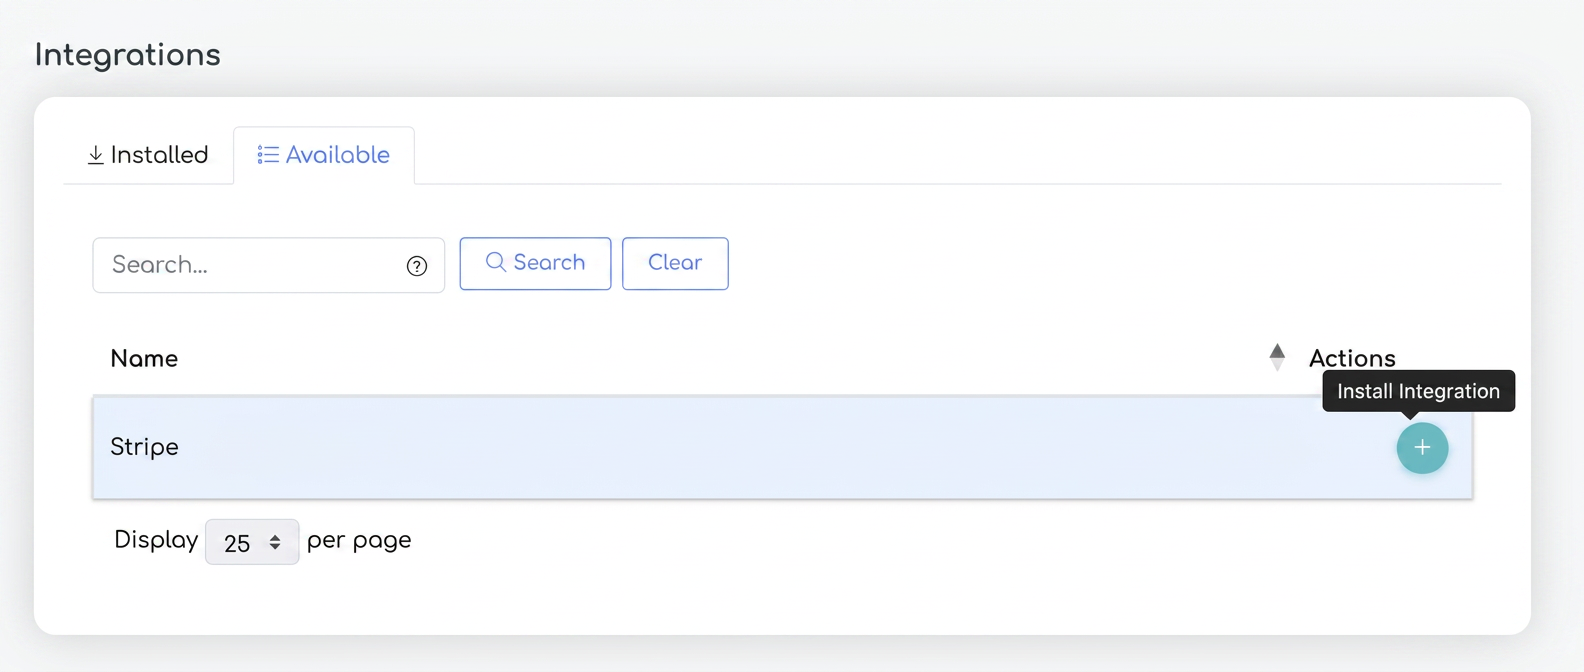
▸ The "Available" tab — click on Stripe to open the connection window.
Complete the connection window and click Activate:
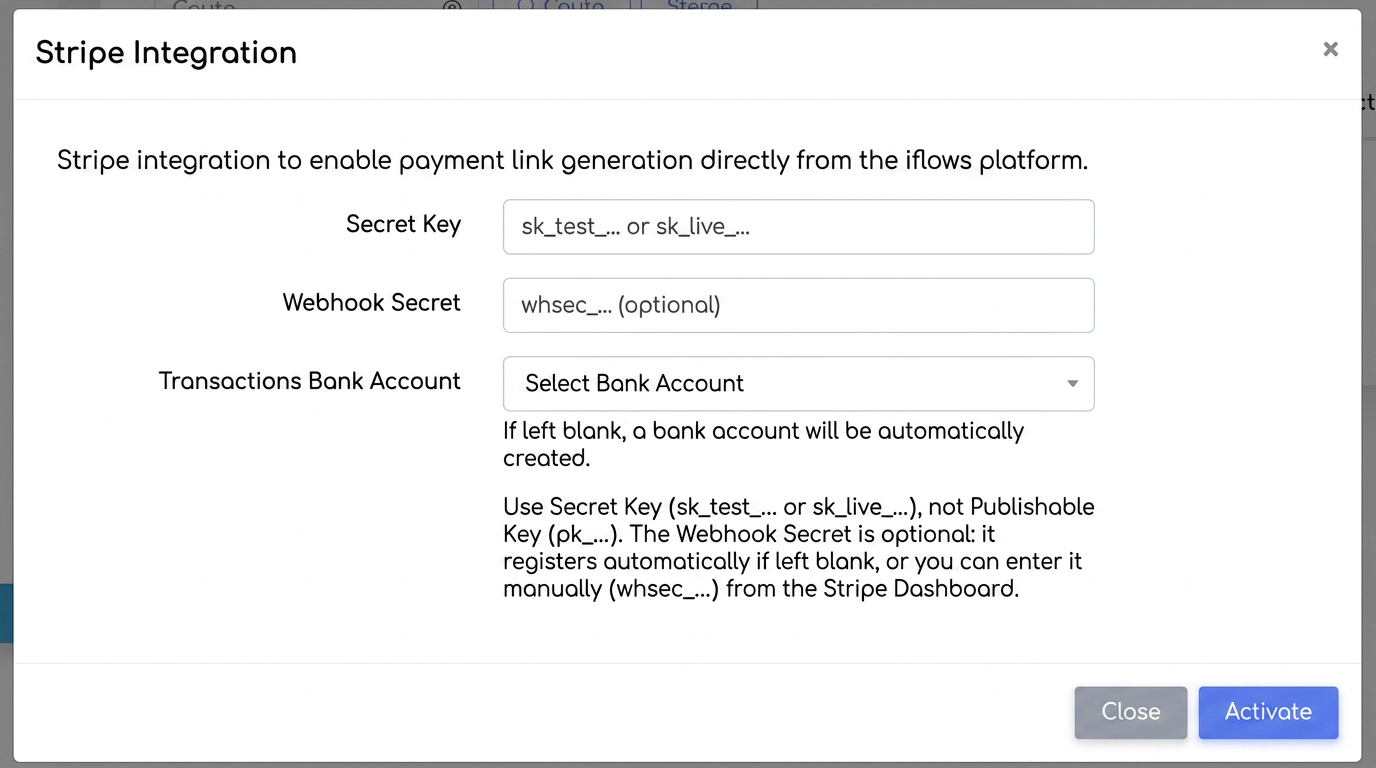
▸ "Stripe Integration" window — enter the secret key and activate the integration.
| Secret Key (required) | The secret key from Stripe; starts with sk_test_ or sk_live_. |
| Webhook Secret (optional) | Leave empty — the platform will attempt to configure it automatically. Fill it manually only if automatic registration fails. |
| Transaction Bank Account (optional) | The account where payments are recorded. Empty → a new account is automatically created. |
| "Activate" Button | Saves and activates the integration. Errors (invalid/missing key) appear in the window. |
The integration now appears in My Integrations, along with the payment method "Stripe Payment", created automatically — all card payments appear here.
Step 3 Verify and manage the integration
📍 (Stripe row)
After installation, you have three action buttons on the Stripe row:
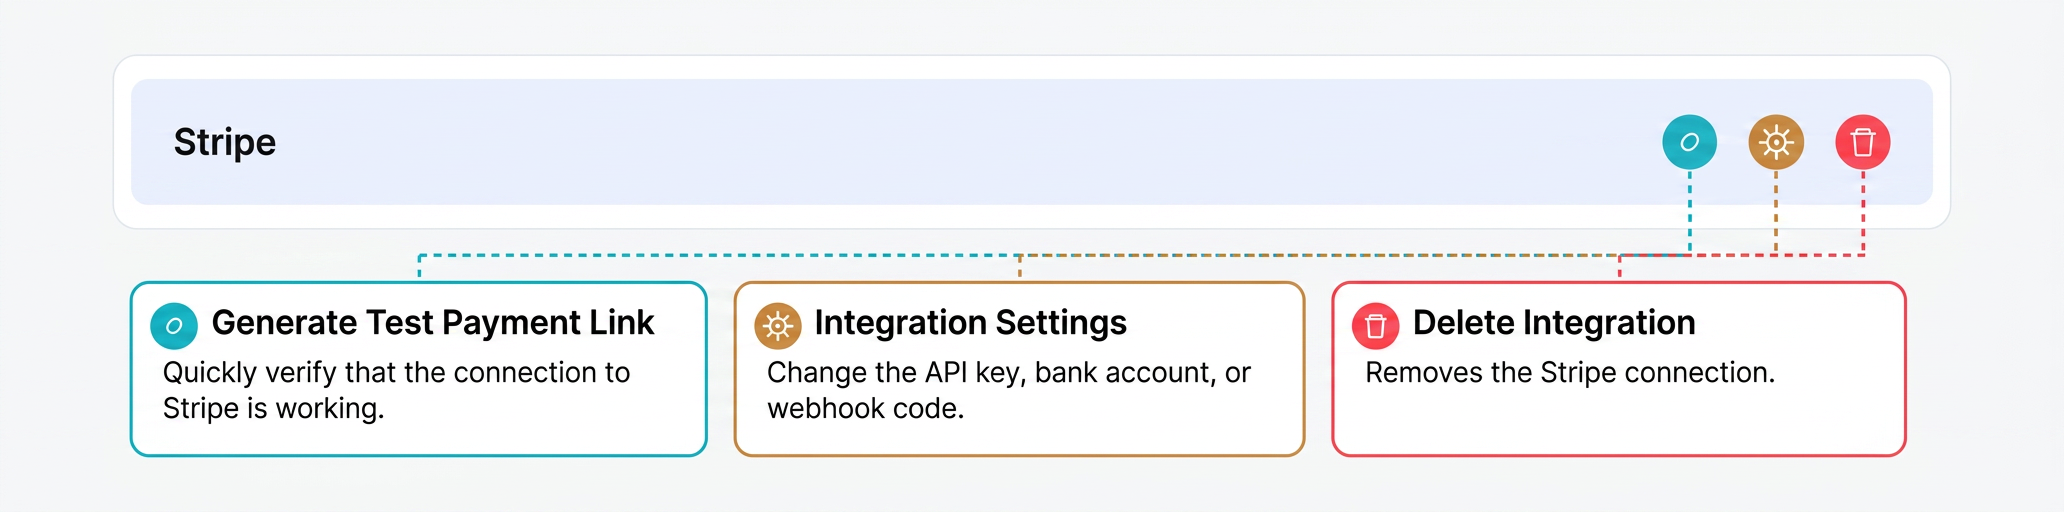
▸ The three buttons on the Stripe row and their respective roles.
Click Generate test payment link to quickly verify that the link to Stripe is working — without creating a real document.
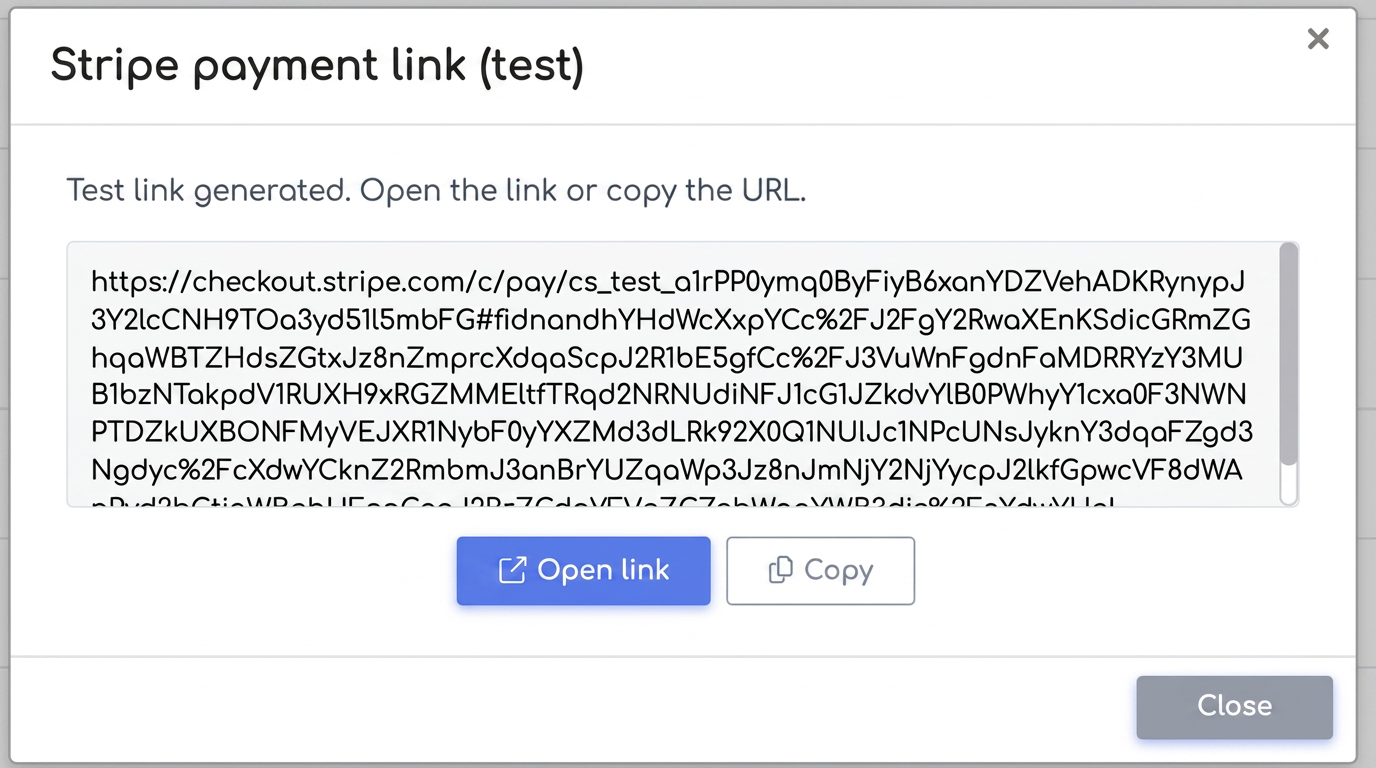
▸ Test successful — the demo link confirms that the integration is operational.
From Integration Settings you can change the key, bank account, or notification code at any time.
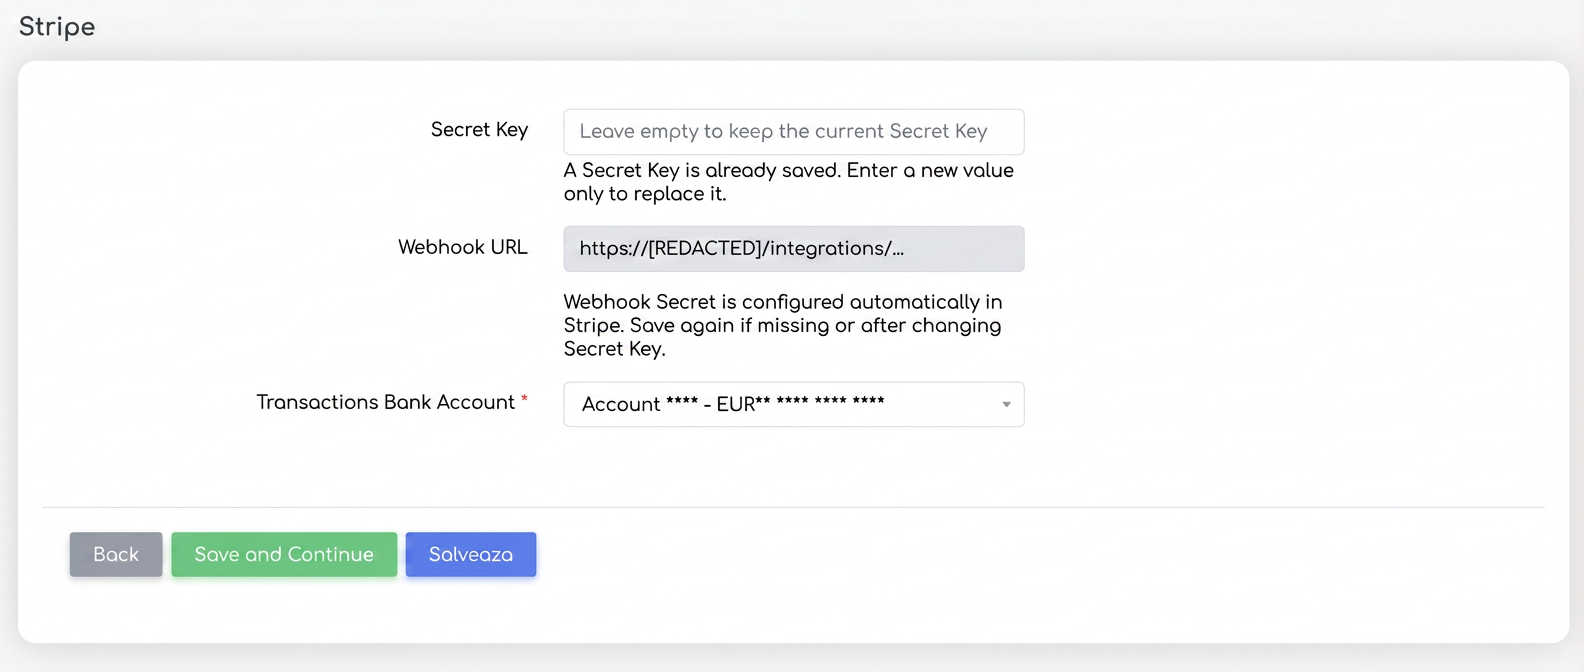
▸ "Integration Settings" — leave Secret Key empty to keep the current key; Webhook URL is displayed for informational purposes only.
| ❗ Delete Integration: removes the connection. After deletion, the "Include Payment Link" option no longer appears on proformas and invoices (unless you have another payment integration installed). |
Step 4 Add the payment link to documents
📍 /
Open a proforma or an invoice in the form, scroll to the PDF Export Options section and activate the Include Payment Link switch. If you have multiple payment integrations, choose Stripe from the selector. Save, then generate the PDF from the document list.
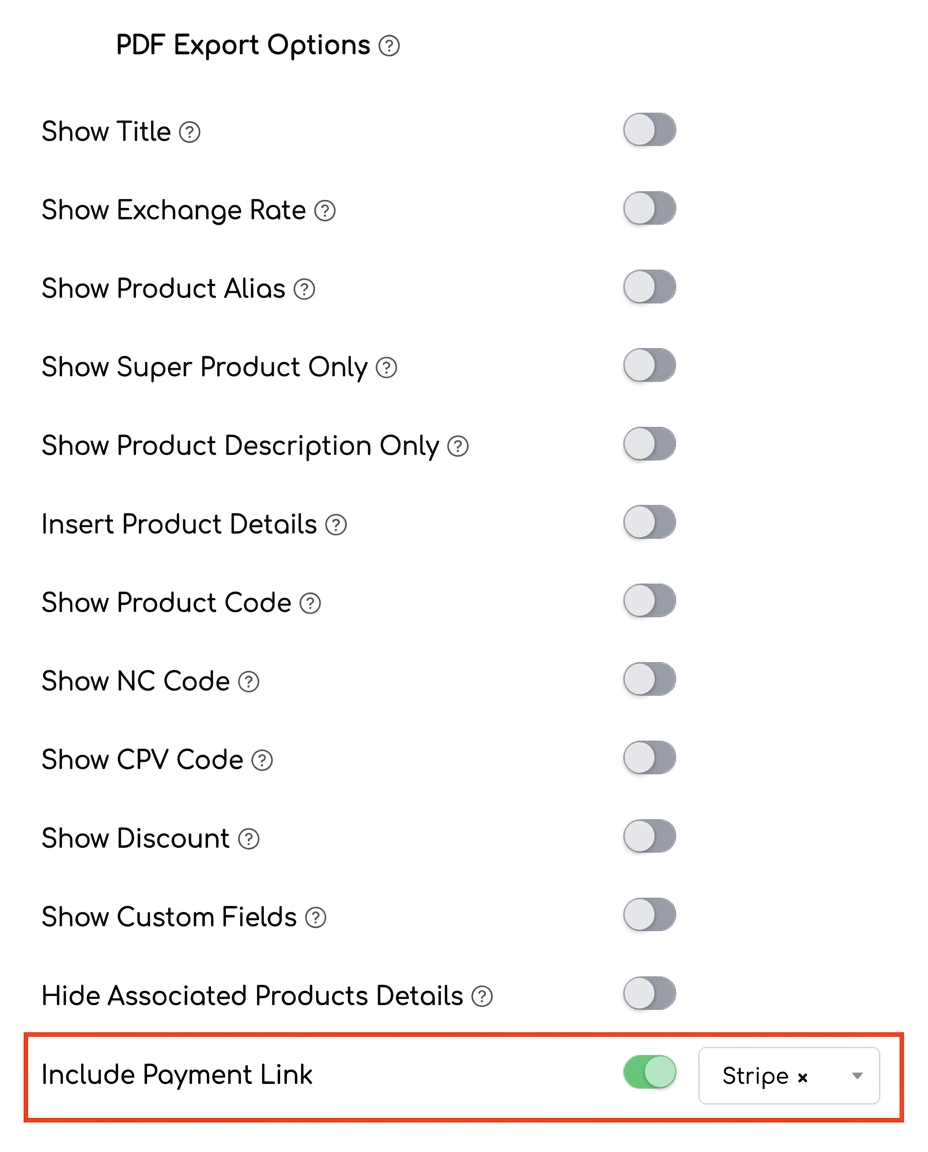
▸ "PDF Export Options" section with "Include Payment Link" enabled and Stripe processor selected.
| ⚠️ The button appears in the PDF only if, simultaneously: Stripe integration is installed · the document is in the default currency · the total is greater than zero · the customer has BOTH email AND phone number filled in. Otherwise, the button does not appear, and upon saving, a message will request the missing contact details. |
| 💡 Keep in mind: the link is created when the PDF is generated, not when the document is saved. You can also activate the default switch in the PDF template so that new documents have it on. |
Step 5 Customer pays by card
📍
In the generated PDF, the green "Pay by card" button appears:
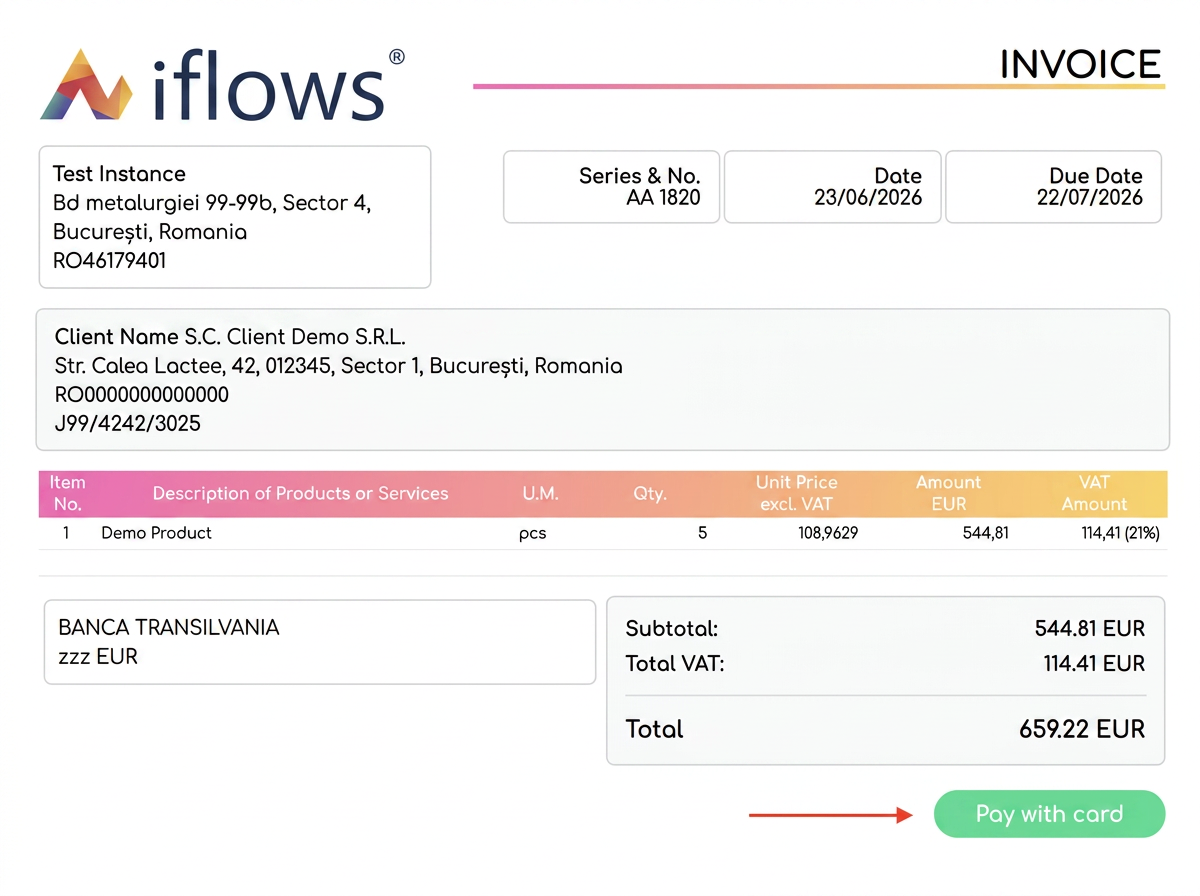
▸ Proforma PDF with the "Pay by card" button. The amount, currency, and customer details are automatically imported.
The customer clicks the button and reaches the secure Stripe page, where the email is already pre-filled. They enter card details and complete the payment:
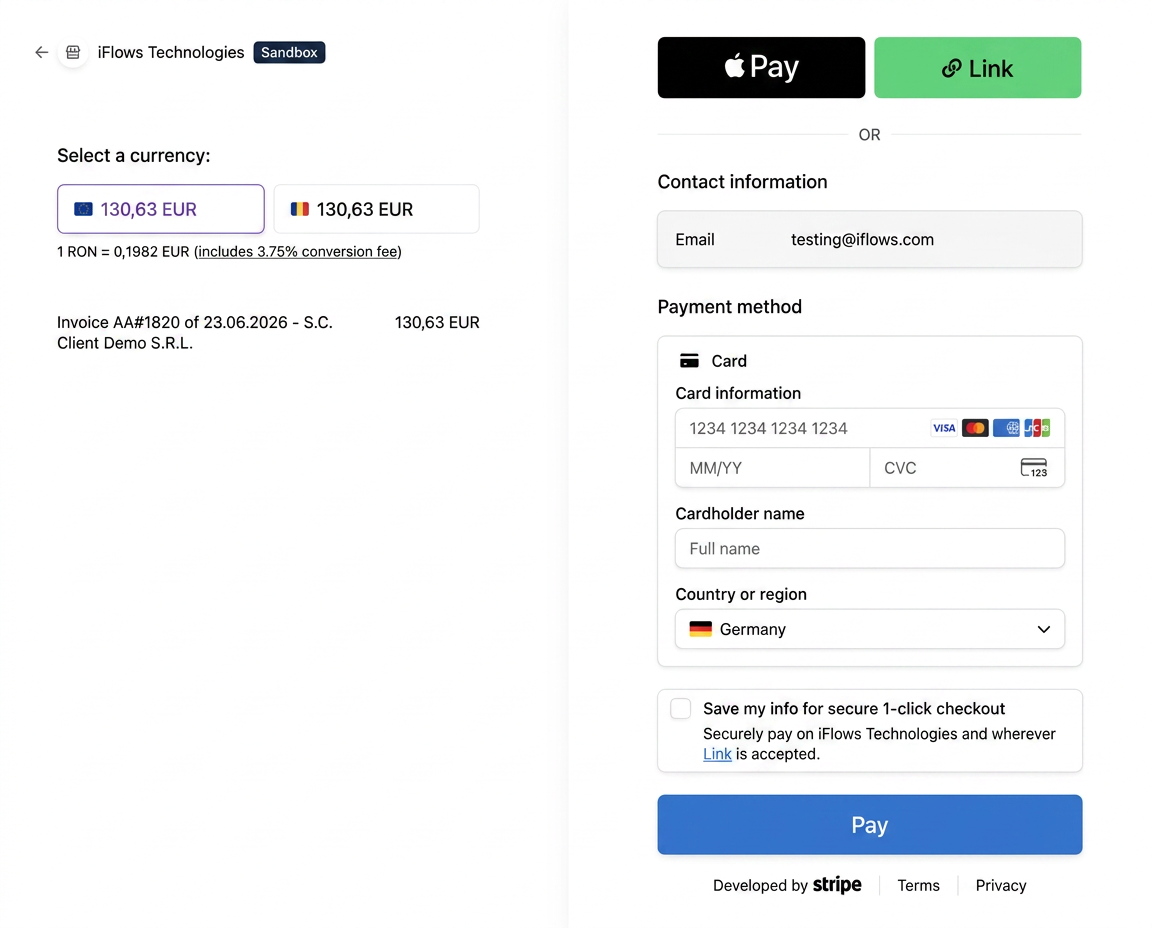
▸ Stripe payment page — customer email is pre-filled, and the description contains the document type, series, and number.
Step 6 Payment is automatically recorded
📍 In the background, after Stripe confirmation
If the notification link (Webhook) is configured, Stripe automatically sends confirmation to the platform, and the payment is recorded in the background:
- For an issued invoice, a payment is recorded with the Stripe Payment method, and the invoice becomes Paid.
- For a proforma, the payment is recorded as an advance (favorable balance for the customer); the proforma remains without the paid invoice status.
| ❗ Important: automatic recording only works with a configured Webhook Secret. If missing, the link is generated and the customer can pay, but the payment must be recorded manually. |
IMPORTANT PARTICULARS & TROUBLESHOOTING
- Link valid for 24 hours — after 24h the link is no longer valid; regenerate the PDF → a new link is created.
- Modifying the document → new link — repeatedly generating an unmodified document reuses the same link; modifying it produces a new one.
- After payment, the button disappears — regenerating a document already paid no longer produces a link — preventing a second payment.
- Default currency only — if the button is missing even though the option is enabled, check the document's currency.
- Email AND phone required — the platform requires both customer data points, even though only the email is actually used on the Stripe page.
- Confirmation depends on Webhook — automatic payment recording only works with the notification code configured.
- Proformas ≠ invoices — paying an invoice marks it as Paid; paying a proforma is recorded as an advance.
- Processor selector — appears only with two or more payment integrations; with only one, Stripe is chosen automatically.