
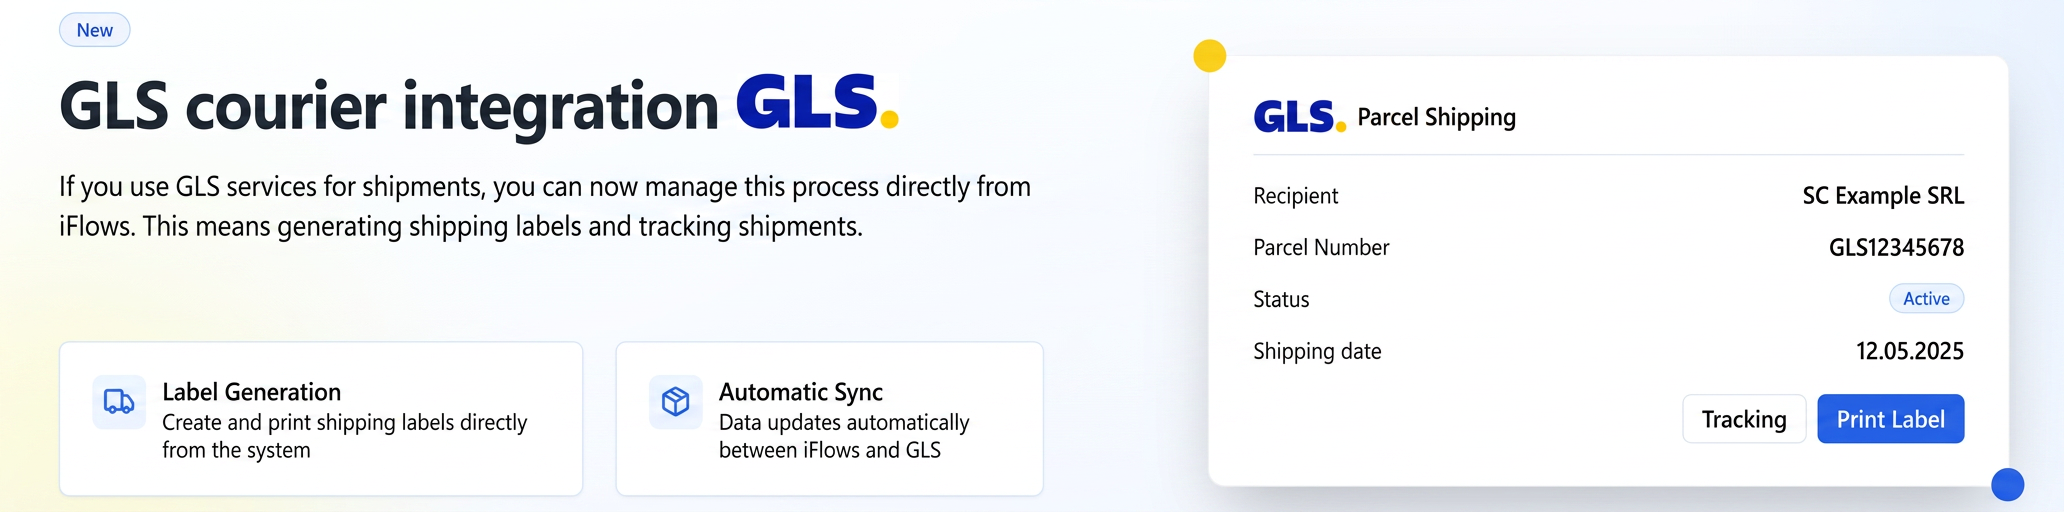
If you use GLS services for shipments, you can now manage this process directly from iFlows. This means generating shipping labels and tracking shipments.
How to use:
-
- Activate Integration:
- Navigate to "Settings" (the gear icon) in the side menu.
- Select "Integrations".
- Go to the "Available" tab.
- Identify "GLS" in the list of available integrations and click on the "+" (plus) installation icon next to it.
- Configuration:
- After clicking install, a configuration window will appear.
- Enter your GLS credentials: "Client ID", "Username" and "Password". These details are obtained from your GLS client account.
- After filling in the data correctly, press the "Activate" button.
- Usage:
- Once activated and configured, the GLS integration will be accessible from the "Integrations" -> "Couriers" menu.
- A new dedicated "GLS" tab will appear here, similar to the one for FAN Courier (if active).
- From this tab, you will be able to generate labels for GLS shipments. The label generation process is similar to the one for FAN Courier: https://www.youtube.com/watch?v=F64TJBkZuuw
- Important to note: The GLS integration allows for the generation of shipping labels. Unlike FAN Courier, GLS does not automatically return the approximate shipping cost or shipment status.
- Activate Integration:
Important: For users to be able to use the integration, the administrator must grant them permission from Financial -> Employees -> Permissions, editing the desired access level, searching for "GLS" and enabling "View" (and optionally "Edit").