
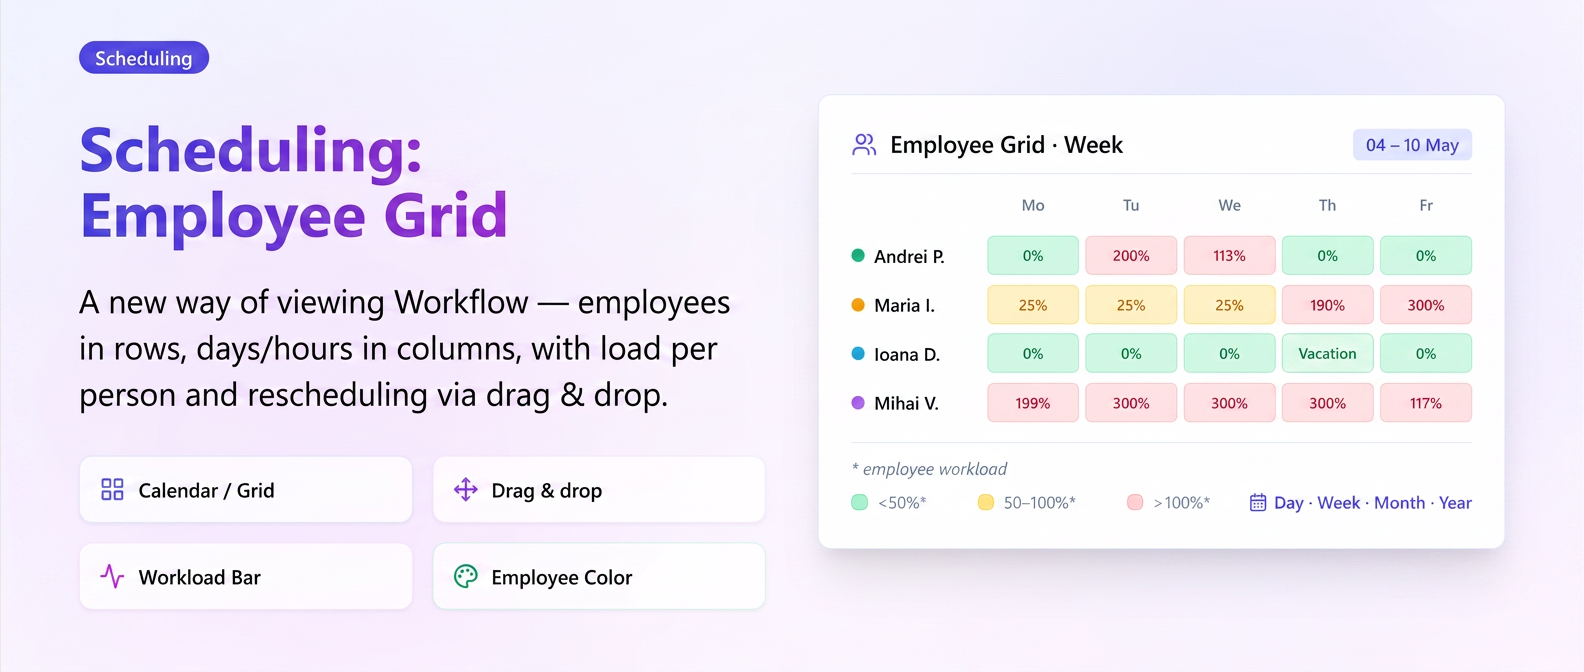
Optimization: A new way to view appointments in the Workflow, alongside the existing Calendar mode. It organizes appointments by employee rows and day or hour columns, providing an overview of the team's workload and allowing for rapid rescheduling via drag and drop. The working schedule and each employee's color (configurable in the employee file) form the basis for workload calculation and quick visual identification.
How it works
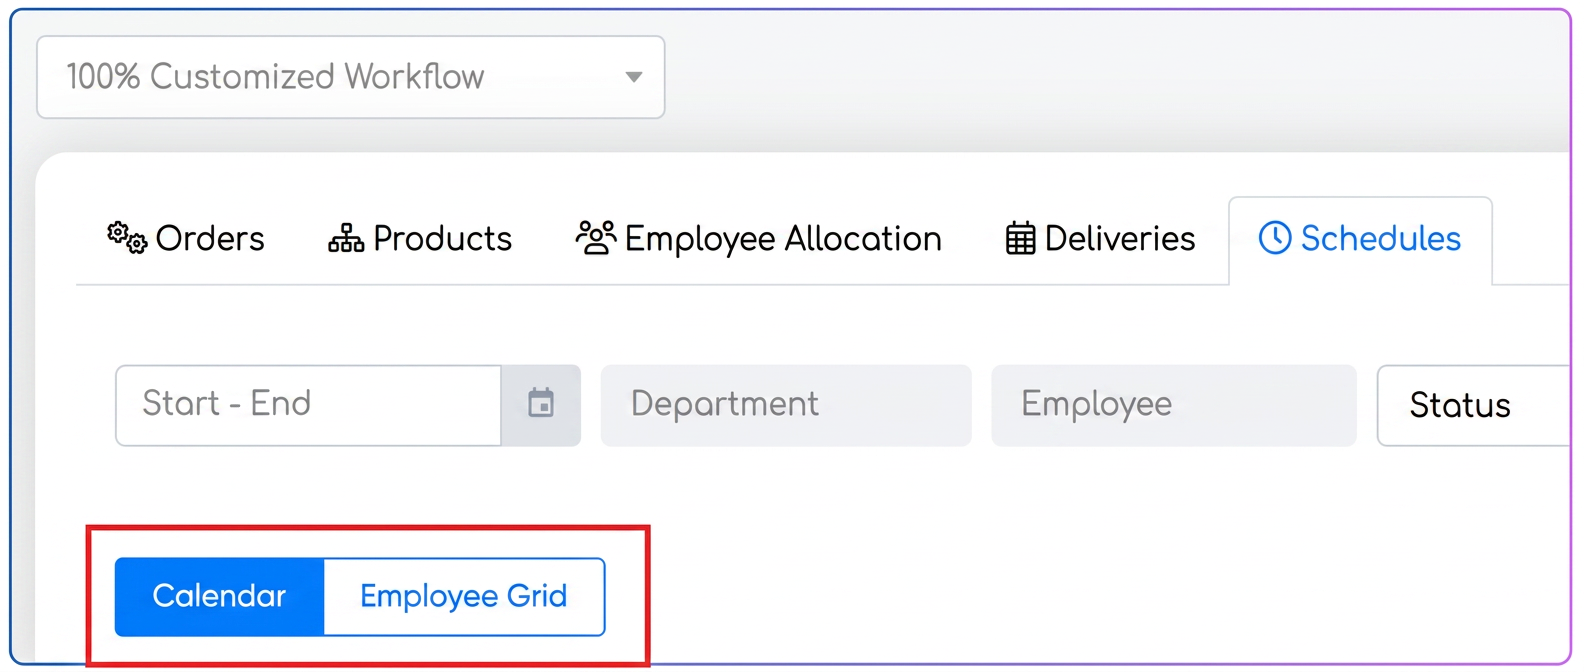
- Switching between modes — two buttons appear at the top of the Appointments section: Calendar and Employee Grid. The chosen preference is automatically remembered. Granularity is selected using the Day, Week, Month, and Year buttons.
- Appointment cards — each appointment appears as a colored card (using the employee's color previously set in their profile), displaying the title, duration, and time interval. Hovering over it displays a tooltip with additional details, and clicking opens the edit window. Finished appointments appear in a distinct, semi-transparent style.
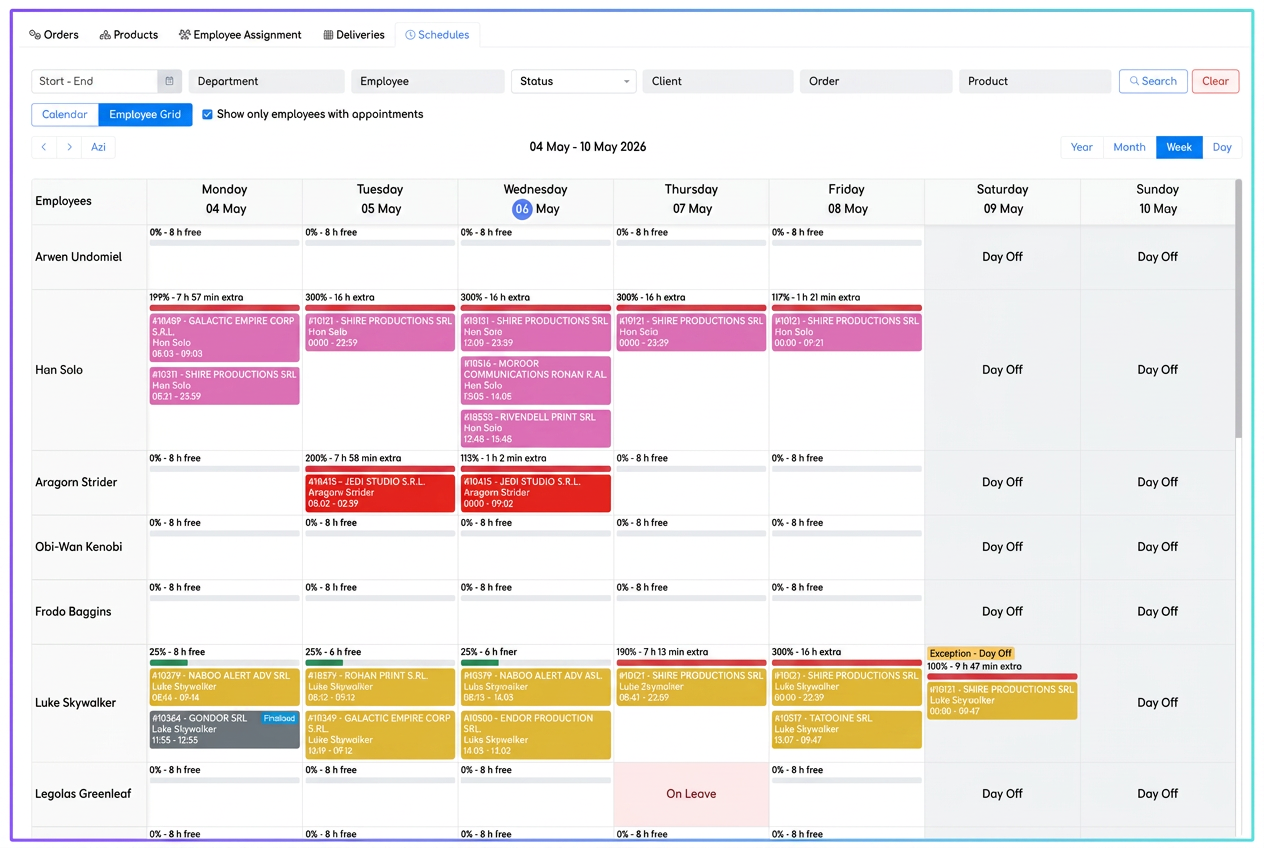
- Drag and drop for rescheduling — you can move any appointment with the mouse — to another day, another time, or to another employee. The system asks for confirmation upon release and automatically applies alignment to the nearest 15 minutes (in Day mode). Appointments on leave days are locked.
- Load bar per employee — a colored bar appears in each cell indicating the occupancy level: green below 50%, yellow between 50%-100%, red over 100%. The calculation is done automatically based on the employee's configured work schedule and is recalculated after every change. The label shows the exact percentage and the remaining free/extra time.
- Visual differentiation of days — working days have a normal background, days off appear with a "Day off" marker, and leave days (automatically pulled from approved leave) have a colored background with a "Leave" marker.
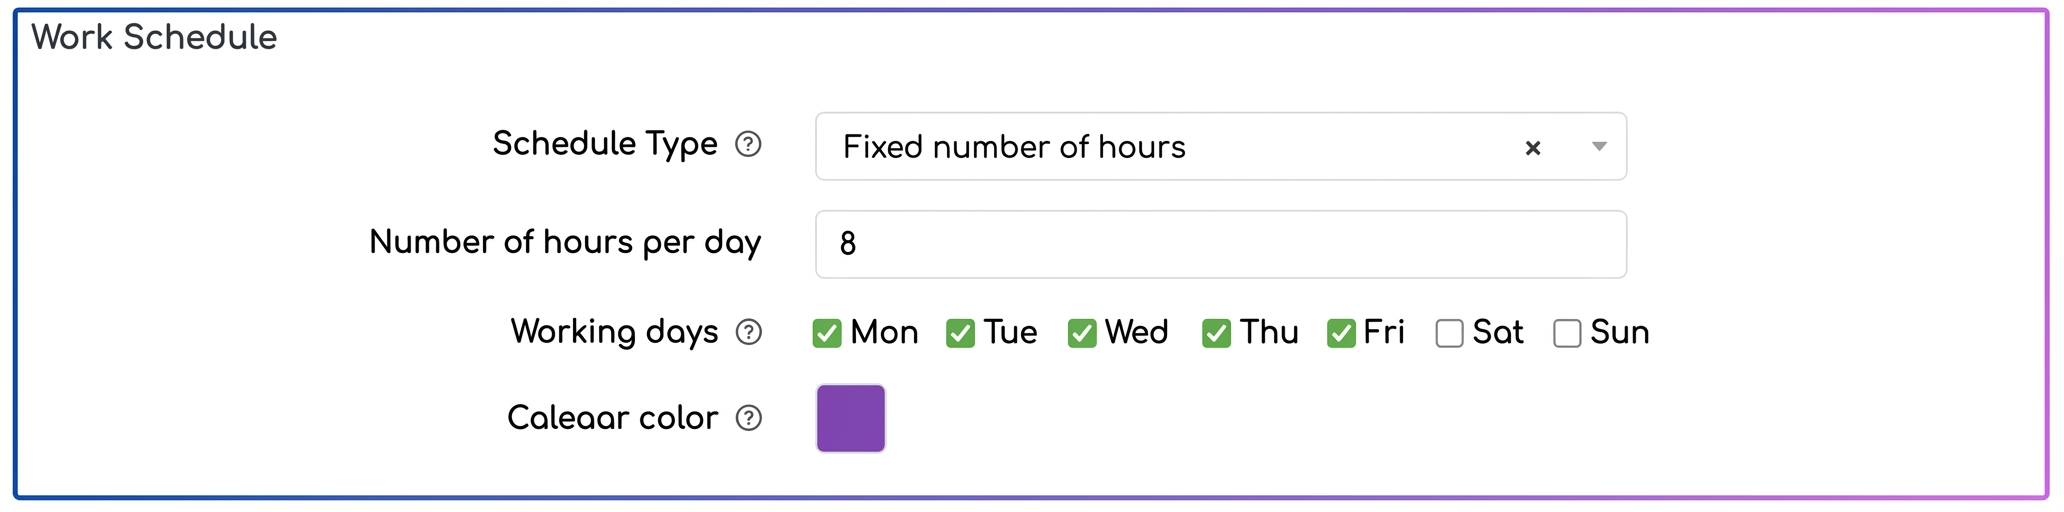
- Work schedule and employee color — both are configured in the employee file (). The schedule can be set as a time interval (e.g., 09:00 – 17:00), a fixed number of hours per day, or left blank (in which case the platform uses a default capacity of 8h). The chosen color is used in all the employee's appointment cards — in the Grid, the Calendar, and other areas of the platform (leaves, etc.).
How to use
- Navigate to and press the Employee Grid button.
- Choose the desired granularity (Day, Week, Month, or Year) and navigate through time using the arrows or the Today button.
- To reschedule, drag the appointment card to the desired destination (another day, another time, or another employee) and confirm the move.
- To configure an employee's work schedule and color, go to , open the file, complete the Work Schedule section, and choose the color from the Calendar Color selector.
Practical example
A manager wants to see quickly who is free next week to assign a new urgent order to a suitable technician.
→ Switch to Employee Grid mode and choose Week granularity
→ Immediately identify employees with green load bars (below 50%) — they have available capacity
→ Drag the order card to the desired day and free employee; the appointment is instantly reassigned and the bars are automatically recalculated
Related articles
Employee Report: Export and Automatic RecurrenceTutorialsEmployee – Client Report: Monthly Working Time AllocationTutorialsCustomizing AppointmentsTutorialsCan I simply change the name of a departing employee and use the same account for a new employee?ForumI noticed in employee reports that some end up in the impossible situation of showing 24 hours worked per day. Why is this happening?Forum