
New: New Widgets in Executive Summary: "Top Superproducts" by Value and Volume
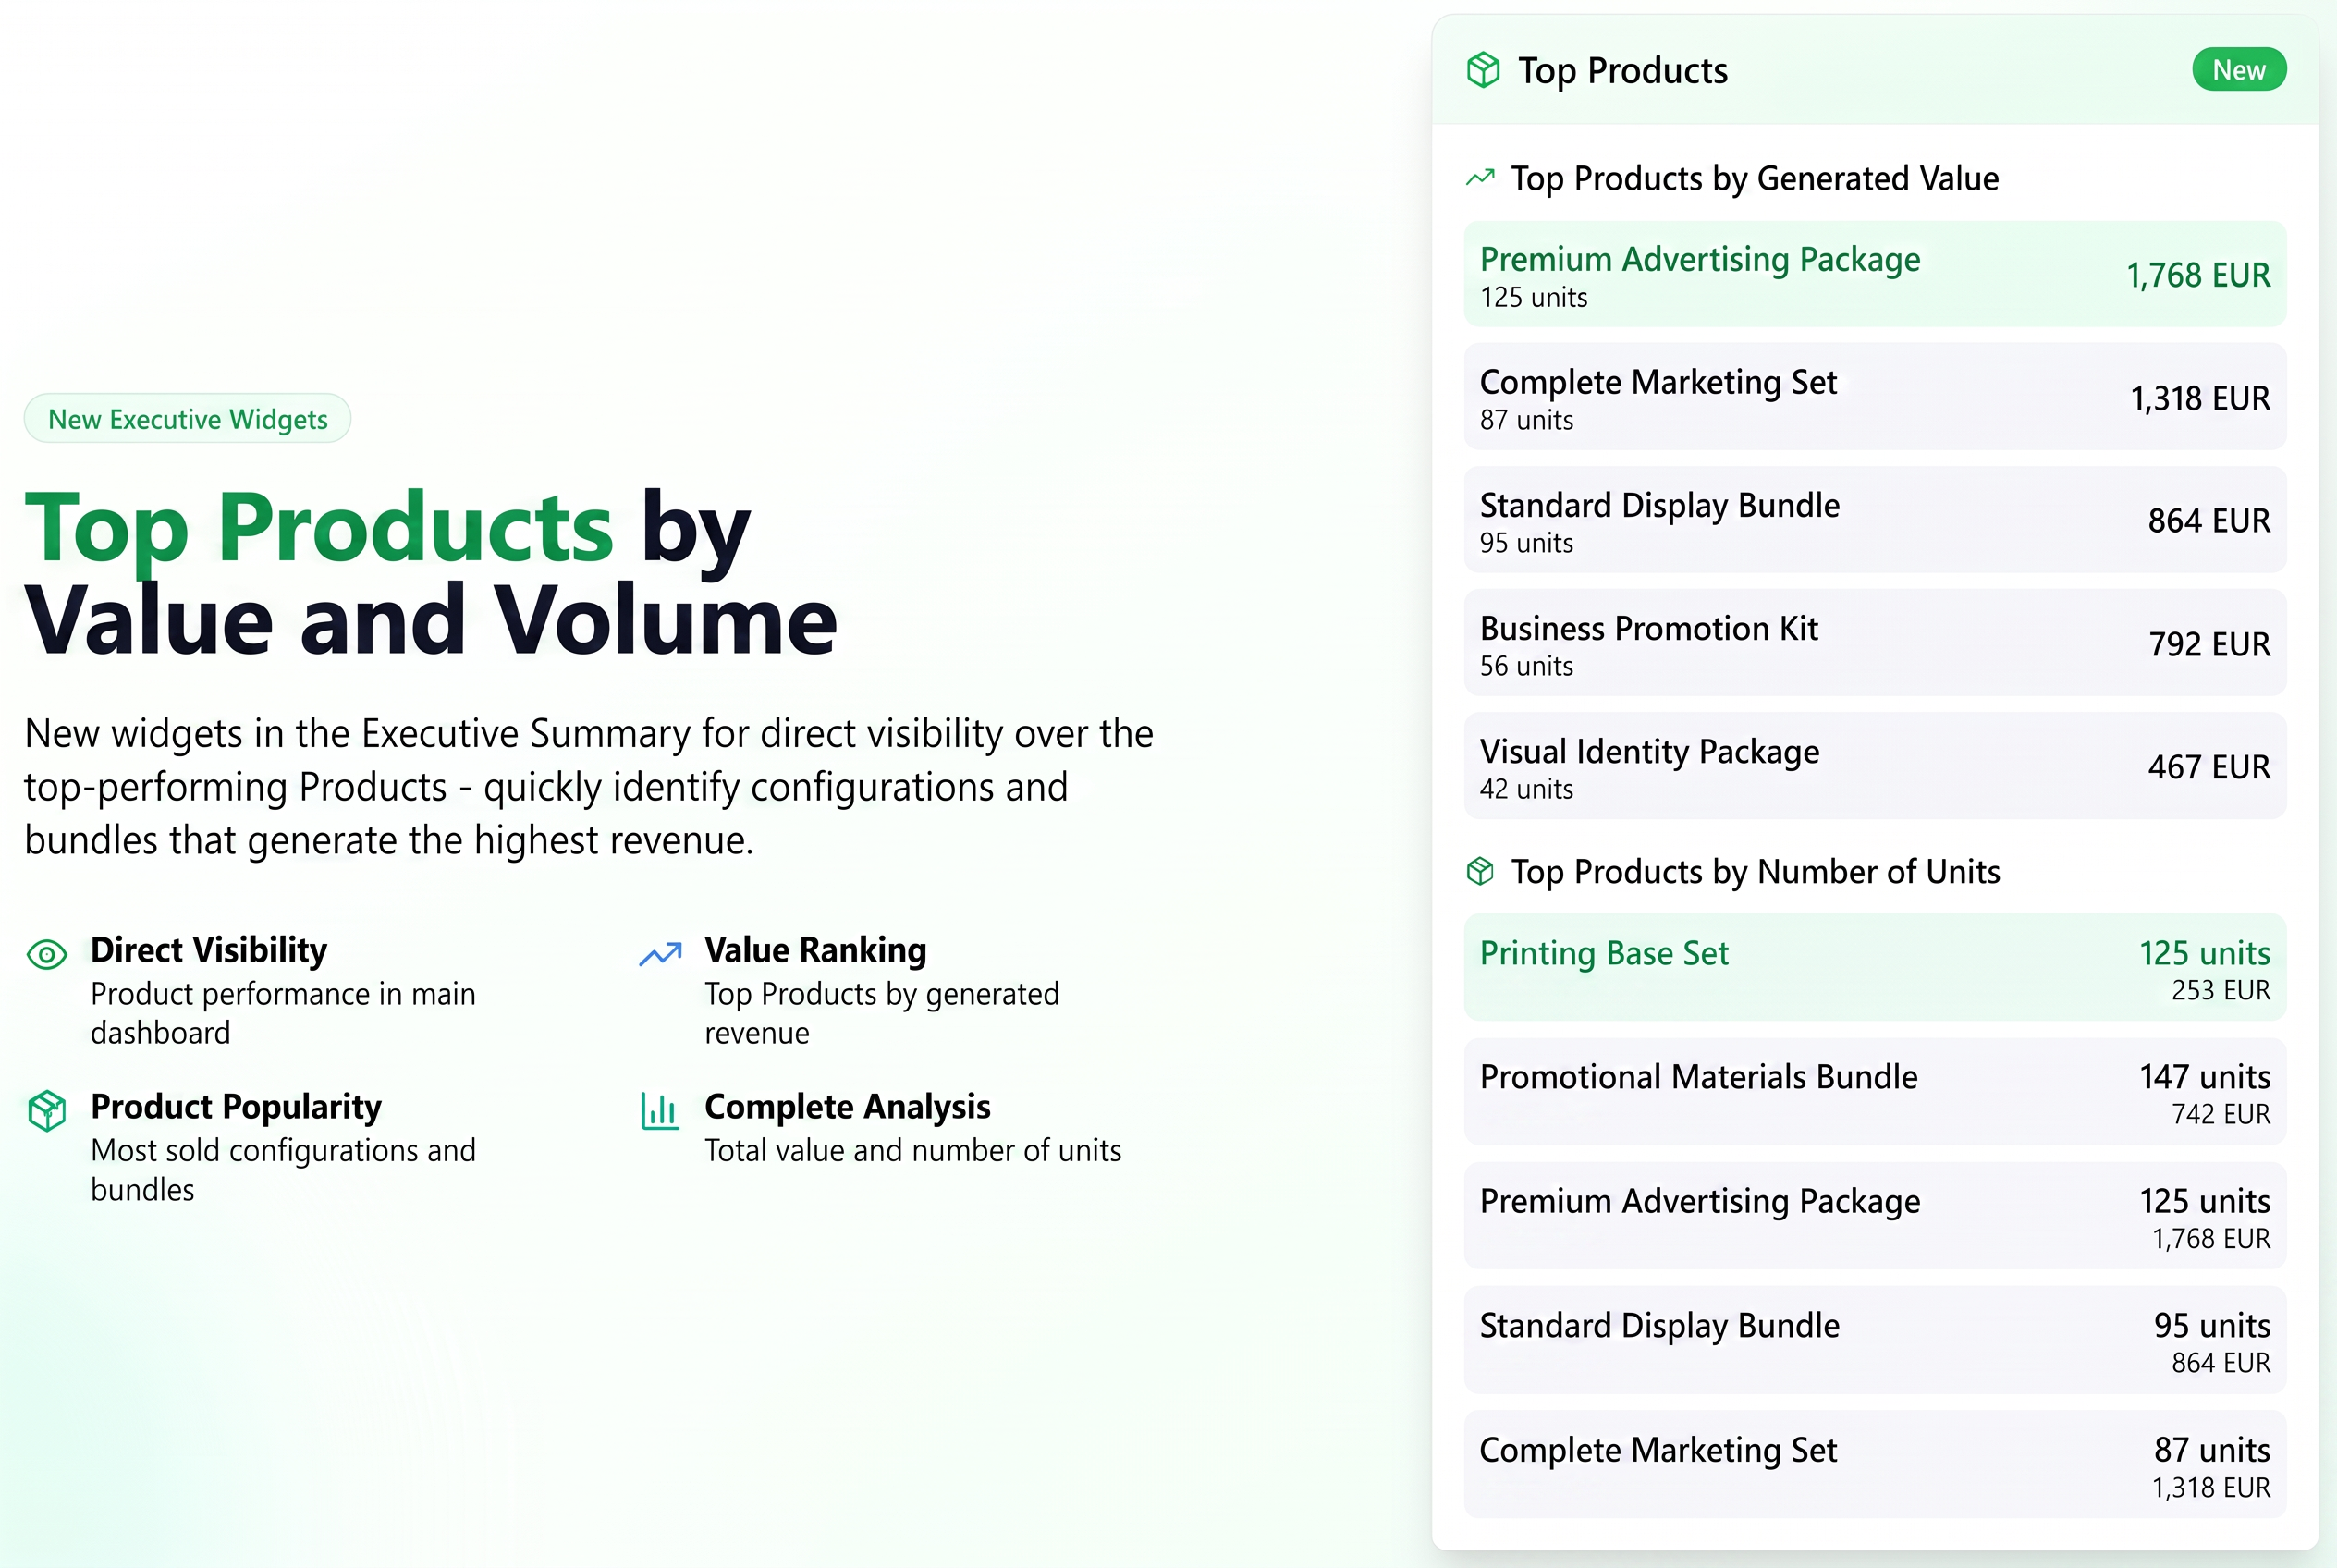
You can see at a single glance which Superproducts are the bestsellers and which generate the highest revenue, without leaving the main dashboard.
Step-by-step user guide
- Location: The widgets are found in the Executive Summary.
- "Top Superproducts by Generated Value" Widget:
- Presents a ranking of Superproducts based on total revenue generated.
- Displays the Superproduct name, total value in EUR, and the number of units sold.
- "Top Superproducts by Number of Units" Widget:
- Orders Superproducts based on the total quantity sold.
- Helps you identify the most popular Superproducts.
- Displays the Superproduct name, number of units sold, and the total value generated by them.
New: New Widgets in Executive Summary: "Top Customers" and "Top Orders" by Allocated Time
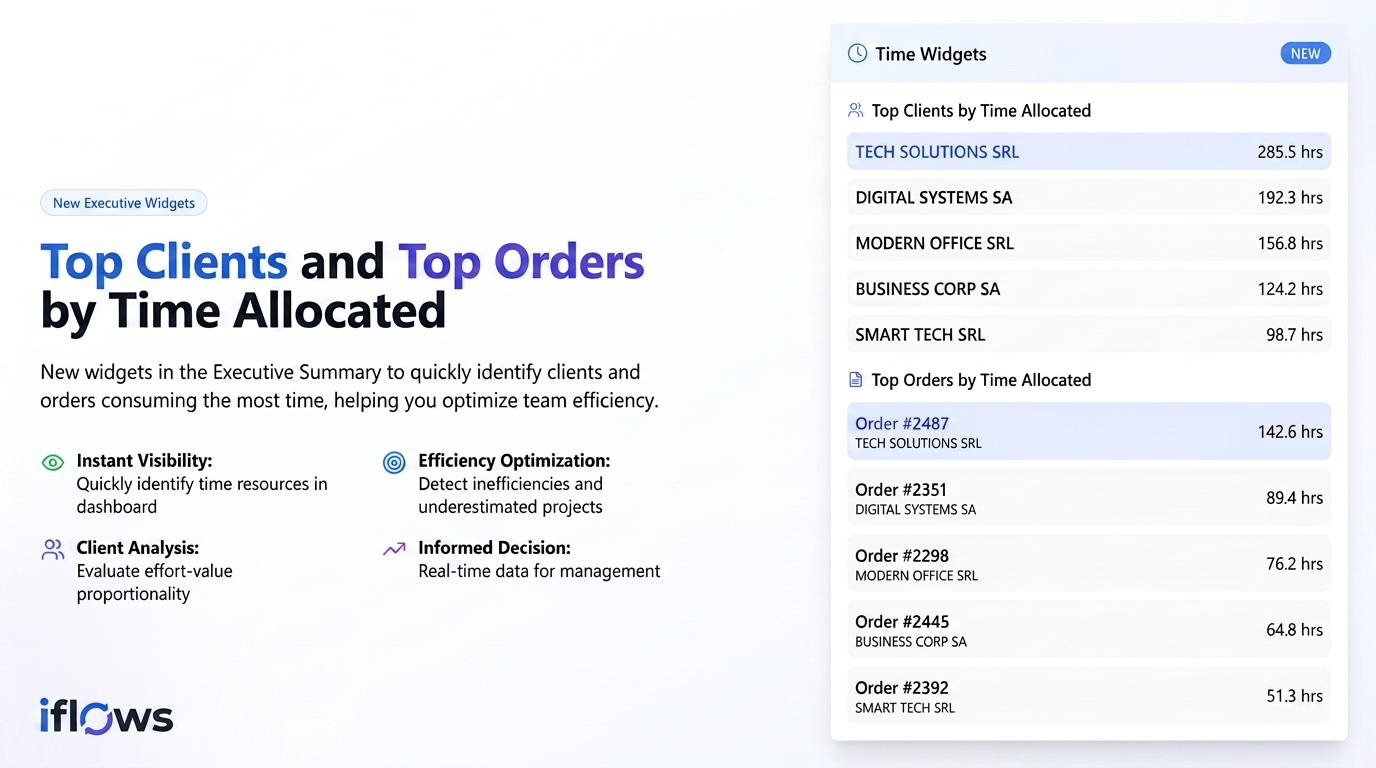
These two new widgets provide a clear and immediate perspective on how the team's time is distributed.
- "Who are the customers consuming most of our time?" – The "Top Customers" widget helps you identify customers that require the most effort, allowing you to evaluate if this consumption is proportional to the value they bring.
- "Which orders or projects are the biggest time consumers?" – The "Top Orders" widget highlights specific projects that absorb the most time resources, being an excellent tool for detecting possible inefficiencies, underestimated projects, or the need to adjust internal processes.
Step-by-step user guide
These widgets are designed to provide information at a glance and require no configuration. Their use is intuitive:
- Location: You will find the two new widgets in the main dashboard (Executive Summary), alongside the other analysis cards.
- "Top Customers by Allocated Time" Widget:
- This card displays a list of your customers, ordered descending by the total time worked on their orders.
- The displayed metric represents the sum of all hours clocked by all employees on orders belonging to that specific customer, within the time period selected in the Executive Summary filters (e.g., "Today", "This month").
- "Top Orders by Allocated Time" Widget:
- This card presents a ranking of individual orders, prioritized by total time consumption.
- Each entry displays the order number and the associated customer.
The displayed value represents the total sum of hours clocked by all employees who worked on that specific order during the selected period.
New: Consolidate stocks for a product across multiple managements
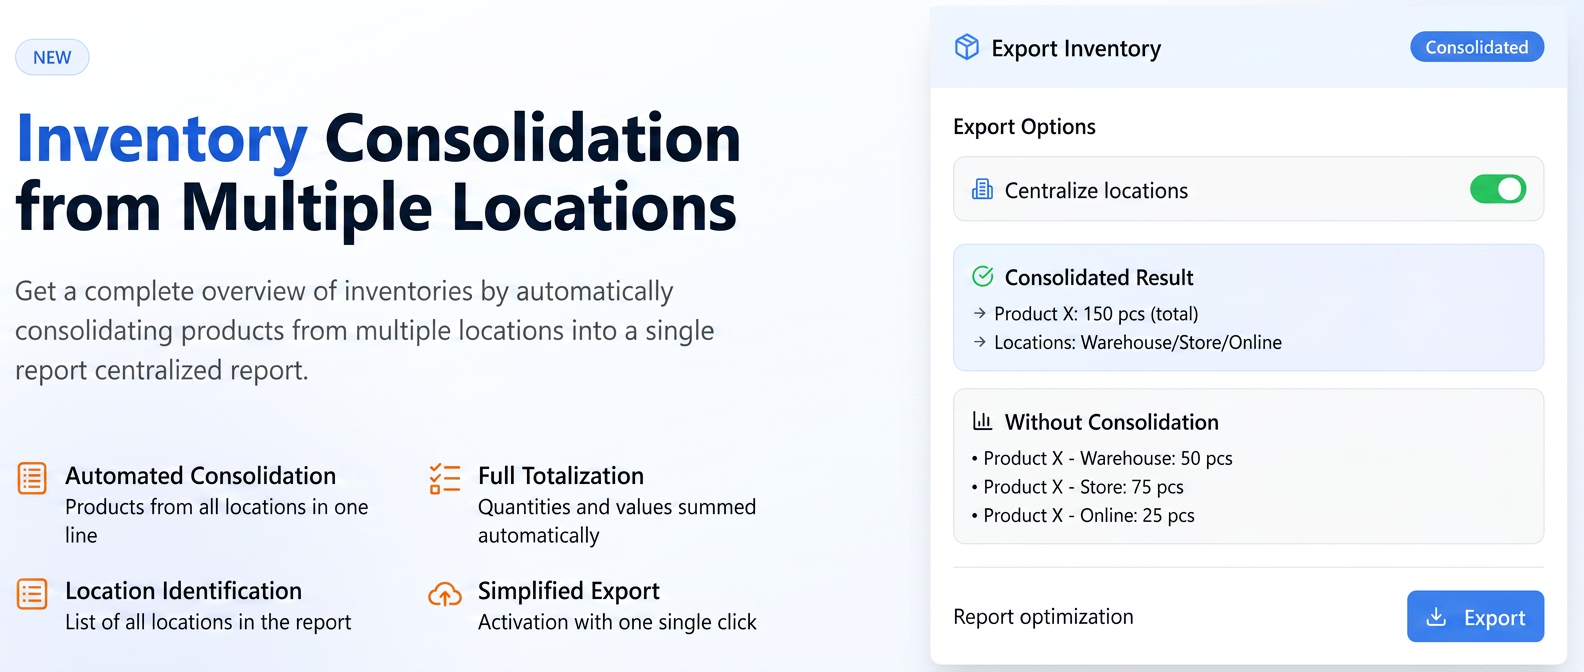
This functionality addresses the need for a consolidated overview of stocks, especially when the same product is found in multiple managements (warehouses, stores, etc.).
With the help of the management centralization option, the system will automatically merge all entries for the same product into a single row in the exported report. Thus, you directly obtain a total value for the stock and its valuation.
Step-by-step user guide
To export a stock report centralized by management, follow the steps below.
- Navigate in the main menu to the Products section, then select Stocks.
- In the top-right corner of the screen, click the green Export button.
- In the window that opens, named Stock Export, you will notice the Centralize managements option.
- Enable this option by clicking the toggle. It will turn green, indicating that the centralization function is active.
- Select the desired export profile and press the Export button.
The generated file will contain the consolidated data.
Important aspects:
- Operating conditions: For the system to correctly merge the data, it is essential that products in multiple managements have the same product code and the same unit of measure.
- Export result: In the exported file, products will be displayed on a single row. The columns for quantity and value will reflect the total sum from all managements, and in the Management column, all managements where the product is located will be listed, separated by "/" (for example: Central Warehouse / Unirii Store).
- Limitation: This centralization option has no effect on Stock Movements type reports.
New: Advanced Tag Filtering
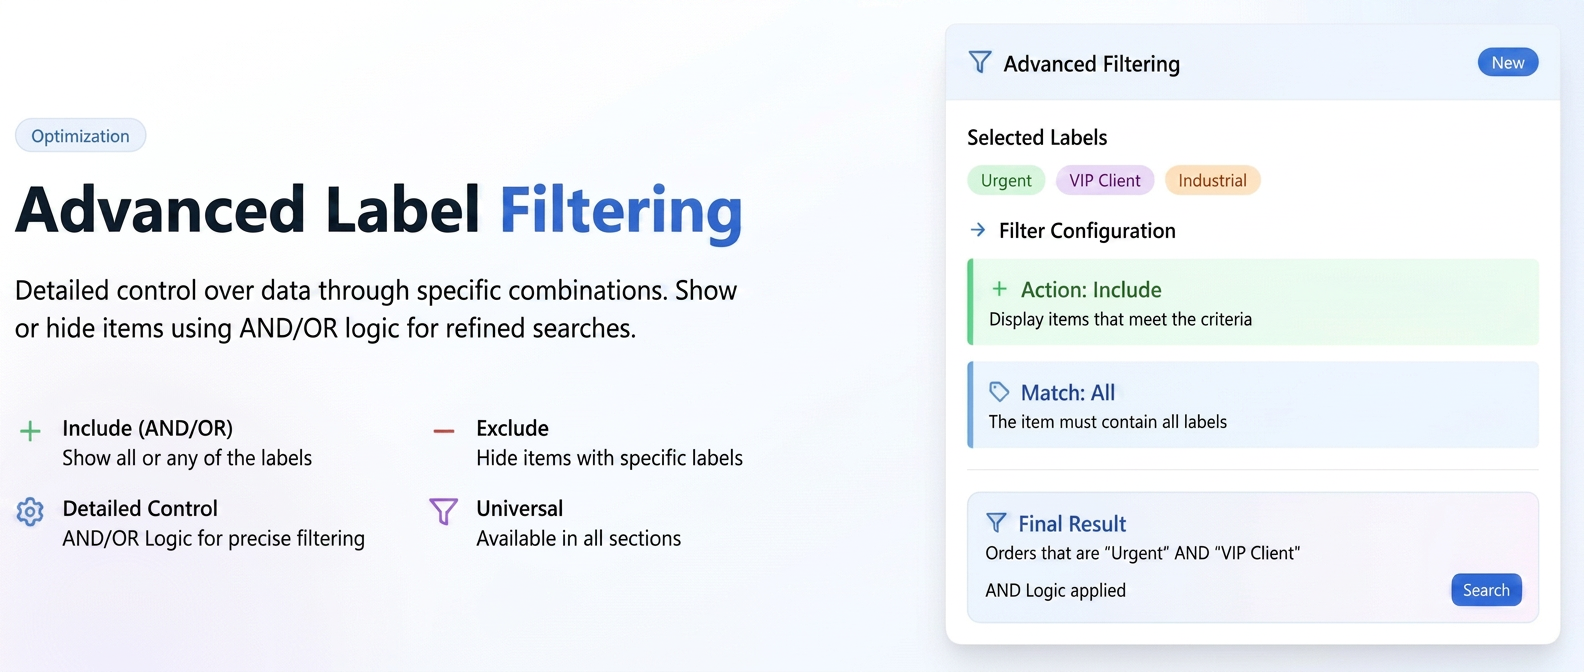
The advanced filtering function gives you detailed control over data, allowing you to show or hide items based on specific tag combinations. This is useful for refining searches and quickly isolating the information you need.
With this functionality, you can:
- Display items that simultaneously contain ALL selected tags (AND logic). Example: display orders that are both "Urgent" and "VIP Customer".
- Display items that contain at least one of the selected tags (OR logic). Example: display orders that are either "Low priority" or "Urgent".
- Exclude items that contain certain tags. Example: display all orders except those with the "Industrial" tag.
Step-by-step user guide:
The function is available in all sections of iflows where tags can be used (Workflow, Opportunities, Offers, Orders, Products, etc.).
- Navigate to the desired section (for example, Workflow).
- In the filter bar, click on the filter field (e.g., "Order Tags").
- Select the tags you want to use in filtering.
- Under the tag list, click the "Advanced filtering..." option.
- A menu will open with two sets of options: Action and Match.
- In the "Action" section, choose between:
- Include: Displays items that match the matching rules.
- Exclude: Hides items that match the matching rules.
- In the "Match" section, choose between:
- Any: The item must contain at least one of the selected tags.
- All: The item must contain all selected tags simultaneously.
- In the "Action" section, choose between:
- After configuring the rules, press the "Search" button. The list will update according to the applied advanced filter.
New: Color Picker for Tags
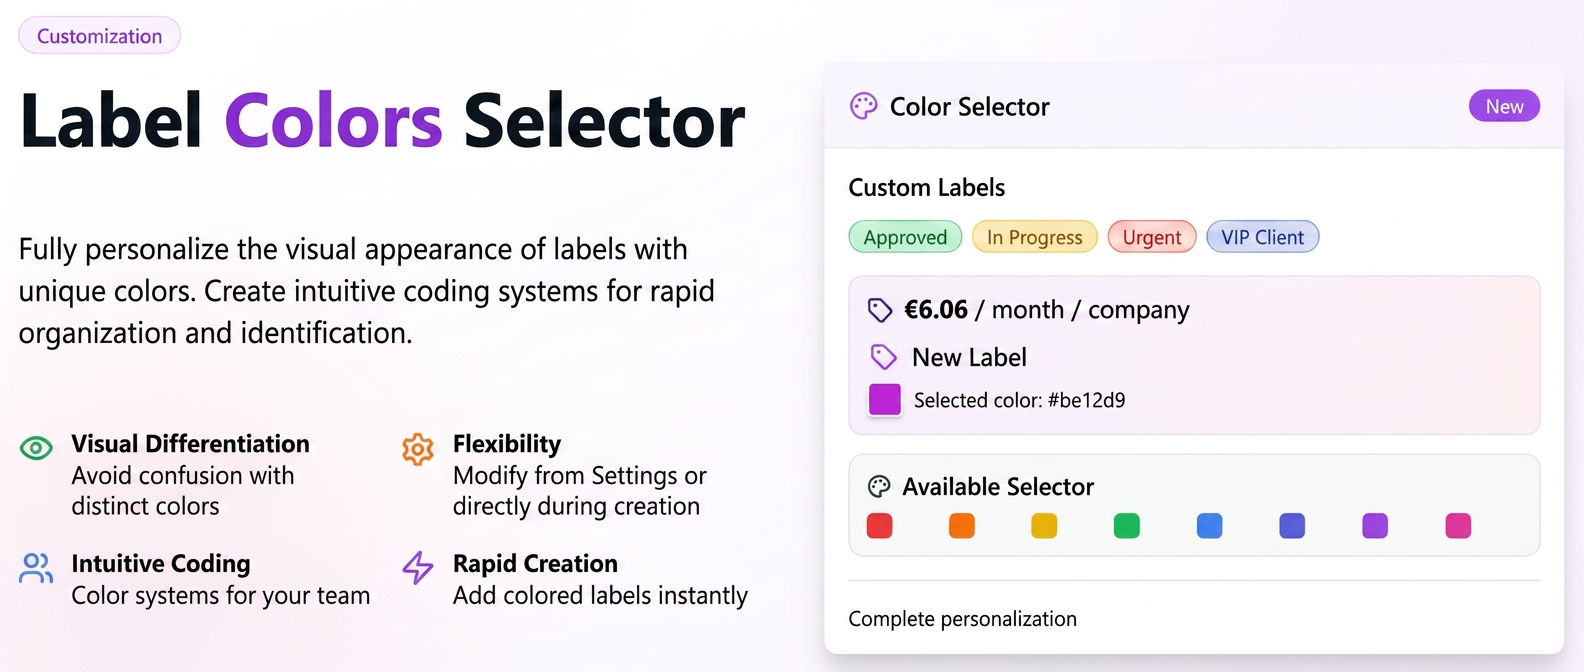
The color picker allows you to fully customize the visual appearance of tags. By assigning unique colors, you can achieve better organization and rapid identification of information.
Using custom colors, you can:
- Visually differentiate a large number of tags to avoid confusion.
- Create color coding systems that are intuitive for your team (for example, various shades of green for different approval stages).
Step-by-step user guide:
You can set a custom color both when creating a tag and when modifying an existing one, through two methods:
Method 1: From the Settings menu (recommended for centralized administration)
- Navigate to Settings in the main menu.
- Choose the corresponding section (e.g., Sales) and then the entity (e.g., Orders).
- Select the Tags tab.
- To create a new tag:
- Enter the name in the "Tag" field.
- Click on the colored square on the right to open the color picker. Choose the desired shade.
- Press the + Add button.
- To modify an existing tag:
- In the tag list, press the edit icon (the blue pencil).
- Click on the colored square next to the name, choose the new color, and press Save.
Method 2: Directly from an entity page (quick mode)
- Open the edit page of an item (for example, a Product or an Order).
- Locate the Tags field.
- Start typing the name of a tag that does not exist.
- A green + Add button will appear. Click on it.
- In the window that opens, you can edit the name and click on the colored square to choose any color from the picker.
- Press Save to create the tag and apply it to the current item.
New: Expansion of GLS Integration: Using optional services when generating labels
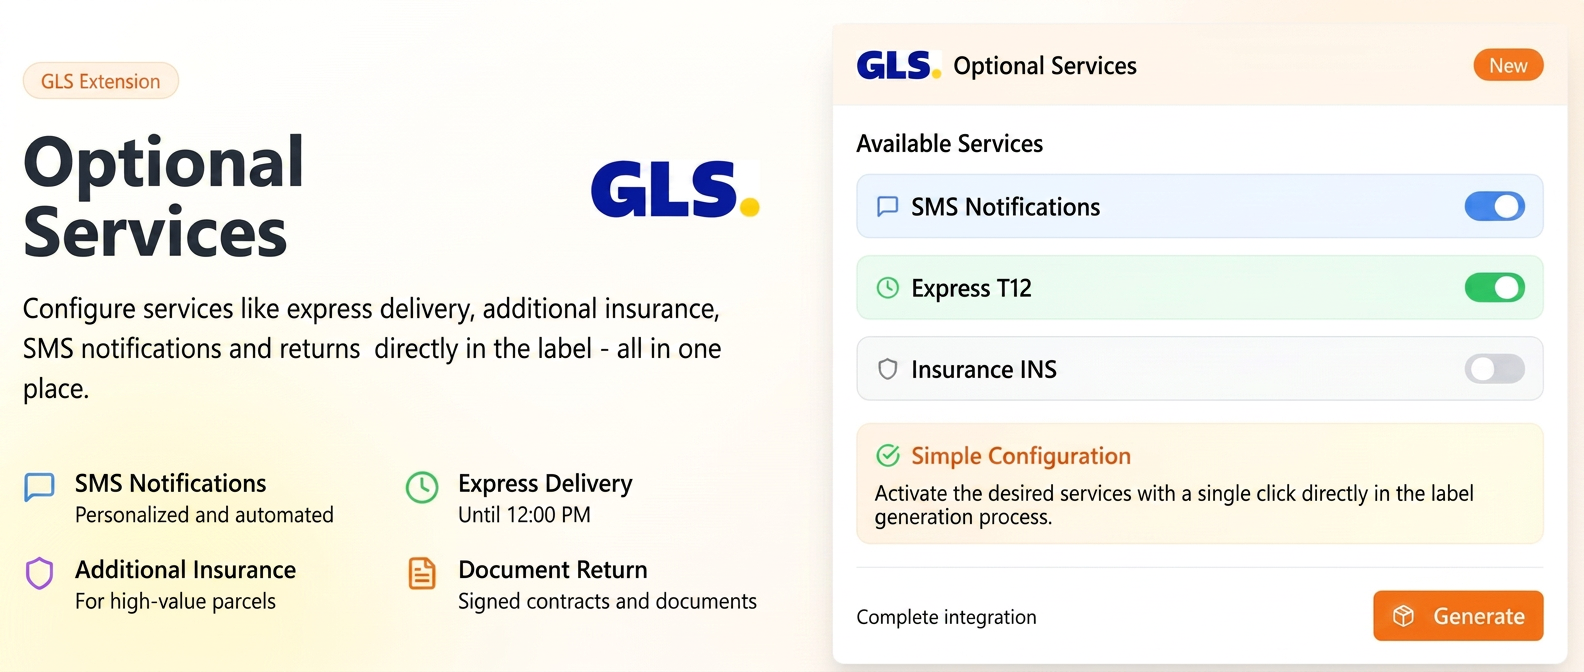
This functionality expands the integration with the GLS courier company, allowing you to add additional services directly at the moment of generating a transport label (AWB). Thus, you eliminate the need to manage these options separately or contact the courier for services such as priority delivery, document return, additional insurance, or personalized SMS notifications.
Available services are:
- Services (notifications)
- Flexible Delivery Service (FDS): Allows the recipient to receive notifications with the estimated delivery time slot and to change the date/address or opt for delivery to a GLS Parcel Locker.
- Flexible Delivery SMS Service (FSS): Sends an additional SMS notification to the recipient.
- SMS Service (SM1): Allows you to send a personalized SMS from you as the sender.
- Preadvice Service (SM2): Sends an automatic notification to the recipient on the morning of the delivery day.
- Express Parcel
- Express Delivery Service (T12): Ensures priority delivery of the parcel by 12:00 PM the next day.
- Extra Services
- Document Return Service (SZL): Ideal for contracts or other documents, this service ensures the return of signed documents to you.
- Exchange Service (XS): Allows the delivery of a parcel and the simultaneous pickup of another parcel from the same address.
- Declared Value Insurance Service (INS): Offers additional insurance for high-value parcels.
You can generate a GLS label with additional services in two ways:
Method 1: From the integrations section
- Navigate in the left menu to Integrations and then select the Couriers sub-menu.
- Ensure you are on the GLS tab.
- Press the + New Label button in the top-right corner.
- In the window that opens ("GLS Label"), fill in the sender and recipient details as usual.
- At the bottom of the window, you will find the new optional service sections: Services, Express Parcel, and Extra Services.
- Enable the desired services using the toggle next to each one. When activating some, additional fields may appear that you must fill in (e.g., parcel value for insurance).
Method 2: Directly from the workflow
- If the workflow is configured to generate courier labels (for example, through the "Delivery Details" instruction), the options for additional GLS services will also be available in that interface, following the same activation and configuration logic described above.
New: New "Customer" Filter in the Employee Report
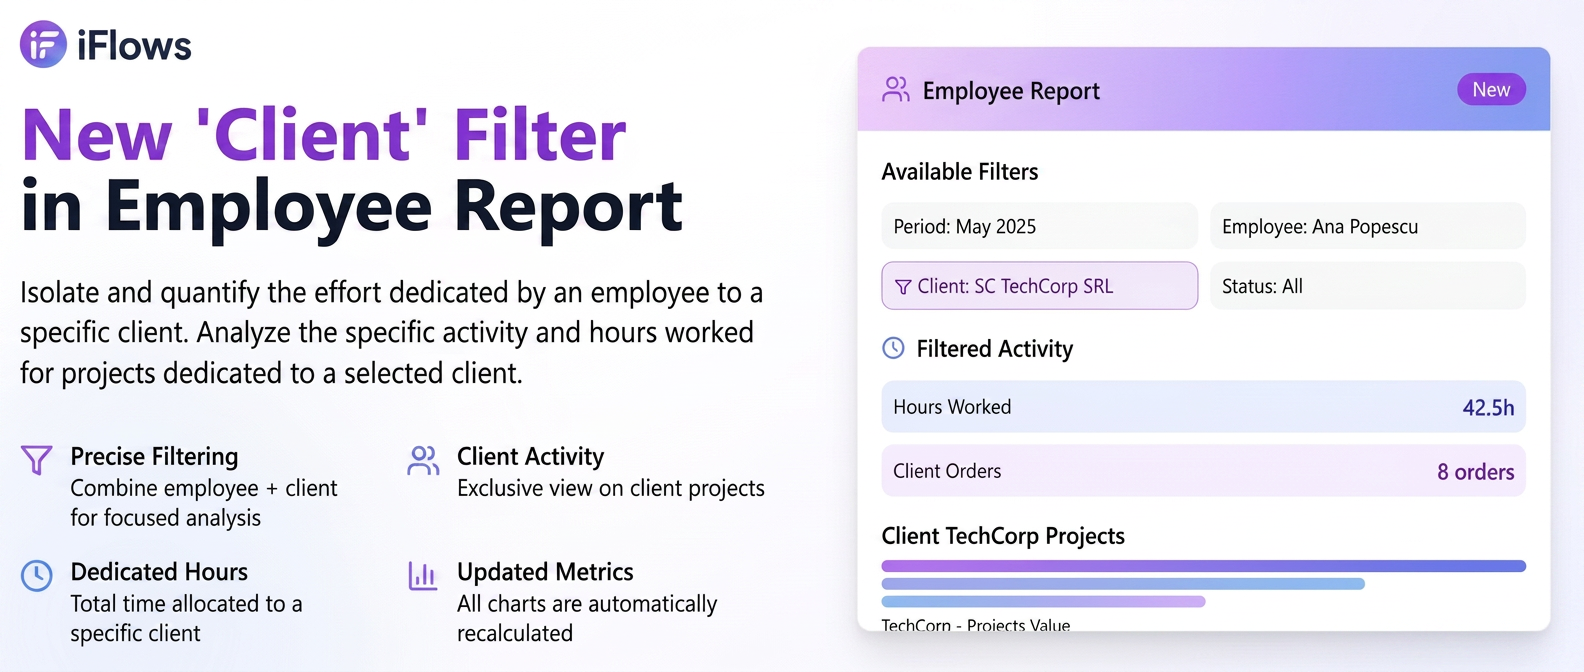
The new filter allows you to isolate and quantify the effort put in by an employee for a specific customer during the selected period.
Step-by-step user guide
- Navigation: Access the reports section from the main menu, then select Employees.
- Locate the New Filter: In the filters section at the top of the page, next to the existing filters (Period, Employee, Stage, etc.), you will notice a new dropdown named "Customer".
- Using the Filter:
- First, select the employee you want to analyze.
- Then, from the new "Customer" filter, select the customer of interest.
- The default state is "All Customers", which applies no additional filtering.
- Interpreting Results: Once you have selected an employee and a customer, the entire report page will update to reflect only that employee's activity on the selected customer's orders.
- Gantt Chart ("Activity"): Will exclusively display the time blocks clocked by the employee on that customer's projects.
- Bar Chart ("Hours Worked"): Will sum the hours worked by the employee only for the selected customer, detailed by day.
- All Metrics: Total number of hours, number of orders, and "donut" type charts will recalculate to strictly reflect the filtered data set (Employee + Customer + Period).