
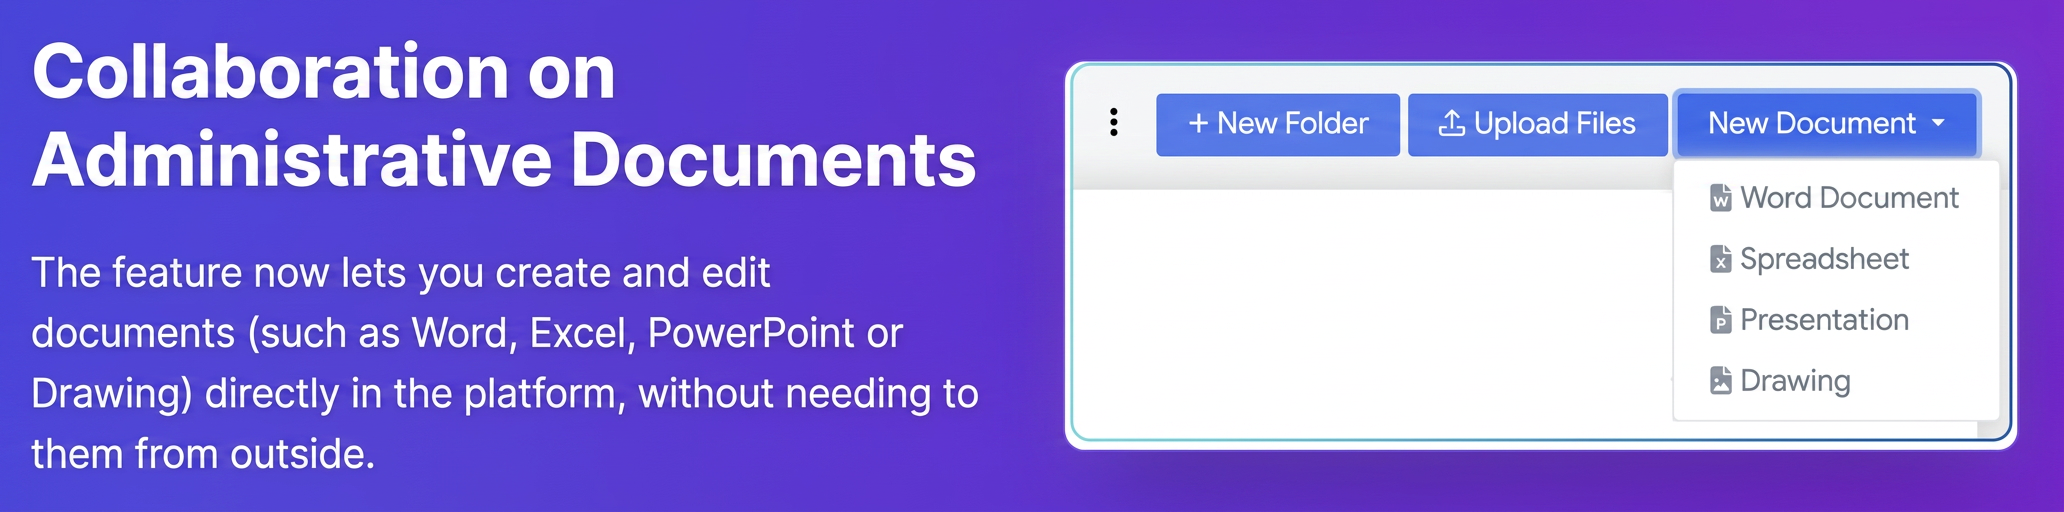
We will explore the advanced features of the Administrative Documents section, which now allow you not only to store and organize uploaded files but also to create and edit Word, Excel (Spreadsheet), PowerPoint (Presentation), and Drawing documents directly within the platform.
Section 1: Accessing the Administrative Documents Module
- From the main menu, navigate to the Documents section.
- Select the Administrative sub-section.
- You will be greeted by an interface displaying previously created folders for document organization. Here, you can also create new folders using the + New Folder button.
Section 2: Creating a New Document Directly in iFlows
This is the key new functionality that eliminates the need to create documents in external applications and then upload them.
- Navigate to the Desired Folder: Enter the folder where you want to create the new document.
- Initiating Creation: At the top of the file list in the folder, locate the "+ New Document" button. It has a dropdown arrow indicating multiple options.
- Select Document Type: Click the arrow on the + New Document button to reveal the types of documents that can be created:
- Word Document: For text documents (.docx).
- Spreadsheet: For tabular spreadsheets (similar to Excel, .xlsx).
- Presentation: For presentations (similar to PowerPoint, .pptx).
- Drawing: For diagrams or simple sketches (.odg or similar).
- Choose Type: Click on the desired document type.
- Naming the Document: A "Create Document" window will appear.
- Enter a relevant and descriptive Name for your document.
- Optionally, you can add Tags for easier classification.
- Press "Save".
- Opening the Integrated Editor: iFlows will automatically open a fully integrated web editor, specific to the chosen document type (similar to Word Online, Google Docs, etc.), directly within the platform interface. The empty, newly created document is ready for editing.
- Editing the Document: Use the editor's functions (text formatting, inserting images, tables, etc.) to create the desired content. Changes are saved automatically as you work.
- Finalizing Initial Editing: Once you have finished adding the initial content, you can close the editor tab or navigate back to the list of documents in that folder in iFlows. The newly created document will now appear in the folder's file list.
Section 3: Viewing and Editing Documents Created in iFlows
You can return at any time to modify documents created directly in the platform.
- Locate the Document: Find the desired document in the file list of the corresponding folder.
- Access Options: Click on the three-dot menu (...) next to the file name.
- Select "View": From the contextual menu, choose the "View" option.
- Note: The "Edit" option in this menu refers to editing file properties (name, tags), not the content. To edit content, use "View".
- Reopening the Editor: The integrated web editor will reopen, loading the document's existing content.
- Modify Content: Add, delete, or modify text, images, formatting, etc.
- Save and Close: Similar to creation, changes are saved automatically. After finishing, close the editor or navigate back to iFlows. The document will now reflect the latest changes.
Section 4: Collaboration (Implicit Benefit)
Creating documents directly in iFlows opens up collaboration possibilities:
- Centralized Access: Multiple users with the necessary permissions can access the same document from the same centralized location (the folder in iFlows).
- Concurrent Editing (Potential): Multiple users may be able to edit the document simultaneously (similar to Google Docs/Word Online).
Section 5: Other Management Actions
The three-dot menu (...) next to each file also offers other standard management options:
- Download: Saves a copy of the file to the local computer.
- Edit: Allows renaming the file or modifying tags.
- Archive: Moves the file to an archive section, hiding it from the active view.
- Delete: Permanently removes the file from the platform (action to be used with caution).