
iFlows offers a robust structure for defining sales prices. By default, you have the possibility to set differentiated sales prices directly in the file of each product, depending on the Customer Level.
However, we offer additional flexibility to manage special price lists or specific negotiations. This is where the dedicated "Discounts" module comes in. This module allows the creation of price rules, which override standard prices.
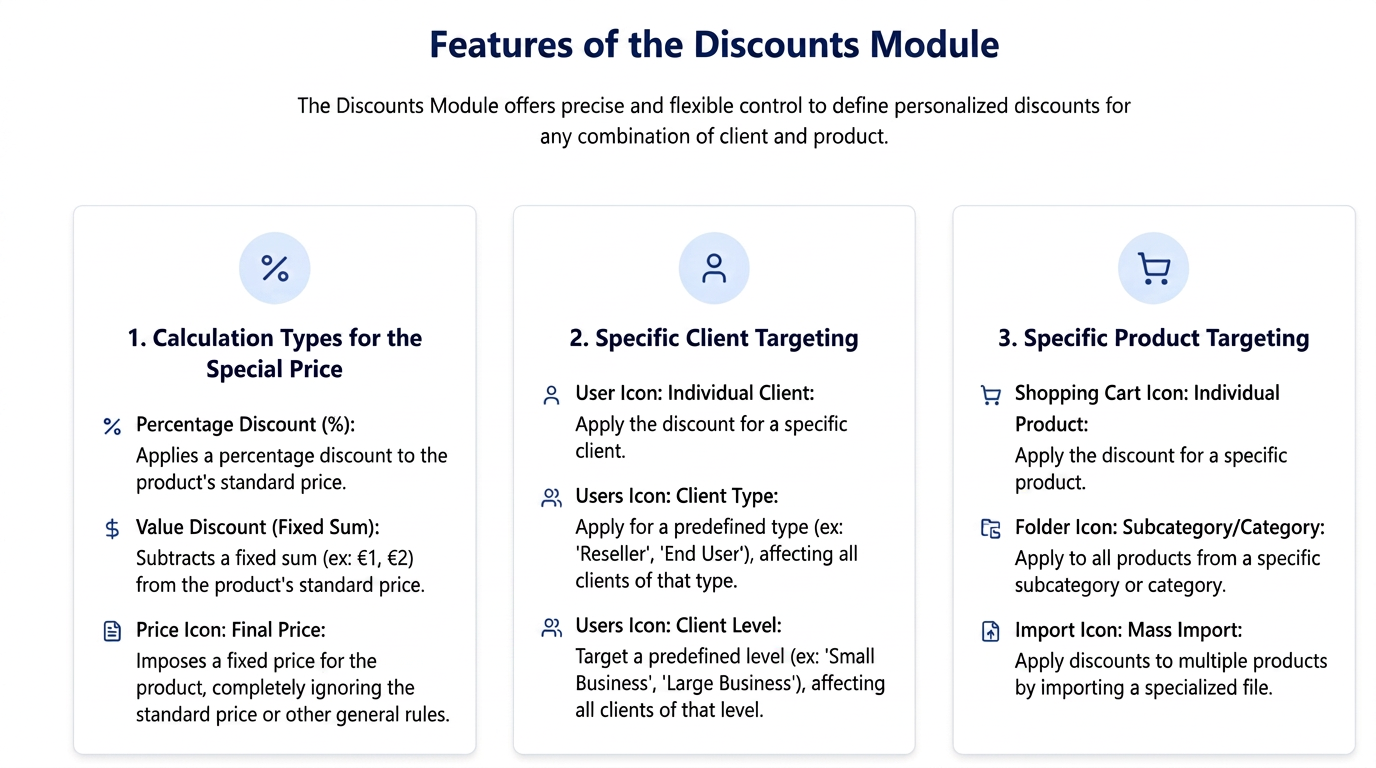
Through this module, you can define:
- Various Calculation Types for Special Price:
- Percentage Discount (%): Applies a percentage discount to the standard price of the product.
- Value Discount (Fixed Amount): Subtracts a fixed amount (e.g., 5 EUR, 2 EUR) from the standard price of the product.
- Final Price: Imposes a fixed sales price for the product, completely ignoring the standard price or other general rules.
- Specific Customer Targeting: You can choose to whom these special conditions apply:
- A specific individual Customer.
- A Customer Type (e.g., 'Reseller', 'End Customer'), thus affecting all customers of that type.
- A predefined Customer Level (e.g., 'Small Business', 'Large Business'), affecting all customers at that level.
- Specific Product Targeting: You can choose to what these conditions apply:
- A specific individual Product.
- All products in a specific Subcategory.
- All products in a specific Category.
- Or products imported via file.
This tutorial will guide you through the methods of defining these rules: manually and via import.
Part 1: Manually Adding a Discount Rule
This method is suitable for setting a special condition for a single product or product category/subcategory.
- Navigation: Access the menu Customers -> Discounts.
- Initiate Addition: Click on the "+ Add Discount" button.
- Choose the Product/Product Group (WHAT receives the discount): In the bottom left, select ONE of the following:
- Product: Choose a specific product. or
- Subcategory: Choose a product subcategory.
- Category: Choose an entire product category.
- Choose the Customer/Customer Group (TO WHOM it applies): In the top left, select ONE of the following:
- Customer: Choose a specific individual customer. or
- Customer Type: Choose a customer type (group).
- Customer Level: Choose a customer level (another group).
- Define the Discount/Price (HOW it applies): On the right side, choose the calculation method and enter the value:
- Percentage: Select and enter the percentage (e.g., 10). or
- Value: Select and enter the fixed amount (e.g., 5). or
- Final Price: Select and enter the desired final price (e.g., 50).
- Choose the Product/Product Group (WHAT receives the discount): In the bottom left, select ONE of the following:
- Save: Click on "Save".
- Verification: The new rule (product-customer combination and discount type) appears in the list.
Part 2: Bulk Addition of Discounts via Import (for Multiple Products)
Ideal for quickly setting price rules for an extensive list of products that are not part of the same category/subcategory.
Step 2.1: Preparing the Import File
- Download Sample File (Template):
- Navigate to Customers -> Discounts -> + Add Discount.
- IMPORTANT: First select the Customer/Customer Group (Type/Level) to which all discounts in the file will apply.
- Press the "Import" button
- In the "Import Discounts (...)" pop-up, click on "Download Sample File".
- Completing the Excel File:
- Each row in the file represents a rule for a different product.
- Product Identification (Columns A, B, C...): Identify each product on its row using at least two of the columns: Product Name, Product Code, Management/Warehouse (Gestiune).
- Define Discount (Columns D, E, F): On each row, complete the value in ONLY ONE column, according to the desired discount type for that product (and for the customer group chosen in step 1):
- Percentage Discount (e.g., 25)
- Value Discount (e.g., 5)
- Final Price (e.g., 3)
- Leave the other two discount columns blank on 그 row.
- Save File: Save the completed Excel file (.xlsx).
- Upload File: In the "Import Discounts" pop-up, upload the file (drag & drop or "Browse...").
- Validation: Check the validation summary.
- Confirm Import: Press the final "Import" button.
- Verification: The rules for the multiple imported products will appear in the list, all associated with the initially selected customer group.
Part 3: Managing Existing Discounts
- Use the standard View, Edit (pencil), Delete (trash can) options from the main list.
Part 4: Discount Application Priority
If multiple rules exist for a customer-product combination, the rule that offers the largest discount for the customer is applied.