
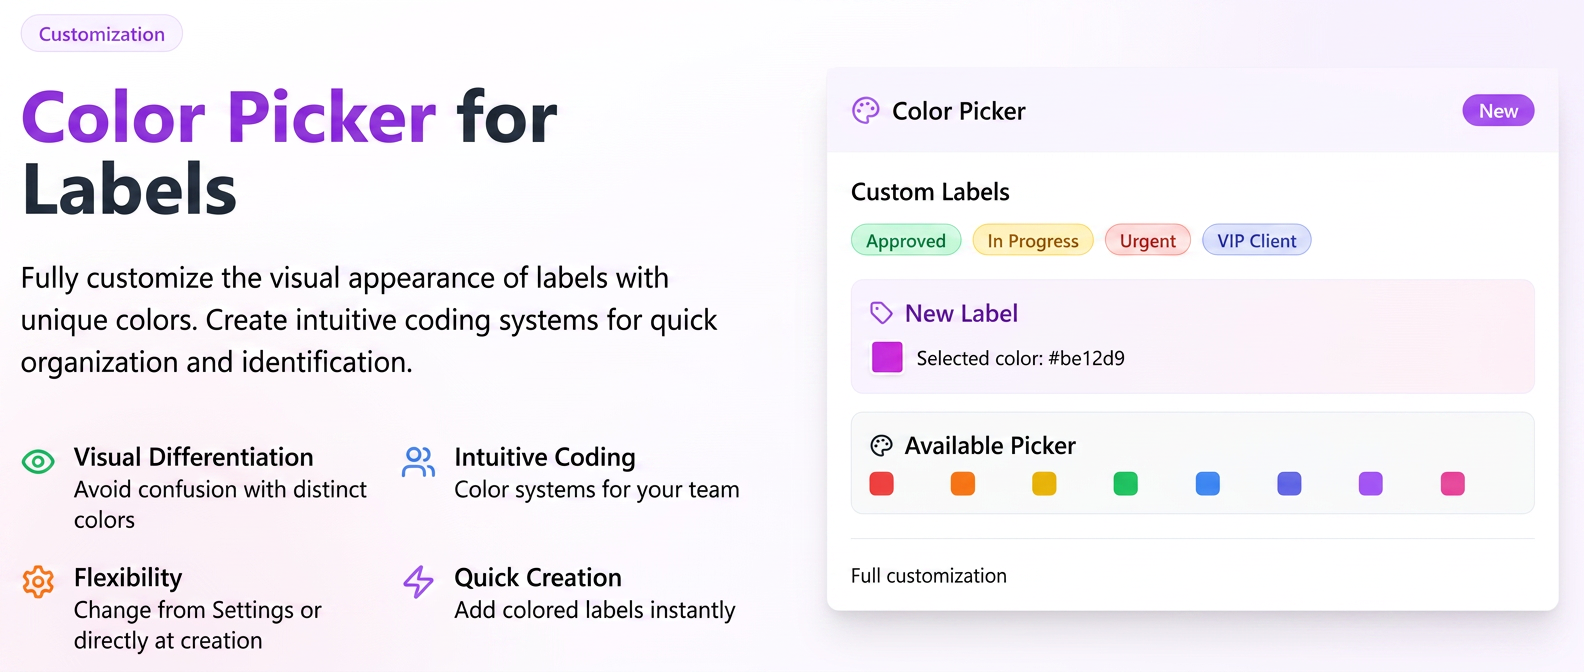
The color picker allows you to fully customize the visual appearance of your labels. By assigning unique colors, you can achieve better organization and rapid information identification.
Using custom colors, you can:
- Visually differentiate a large number of labels to avoid confusion.
- Create color-coding systems that are intuitive for your team (e.g., various shades of green for different approval stages).
Step-by-step usage guide:
You can set a custom color both when creating a new label and when modifying an existing one, using two methods:
Method 1: From the Settings menu (recommended for centralized administration)
- Navigate to Settings in the main menu.
- Choose the corresponding section (e.g., Sales) and then the entity (e.g., Orders).
- Select the Labels tab.
- To create a new label:
- Enter the name in the "Label" field.
- Click on the colored square on the right to open the color picker. Choose the desired shade.
- Press the + Add button.
- To modify an existing label:
- In the labels list, press the edit icon (blue pencil).
- Click on the colored square next to the name, choose the new color, and press Save.
Method 2: Directly from an entity page (quick mode)
- Open the edit page of an item (for example, a Product or an Order).
- Locate the Labels field.
- Start typing the name of a label that does not exist.
- A green + Add button will appear. Click on it.
- In the window that opens, you can edit the name and click on the colored square to choose any color from the picker.
- Press Save to create the label and apply it to the current item.
Related articles
Quick Edit Labels from WorkflowTutorialsAre the labels from the product profile visible on the generated invoice? And what do these labels represent? I sell electronics.ForumSorting and marking projects with labels, I haven't found how to do it.ForumSupplier orders — tags for organizing and filtering ordersTutorialsAdvanced Tag FilteringTutorials