
 1. What it is
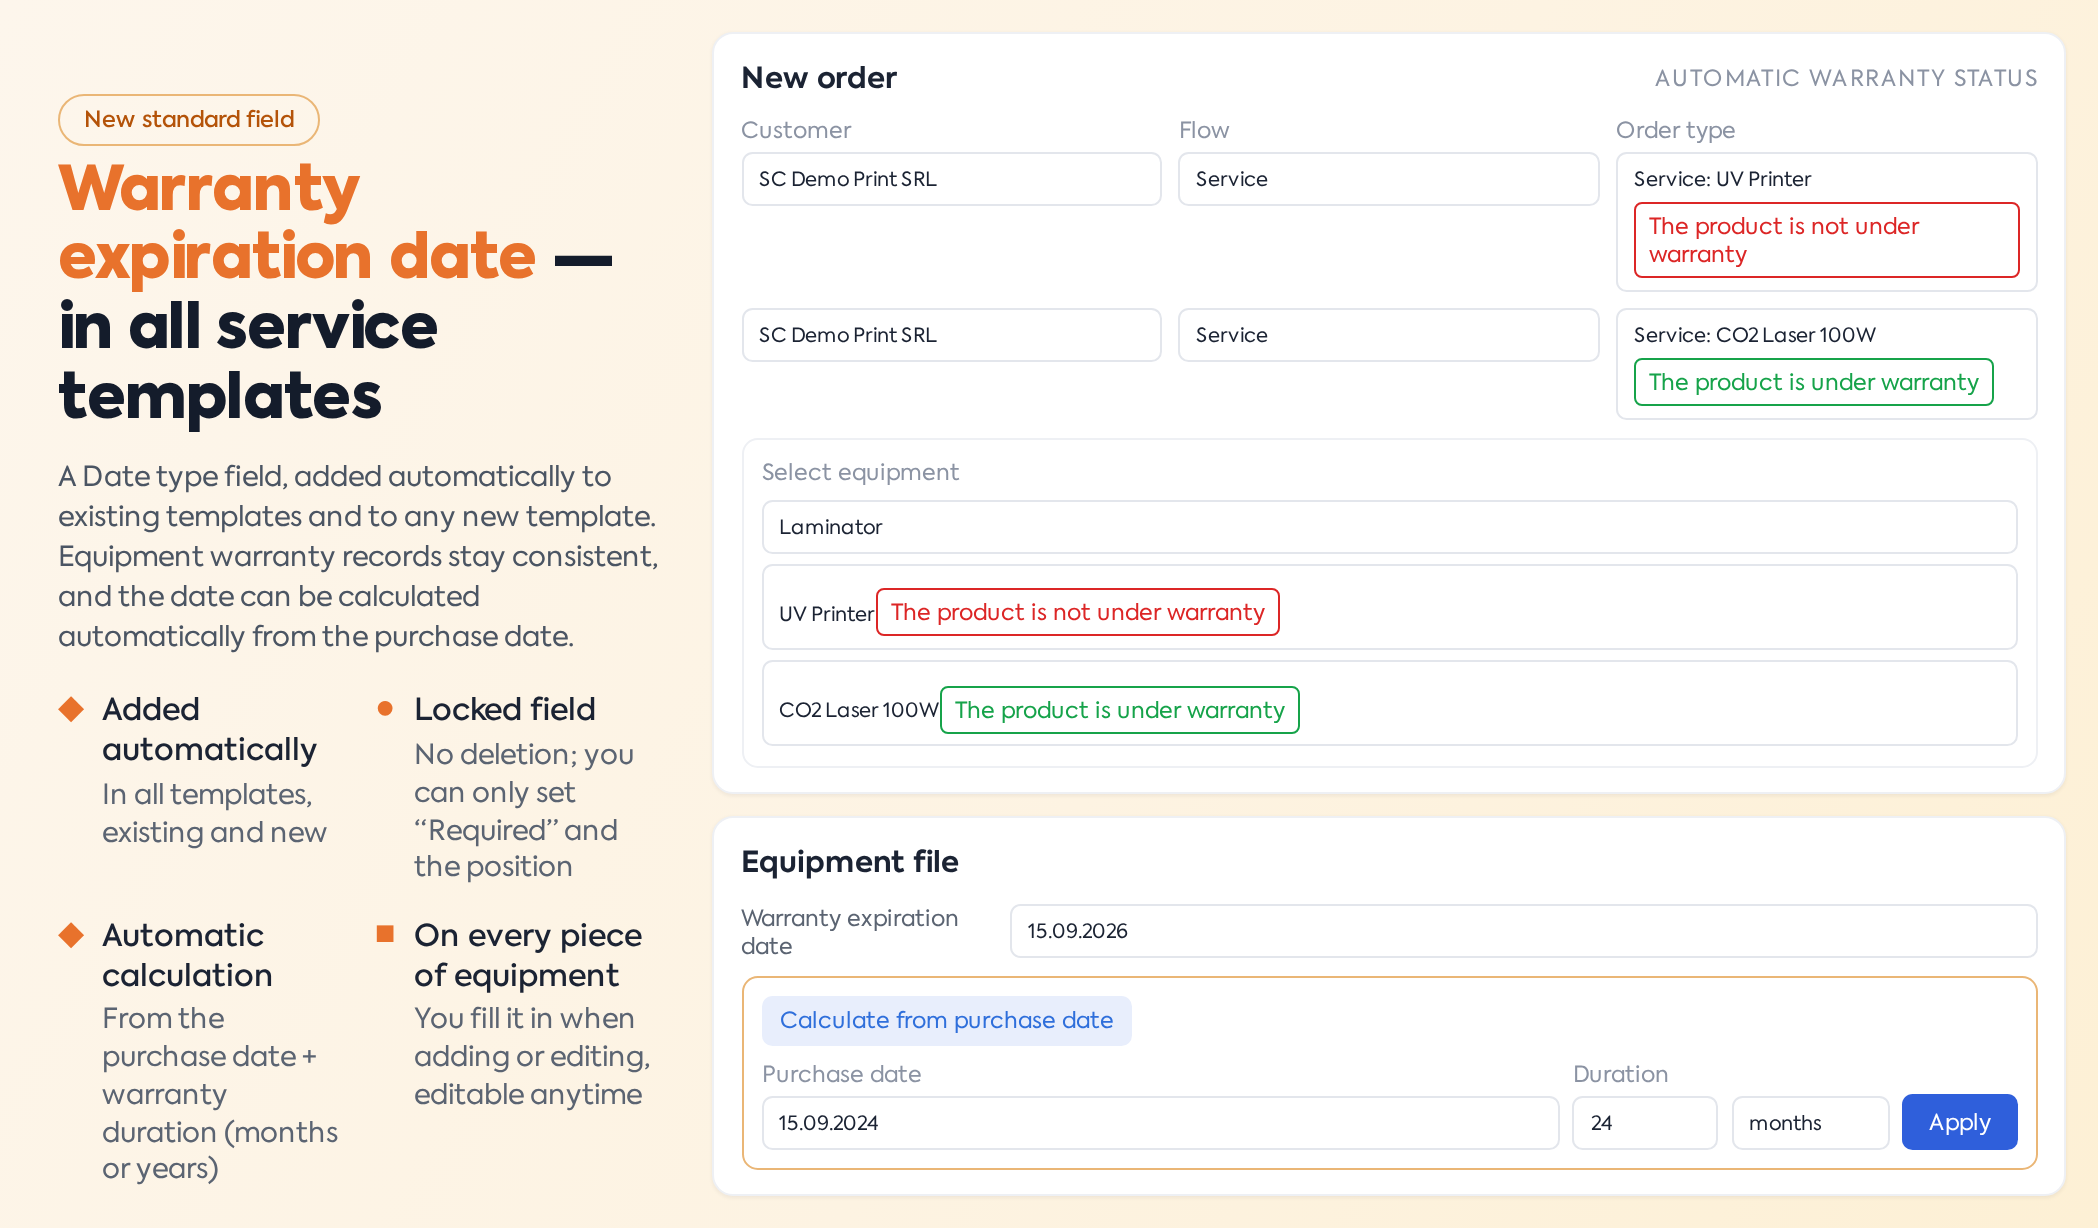
Service templates now feature a new standard field: Warranty Expiration Date, of type Date. The platform has automatically added it to all existing templates and includes it by default in any newly created template, ensuring equipment warranty records are kept consistently across the system.
2. In the template
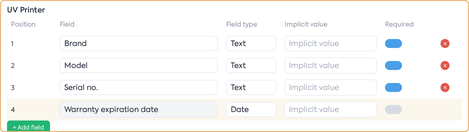
Template editor — the standard field, highlighted, with no delete option.
In the template editor (, Templates section), the field appears on its own row, with its name, type, and default value locked and without a delete button. The only thing you can configure is the Required toggle: it is off by default, so filling in the date is not mandatory; you can enable it per template if you wish to enforce it. The field's position in the list can be changed, just like any other field. The field cannot be missing from a template: a new template won't save without it, and if forcibly removed, the message "The 'Warranty Expiration Date' field cannot be removed from the template" appears. It can only appear once in the same template. It also cannot be edited, cloned, or deleted from the general list of service fields — attempting to delete it returns the message "System fields cannot be deleted.".
3. On the equipment
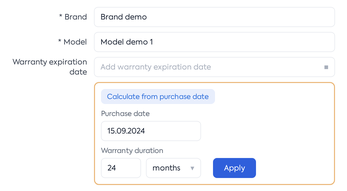
The field on the equipment file, with the Calculate from purchase date panel open.
The actual date is filled in for each piece of equipment in the add or edit form, like any Date type field. Existing equipment will have this field empty until you fill it in.
If you don't know the exact date, use the Calculate from purchase date button below the field: fill in the purchase date and the warranty duration (in months or years), then press Apply — the platform calculates the expiration date and writes it into the field. The value remains manually editable. The expiration date is calculated as the purchase date plus the chosen duration, without subtracting any days: 15/06/2026 plus 24 months means 15/06/2028. If the day does not exist in the resulting month (e.g., January 31st plus one month), the platform uses the last day of that month. The expiration day is still considered to be under warranty.
The purchase date entered in the panel is saved to the equipment, so you will find it there during the next edit. The duration and unit (months or years) are used only for calculation and are not retained.
When cloning a piece of equipment, the purchase date and warranty expiration date are not copied: the fields remain empty in the new equipment record.
4. Warranty status in lists and orders
Based on the filled-in date, the platform automatically calculates whether equipment is still under warranty, and this status can be used in two places.
In the equipment list () and in the customer file, under the Equipment tab, there is a Warranty Status filter with the options Under warranty and Not under warranty. The filter is not displayed by default: it is activated via the filters button next to the search field by checking Warranty Status and pressing Save.
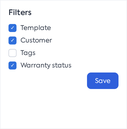
Activating the Warranty Status filter from the filters menu.

Equipment list filtered by Warranty Status.
In the service order, under the selected equipment, a message appears with the warranty status: "Product is under warranty" or "Product is not under warranty".

Warranty status displayed in the service order, under the equipment.
Equipment without a filled-in date will not appear in either of the two filter options and will not receive a message in the order.
5. Important to note
The platform does not send notifications or alerts as the warranty expiration approaches; tracking is done via the Warranty Status filter. The expiration date cannot be added as a column in the equipment list and is not included in the list export.
Permissions are granted at the access level, from the , where each row has View, Add, Edit, and Delete checkboxes. Three rows are relevant for this function:
Service Settings (under ) — the Edit checkbox allows modifying templates, including changing field positions or enabling the Required toggle. The Add checkbox allows creating new templates.
Service (under Equipment & ) — the Add checkbox allows filling in the date when creating equipment, and the Edit checkbox allows filling or modifying it for existing equipment. The View checkbox grants read-only access.
Service Fields (same category) — controls the general list of service fields. Even with Edit or Delete checked, the Warranty Expiration Date field remains locked as a system field.
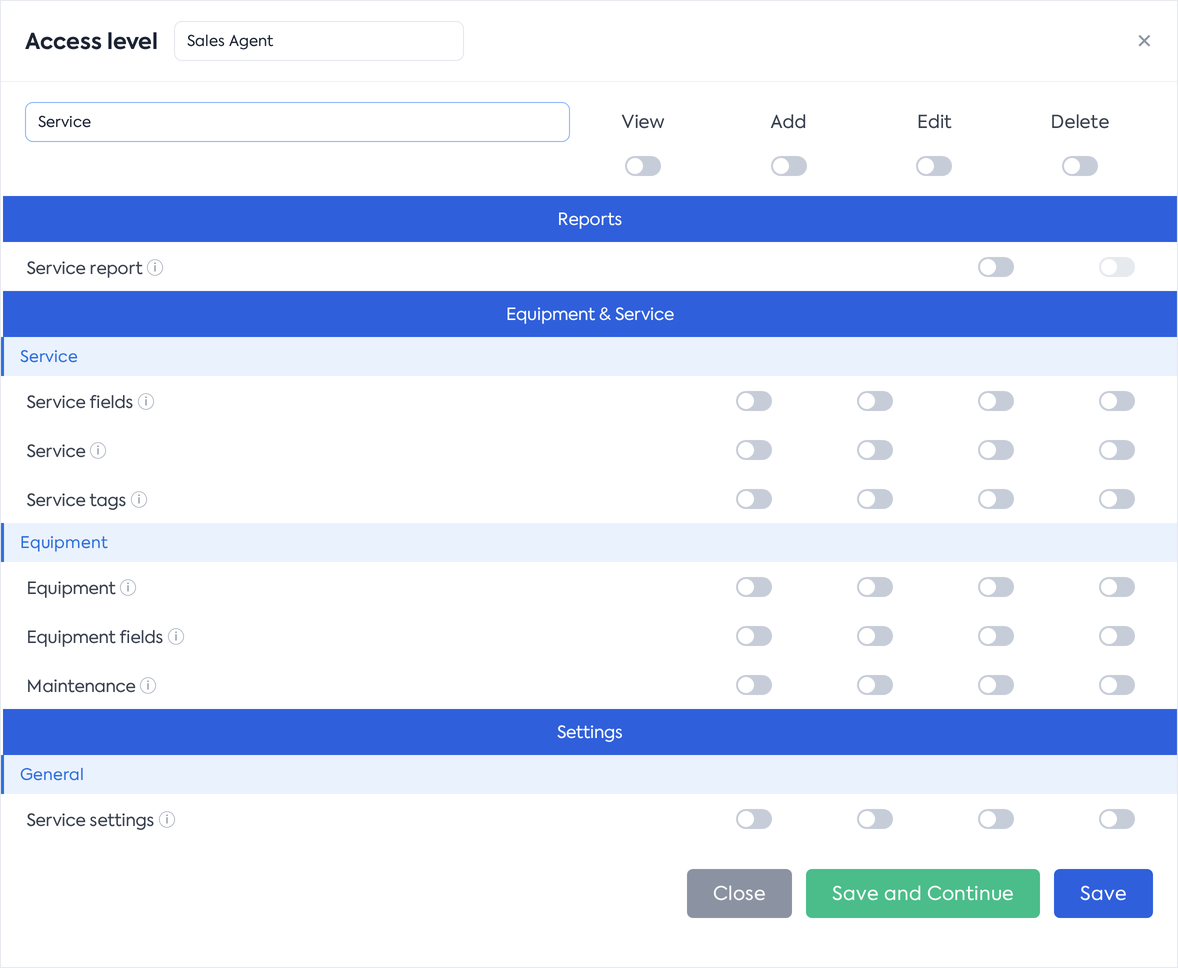
Service permissions, searched by the word 'service' in the .